adeline's nursery

When I think about the memories Adeline will have of her childhood, two things come to mind.

  1. Ben Platt’s song “Childhood Bedroom” — the lyrics are just the sweetest

  2. A story I saw on Instagram of someone a few years older than me saying their parents prioritized fun and playfulness growing up… I love how that’s what she remembers about her childhood

My hope for our girl is that she’ll always feel our love and playfulness every day growing up. That she’ll laugh every day. That she’ll feel free to be who she wants to be and always feel the most at home, at home. I want her to have the best memories of her childhood and can’t wait for all the fun we’re going to have together.

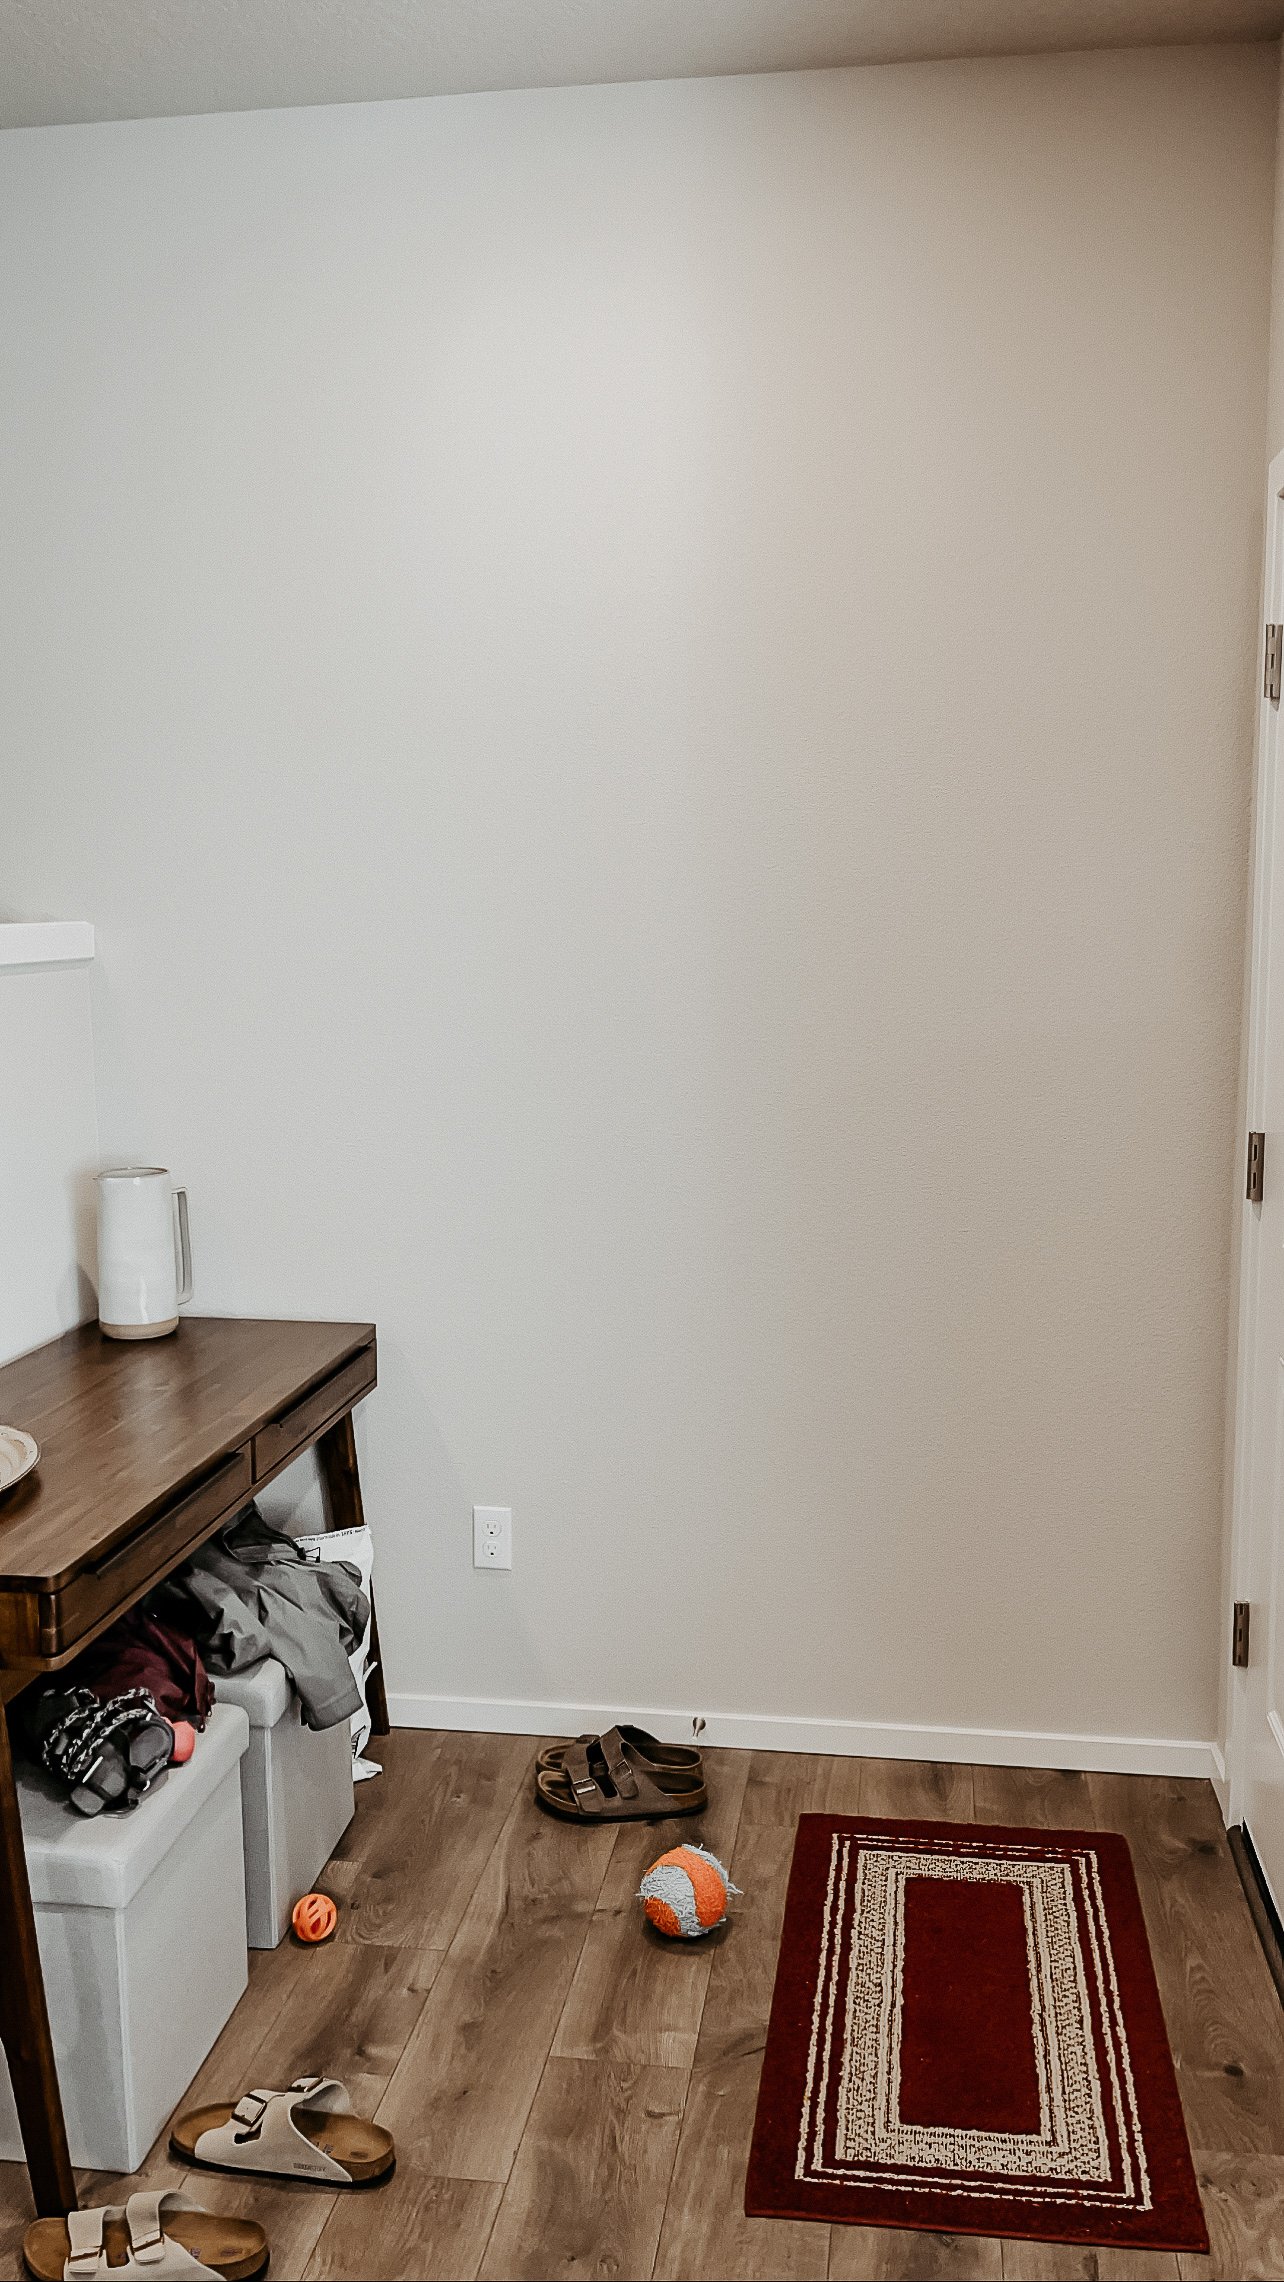
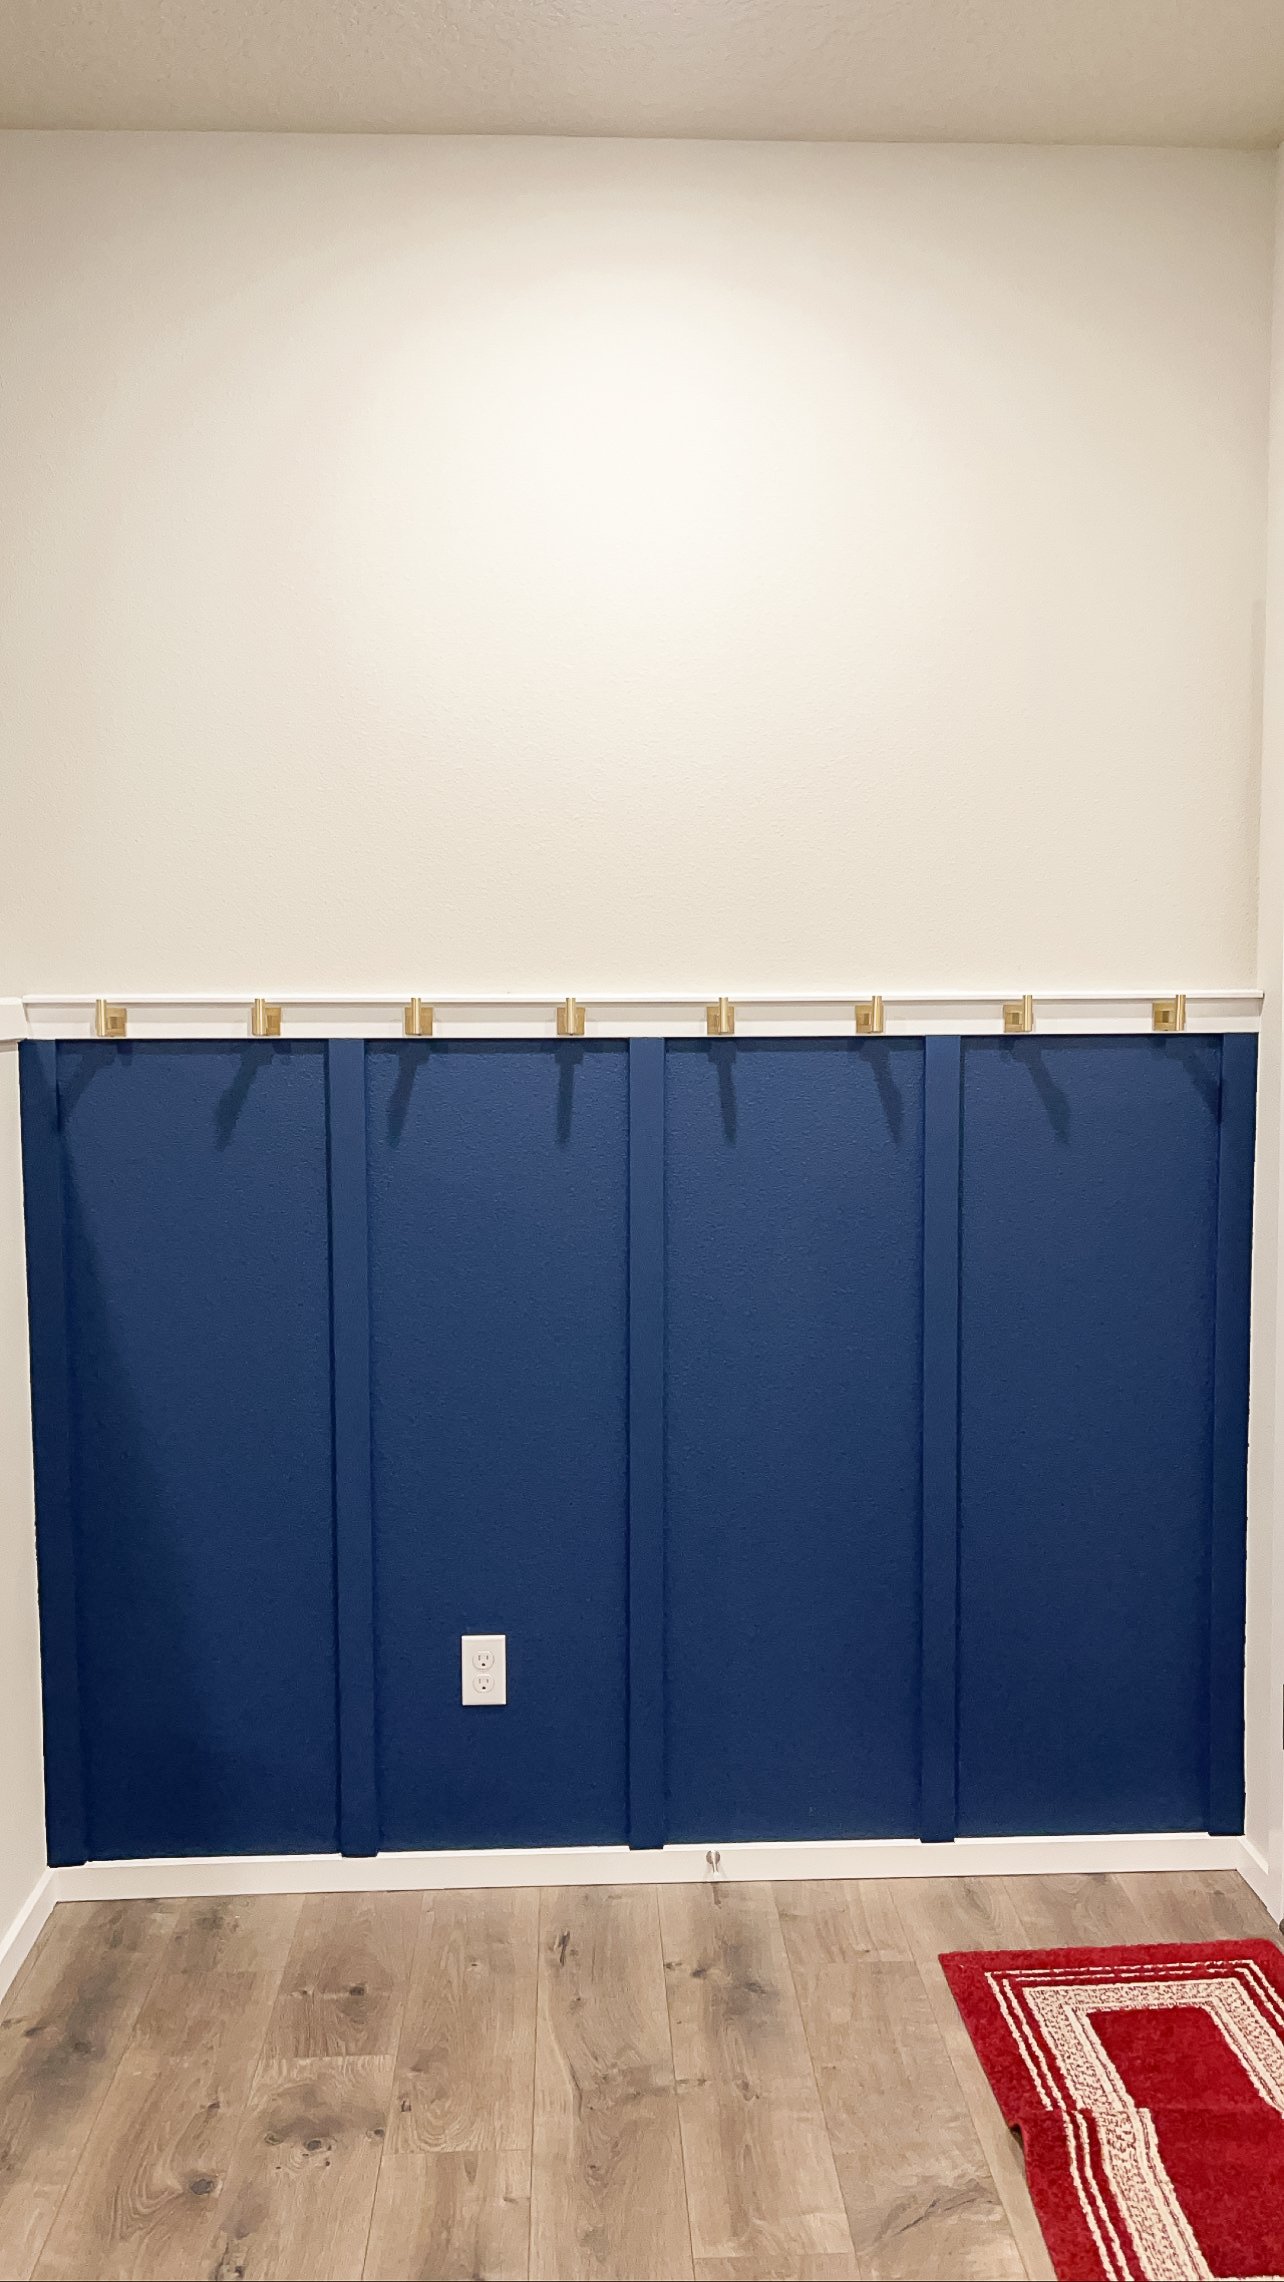
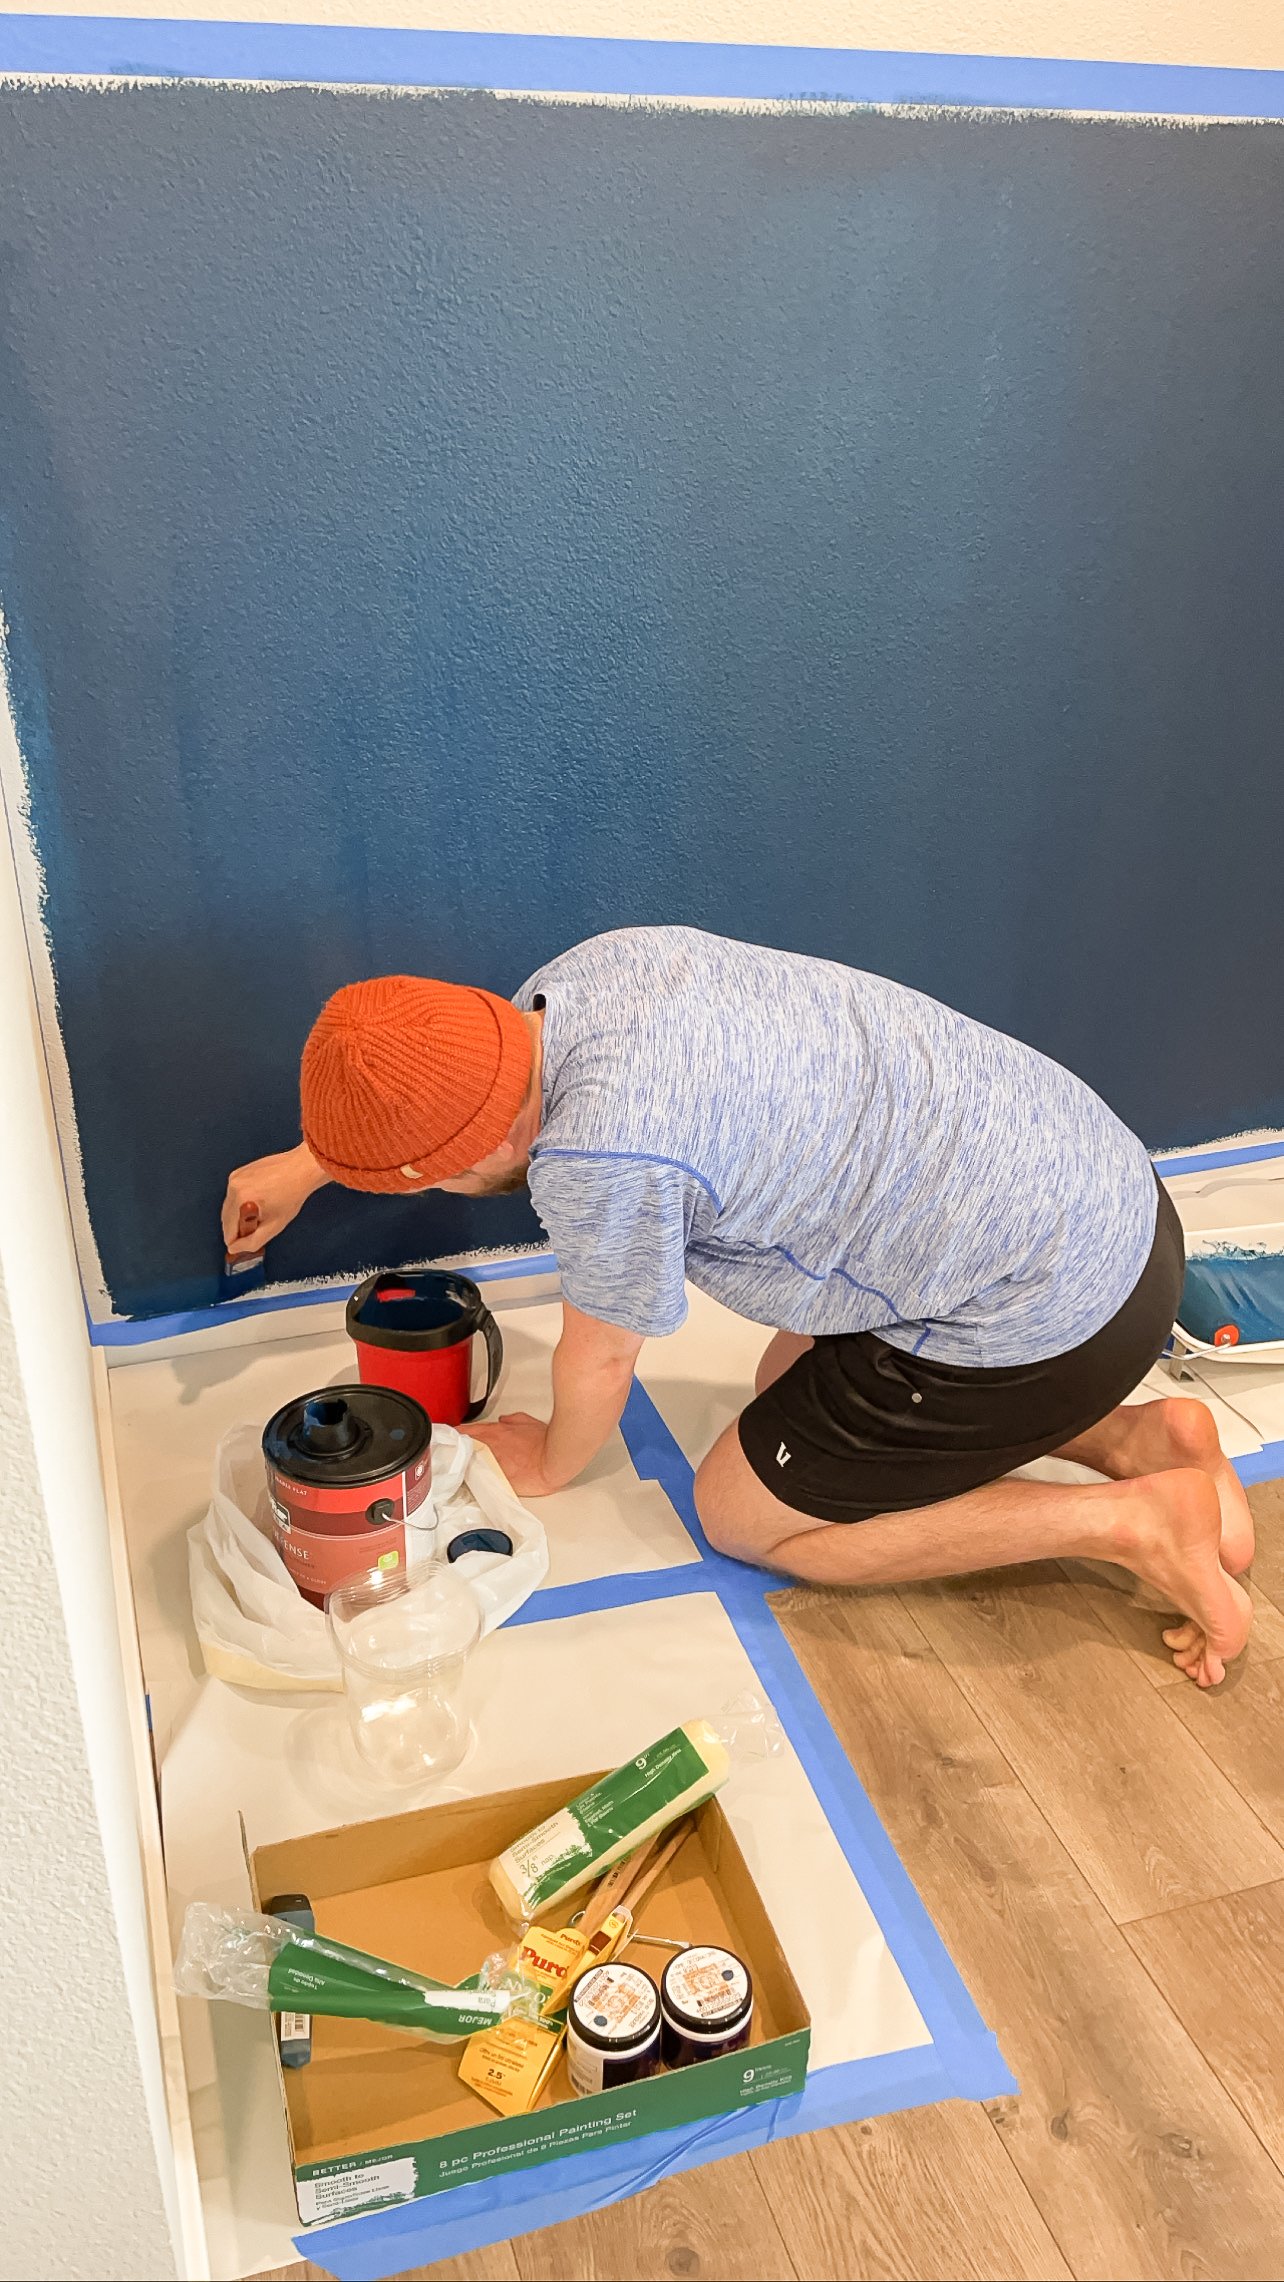
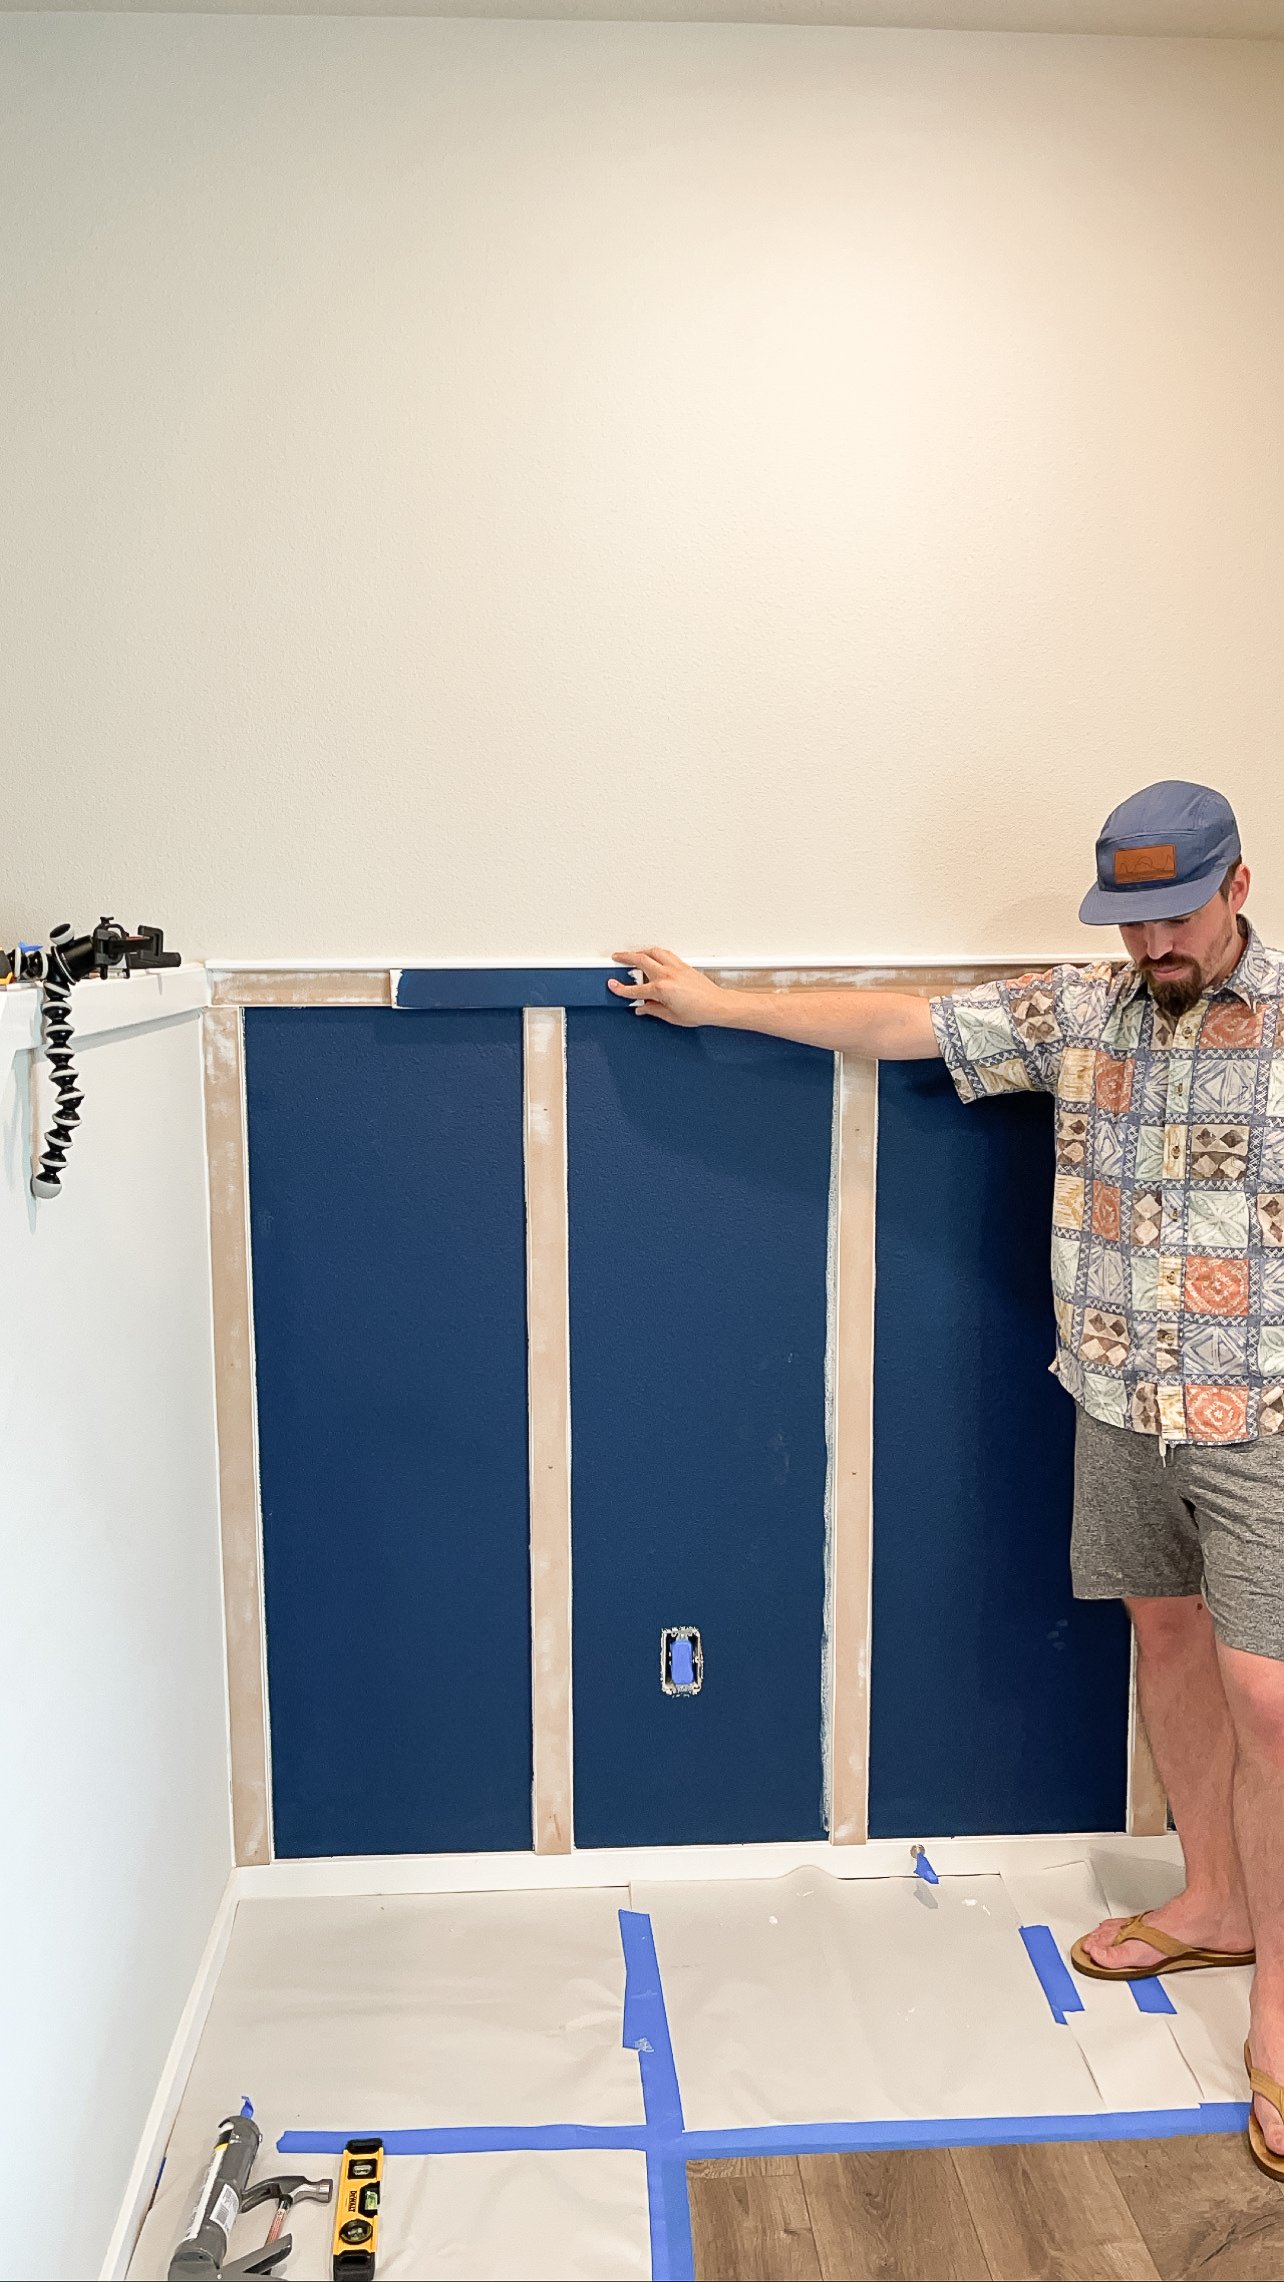
So when I was designing my “office,” which I secretly always knew would become a nursery eventually, even before we were pregnant, I wanted to make it whimsical. And when we found out she was coming into our lives, we didn’t know if she was a girl or boy and it didn’t matter — I just let the fun, playfulness, and whimsy priorities drive design decisions.

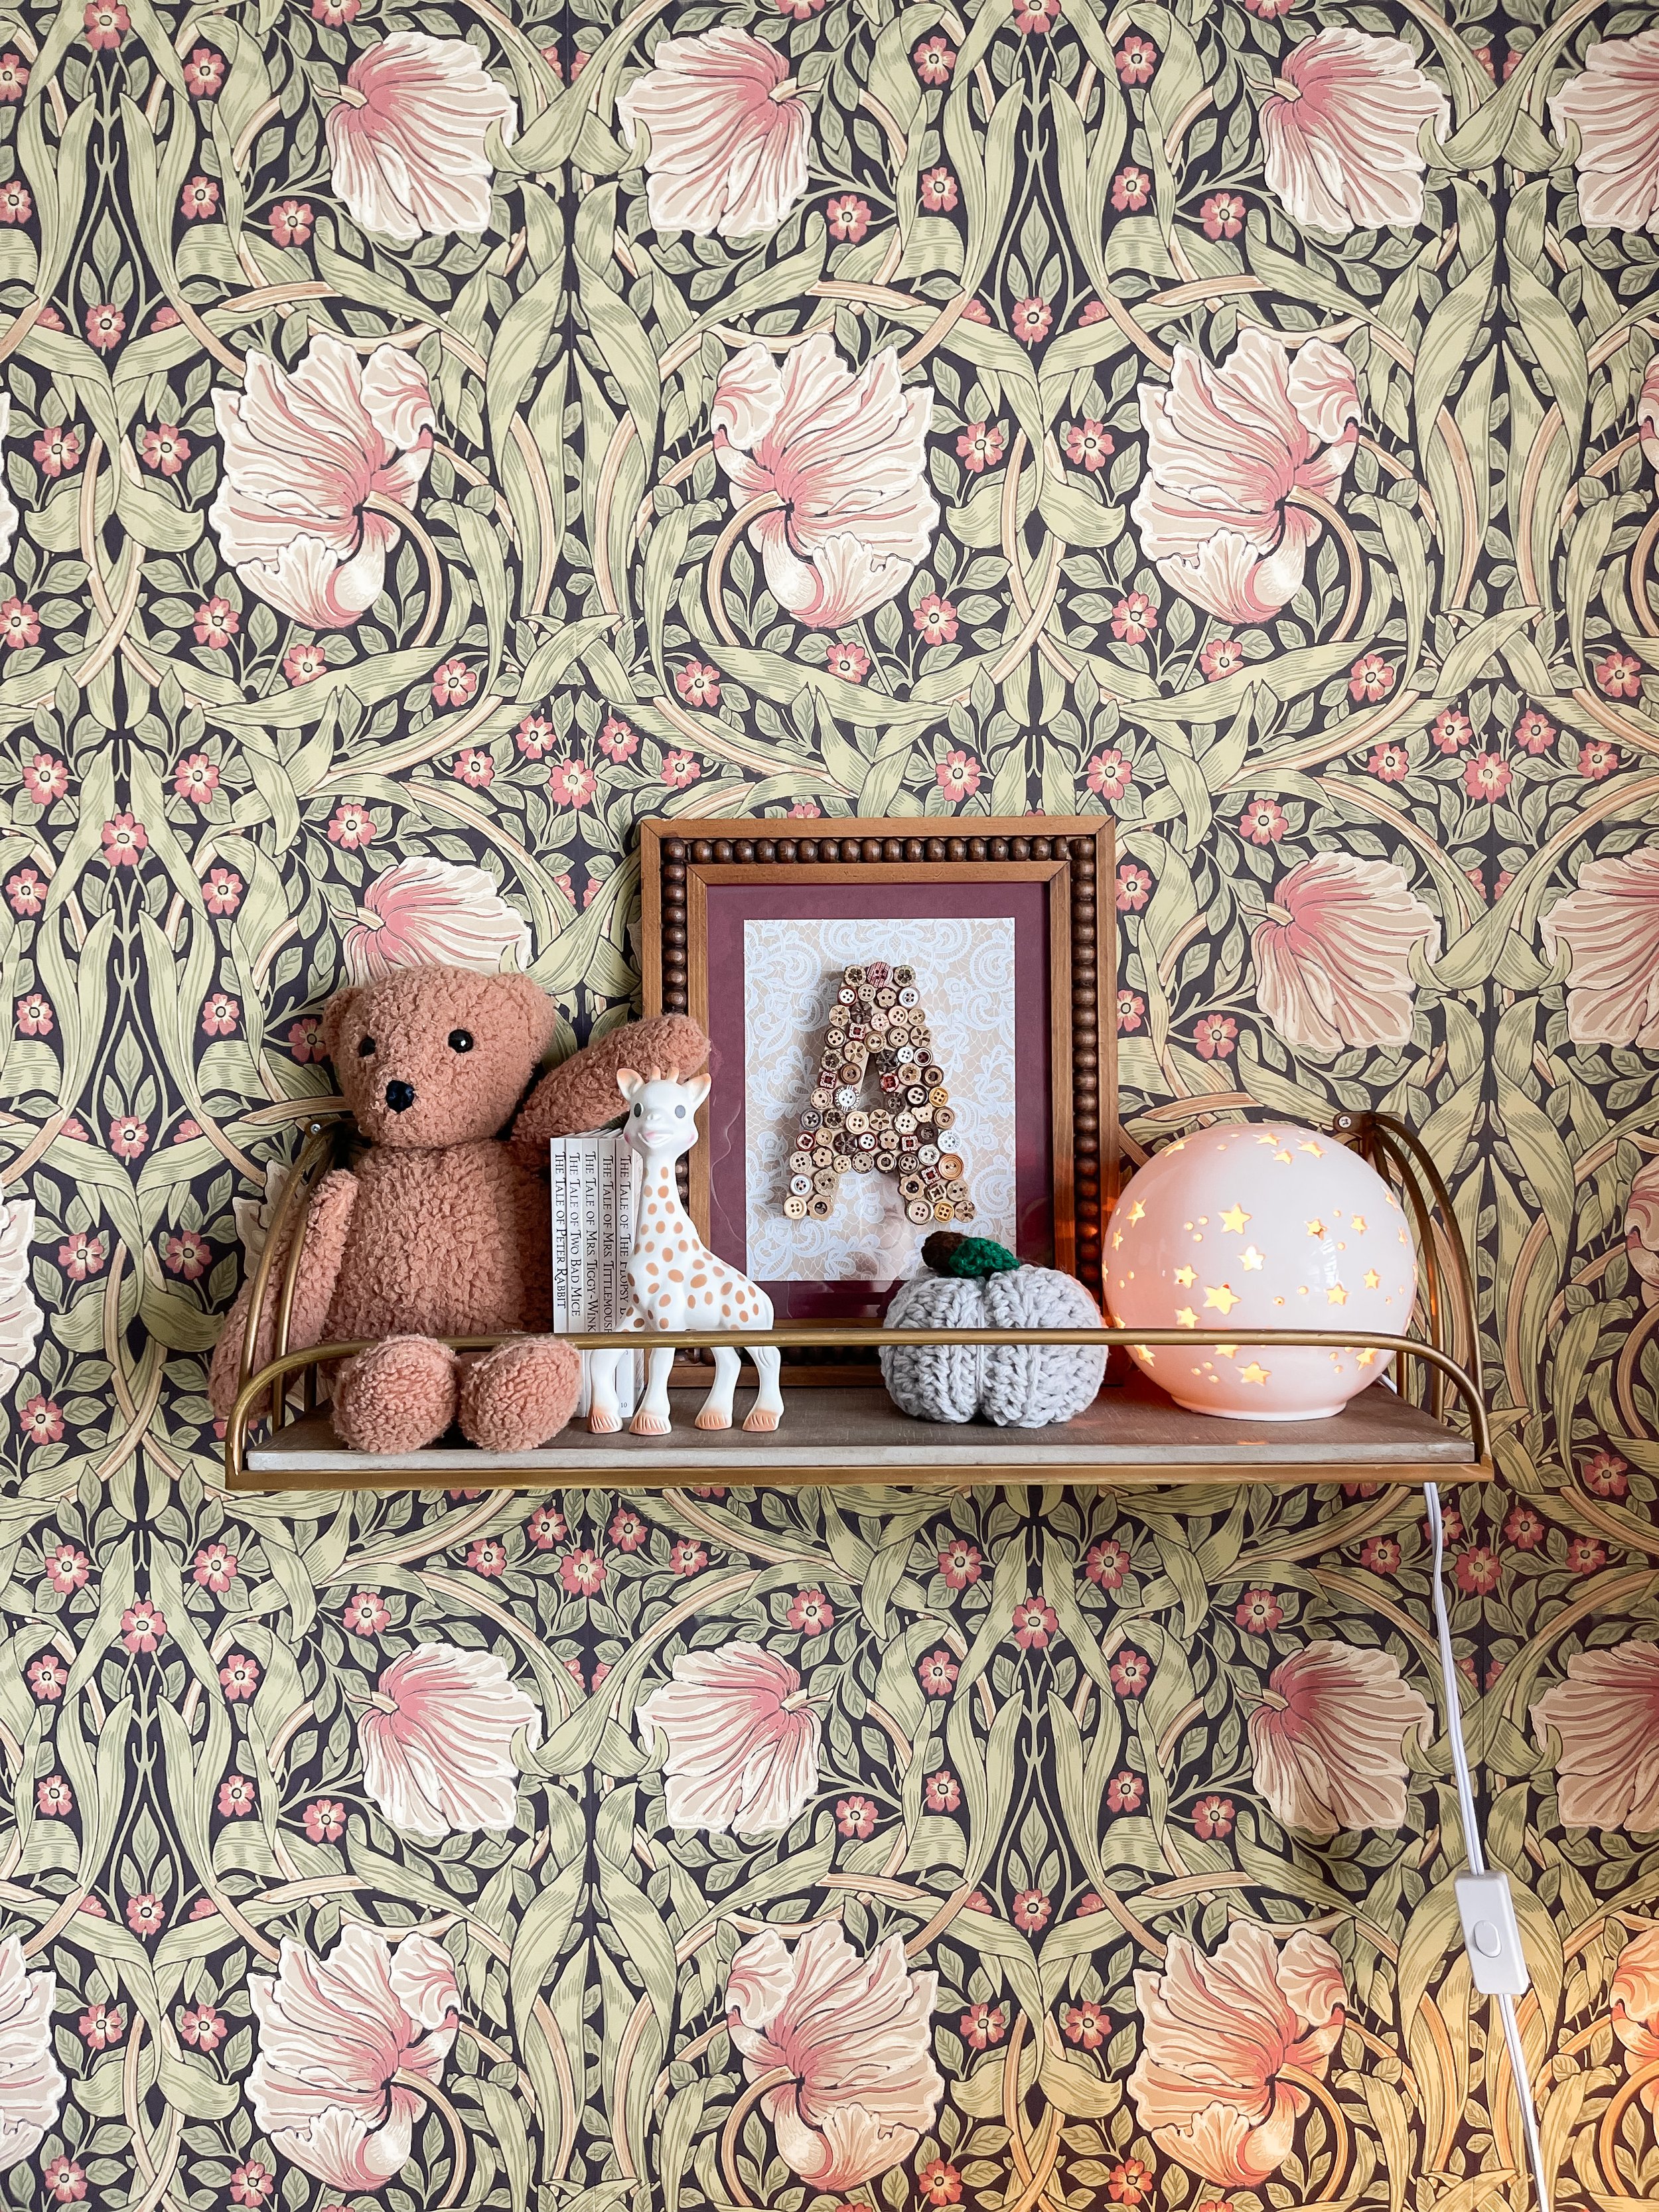
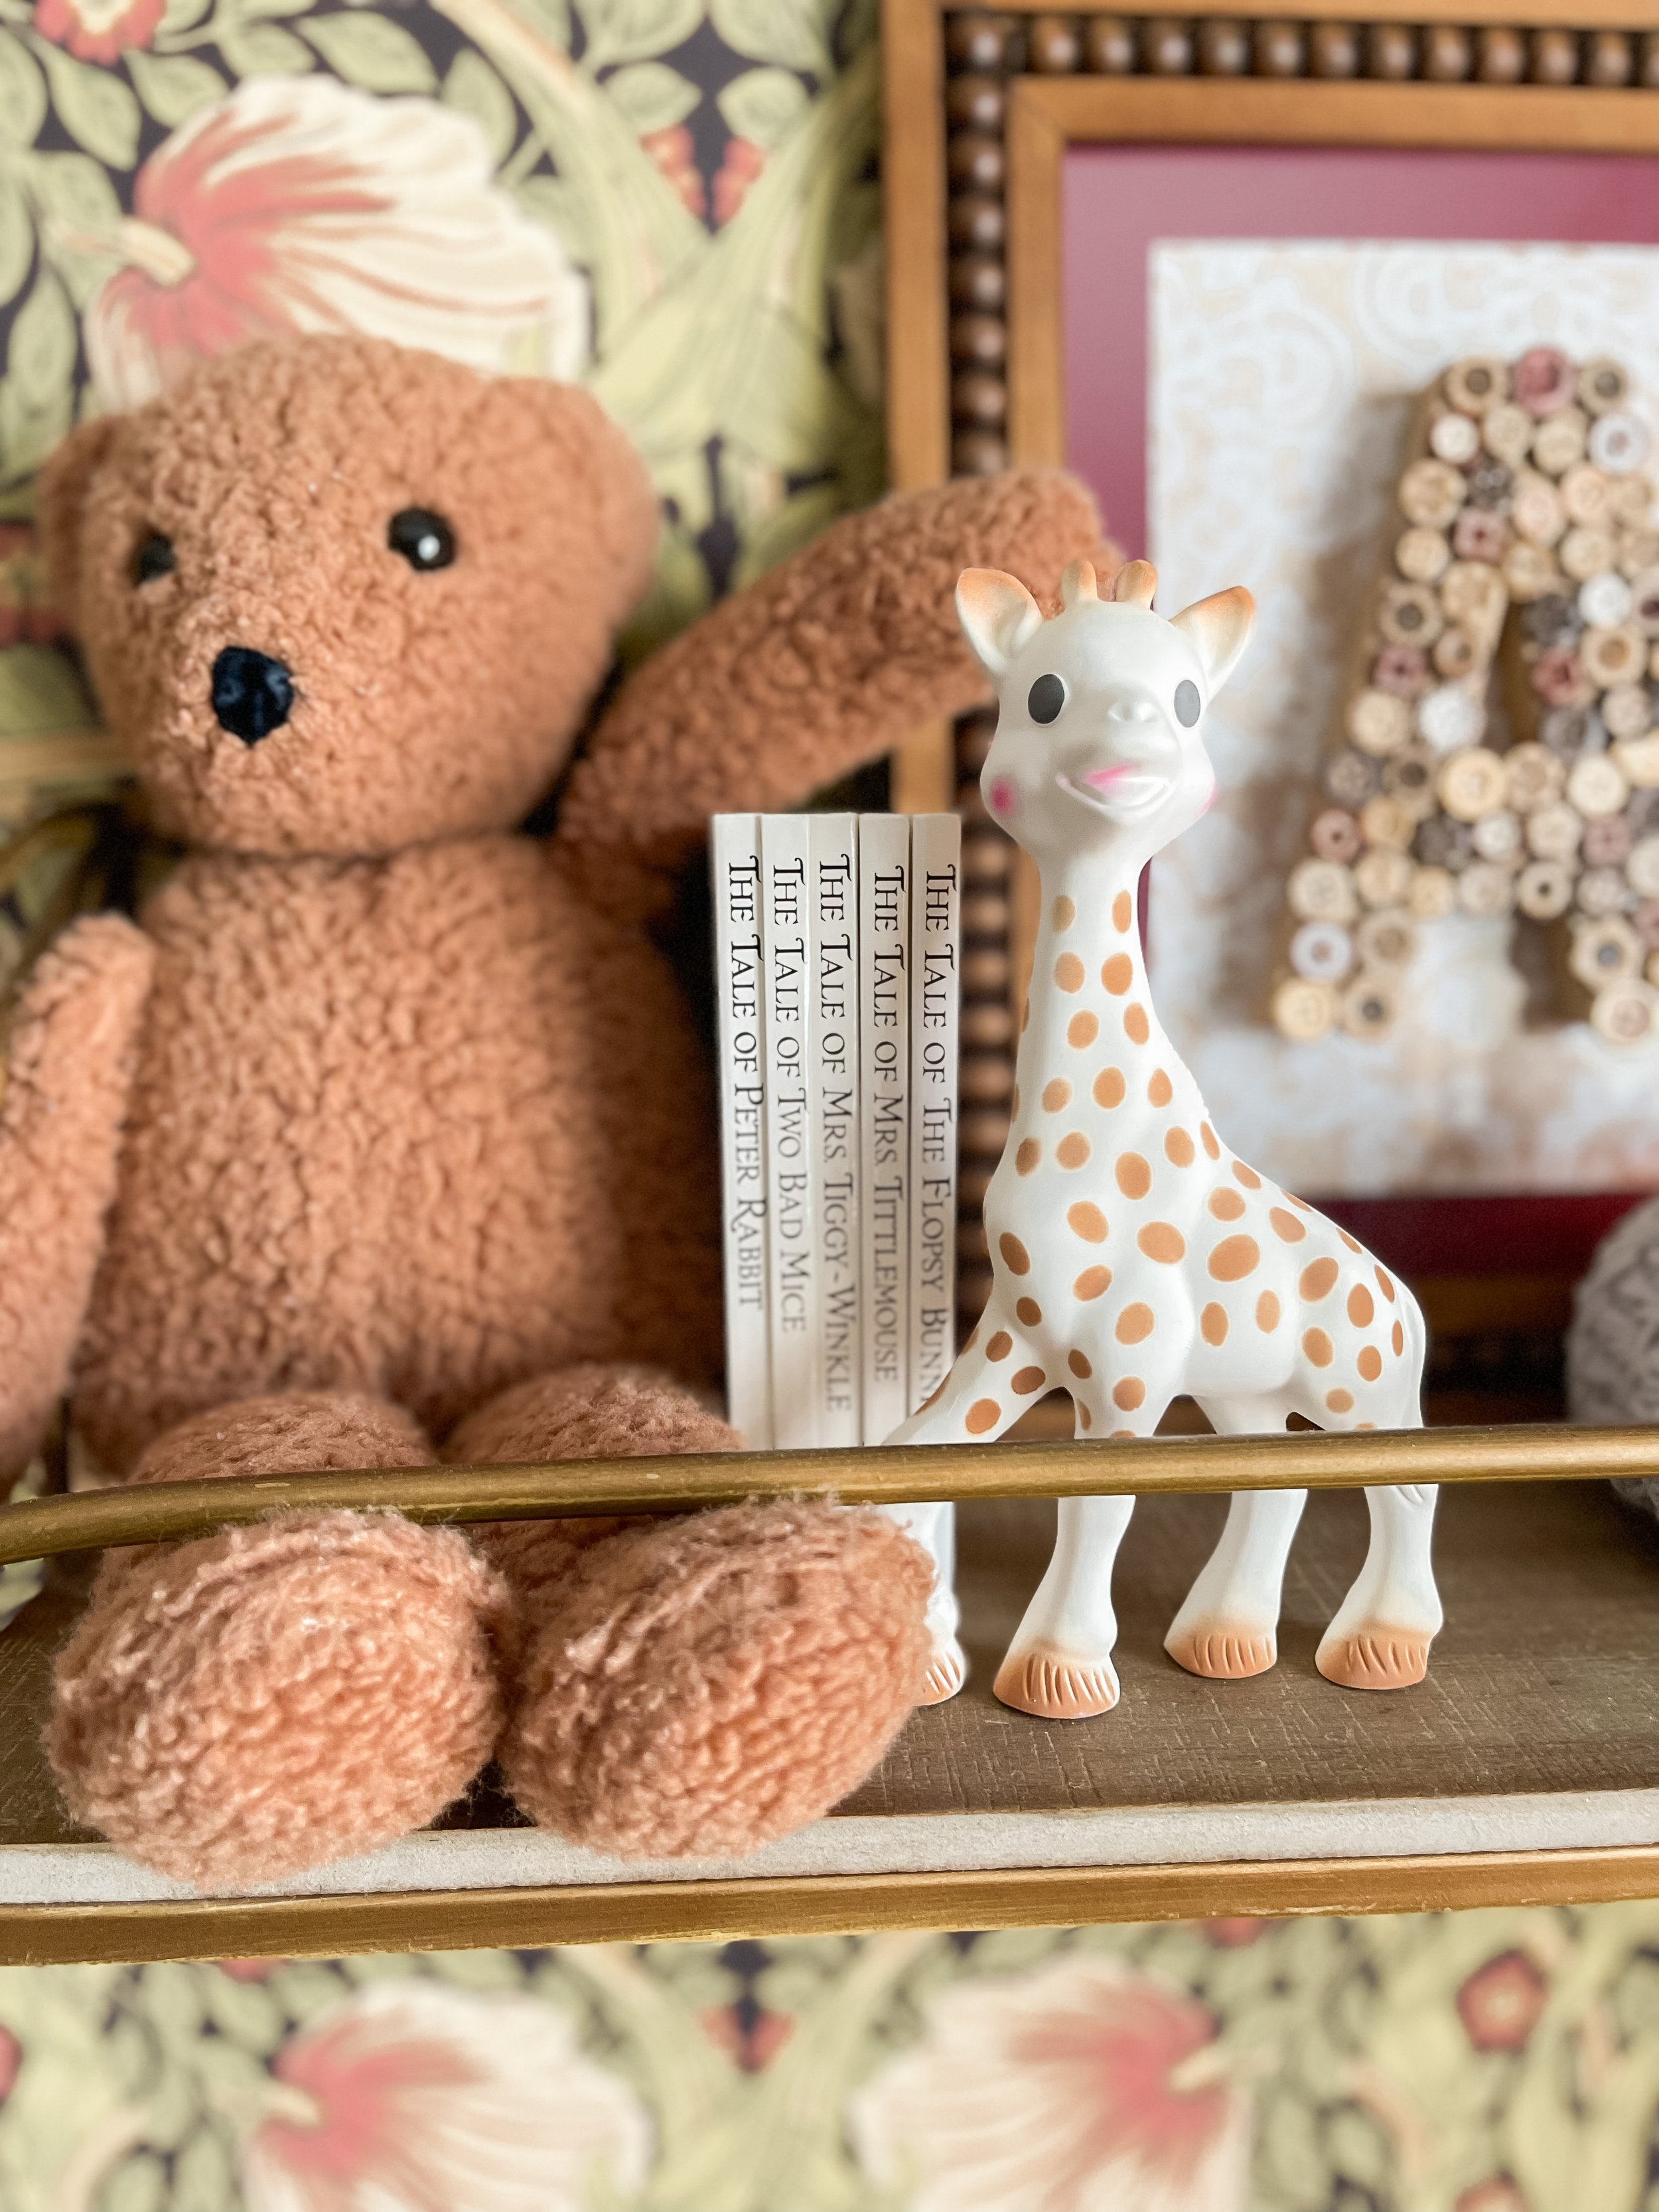
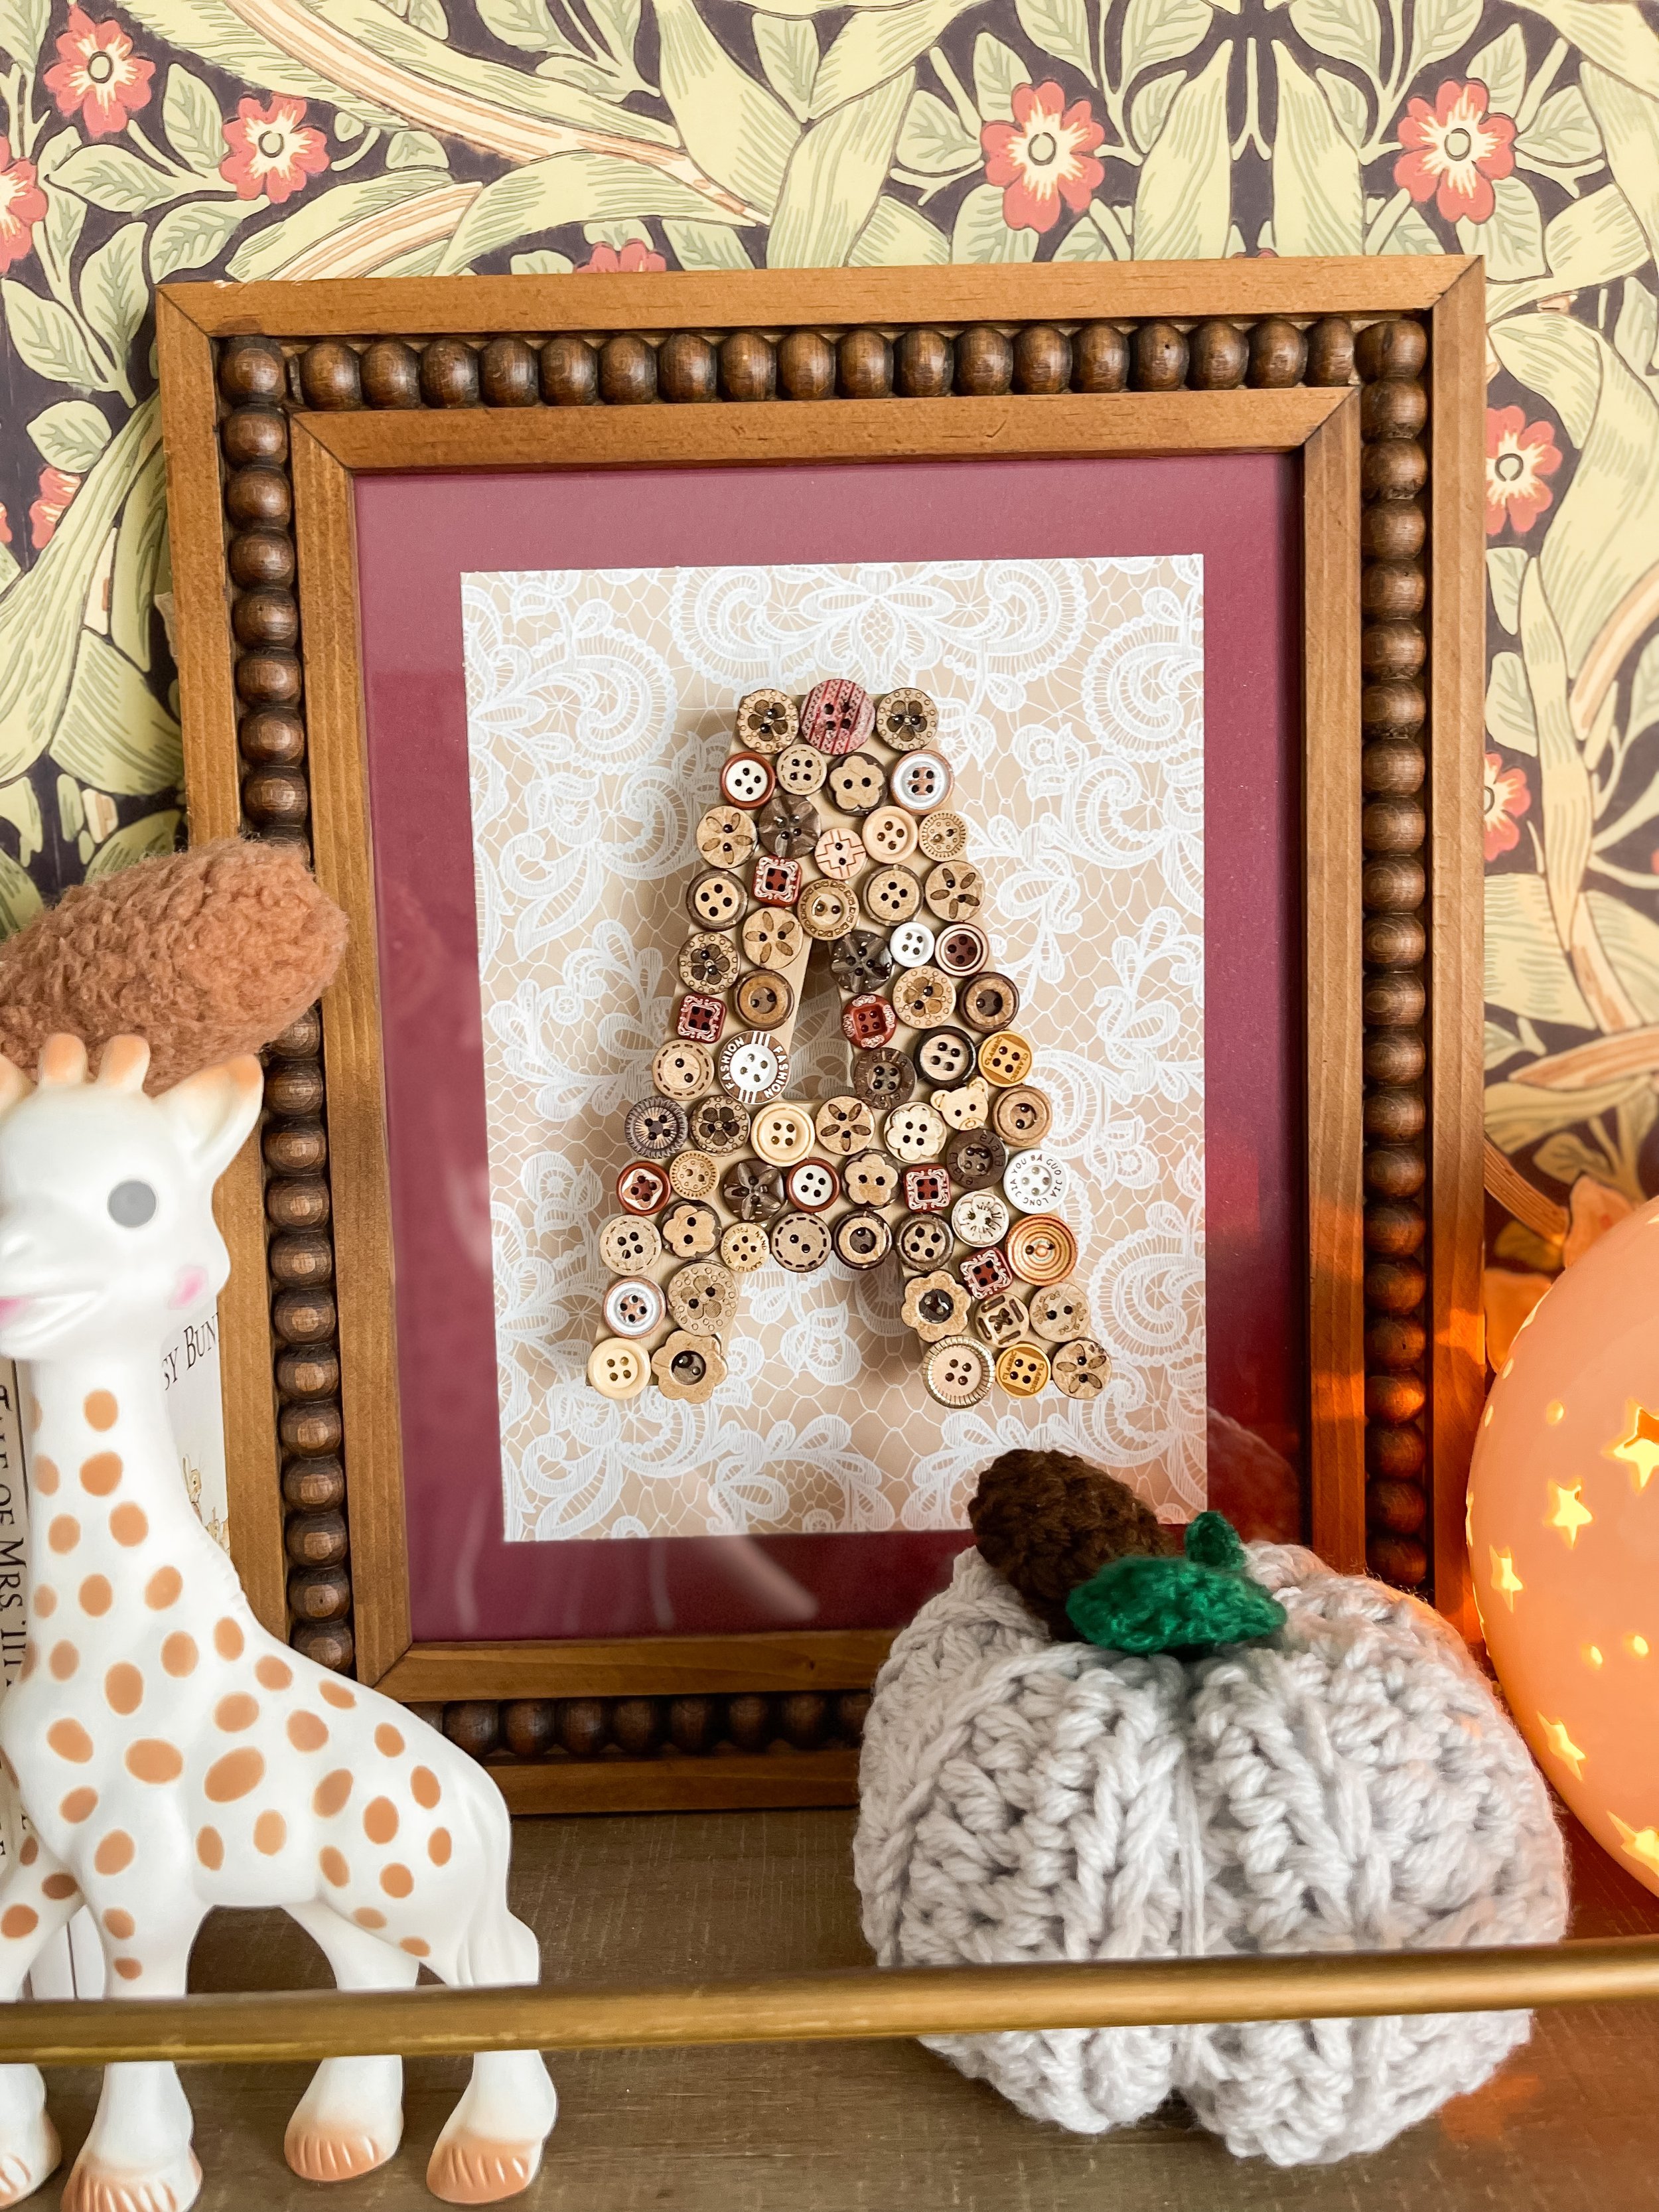
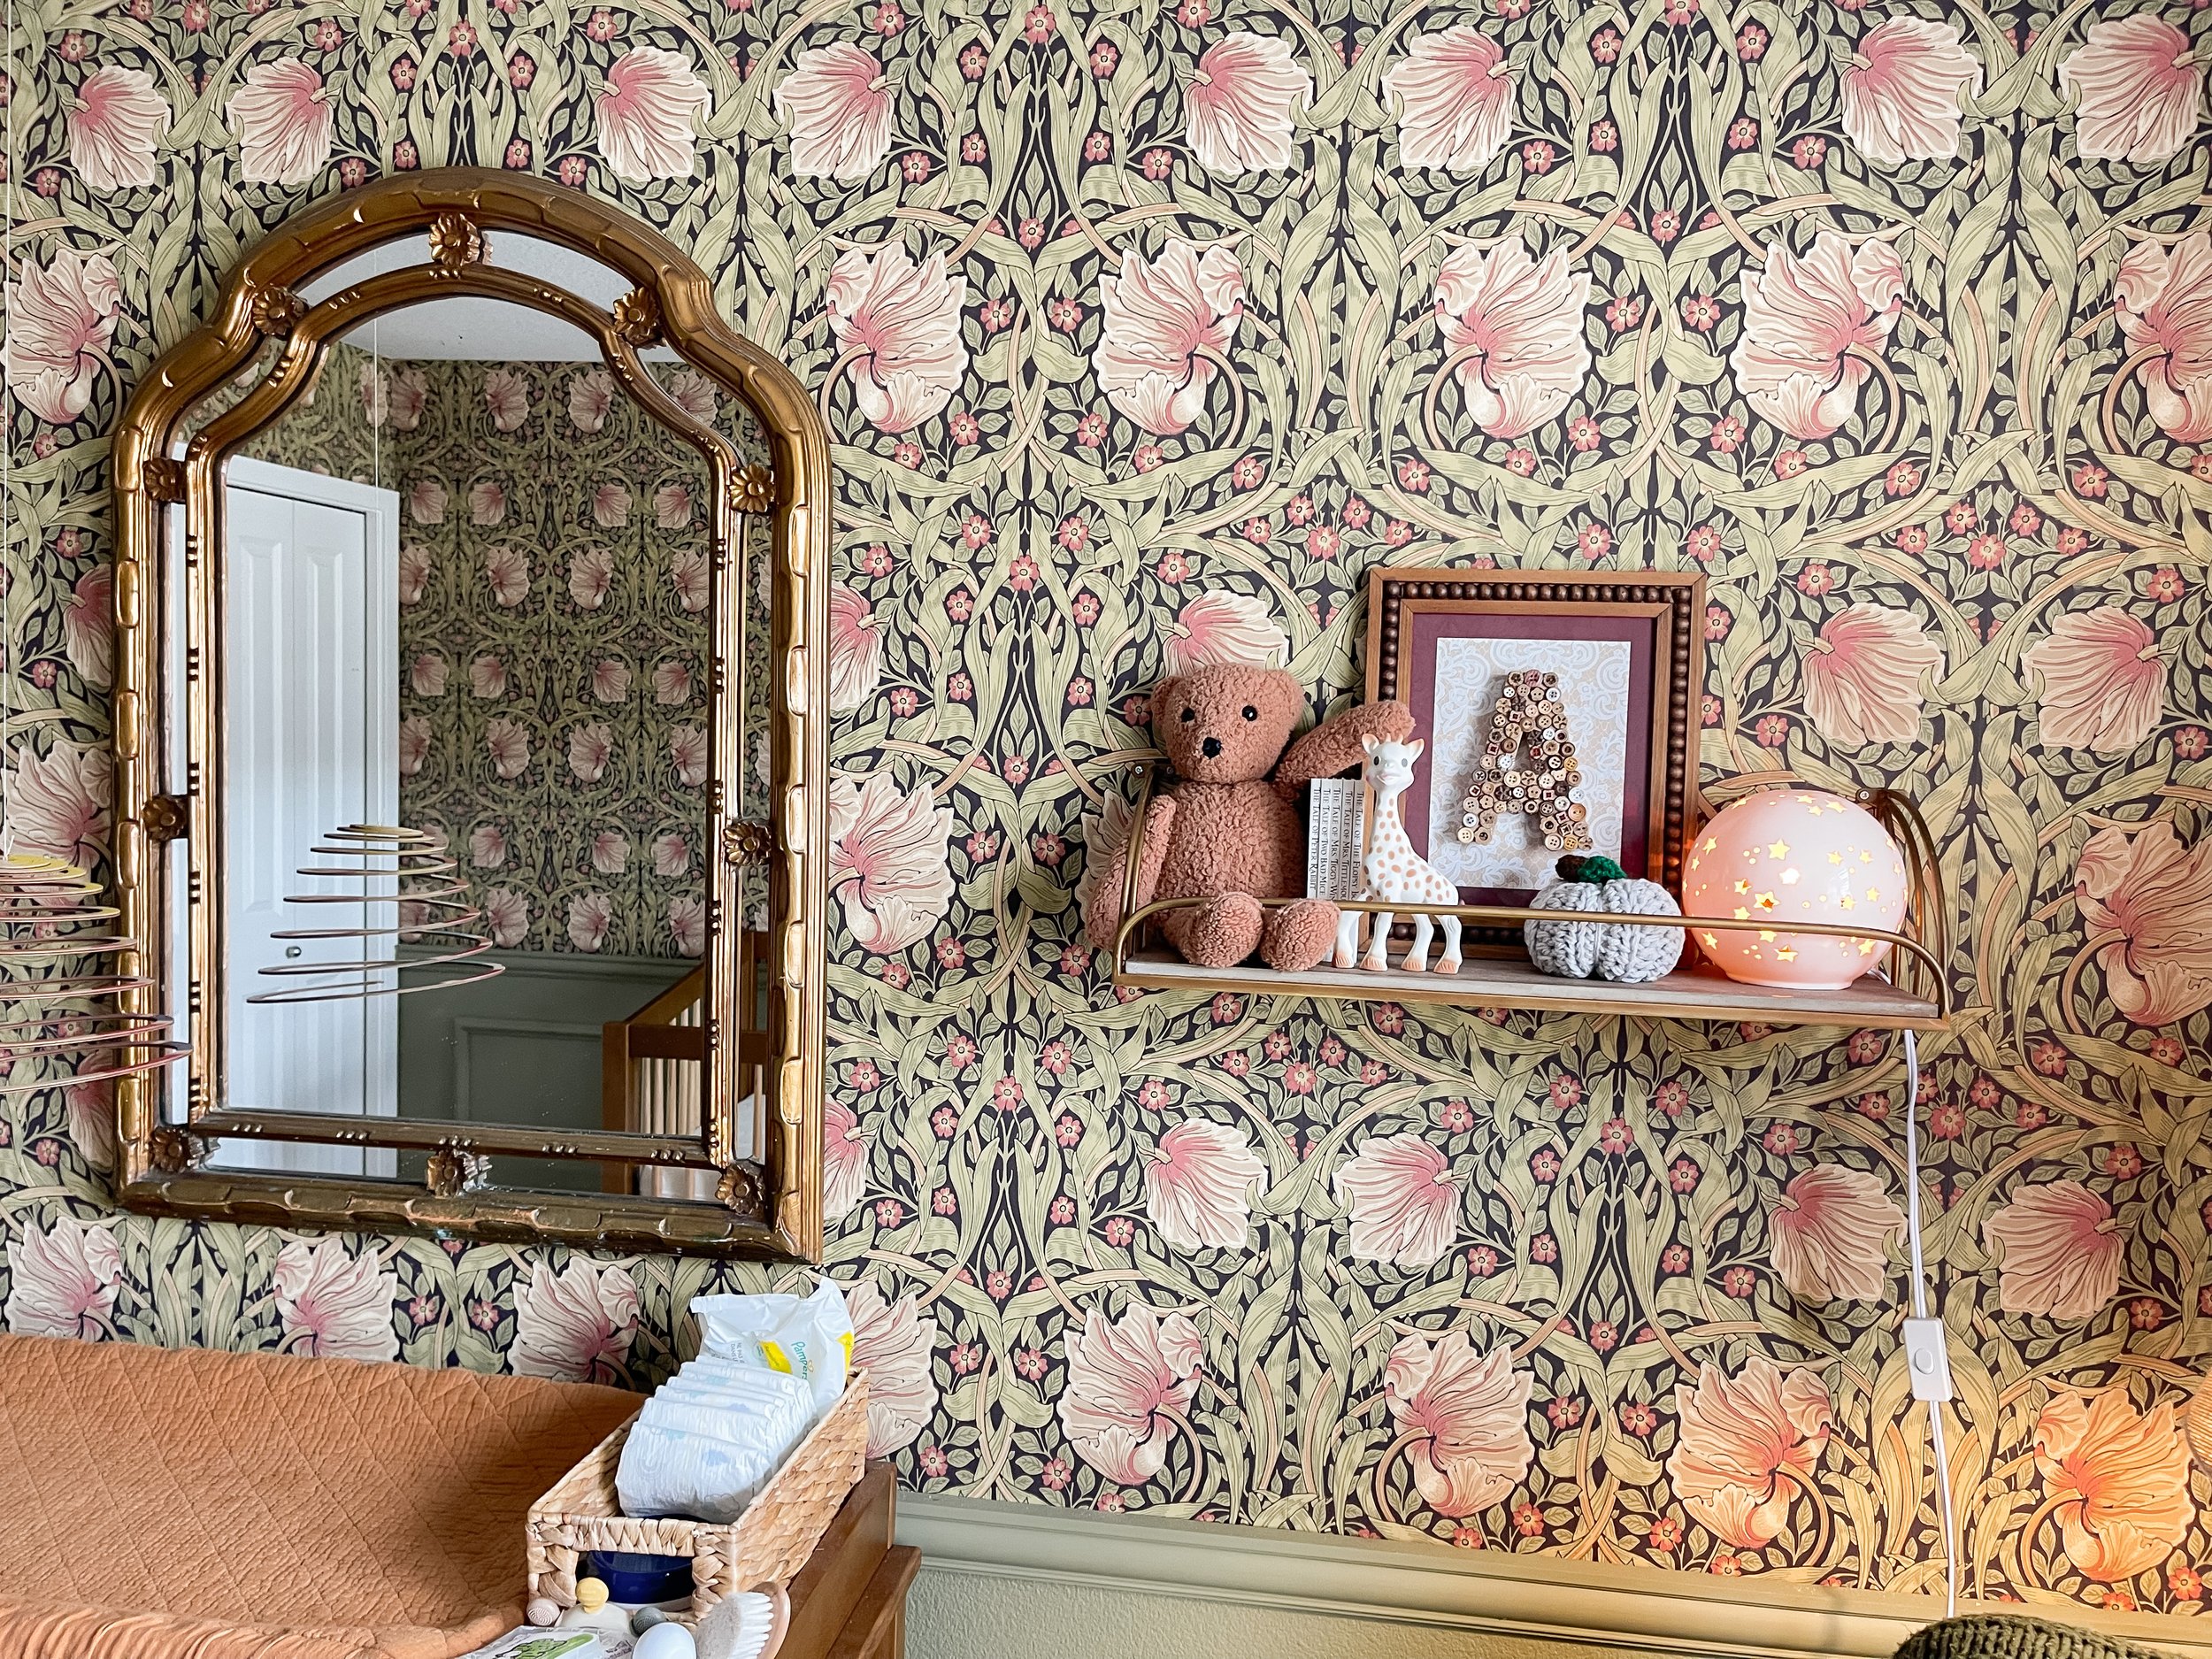
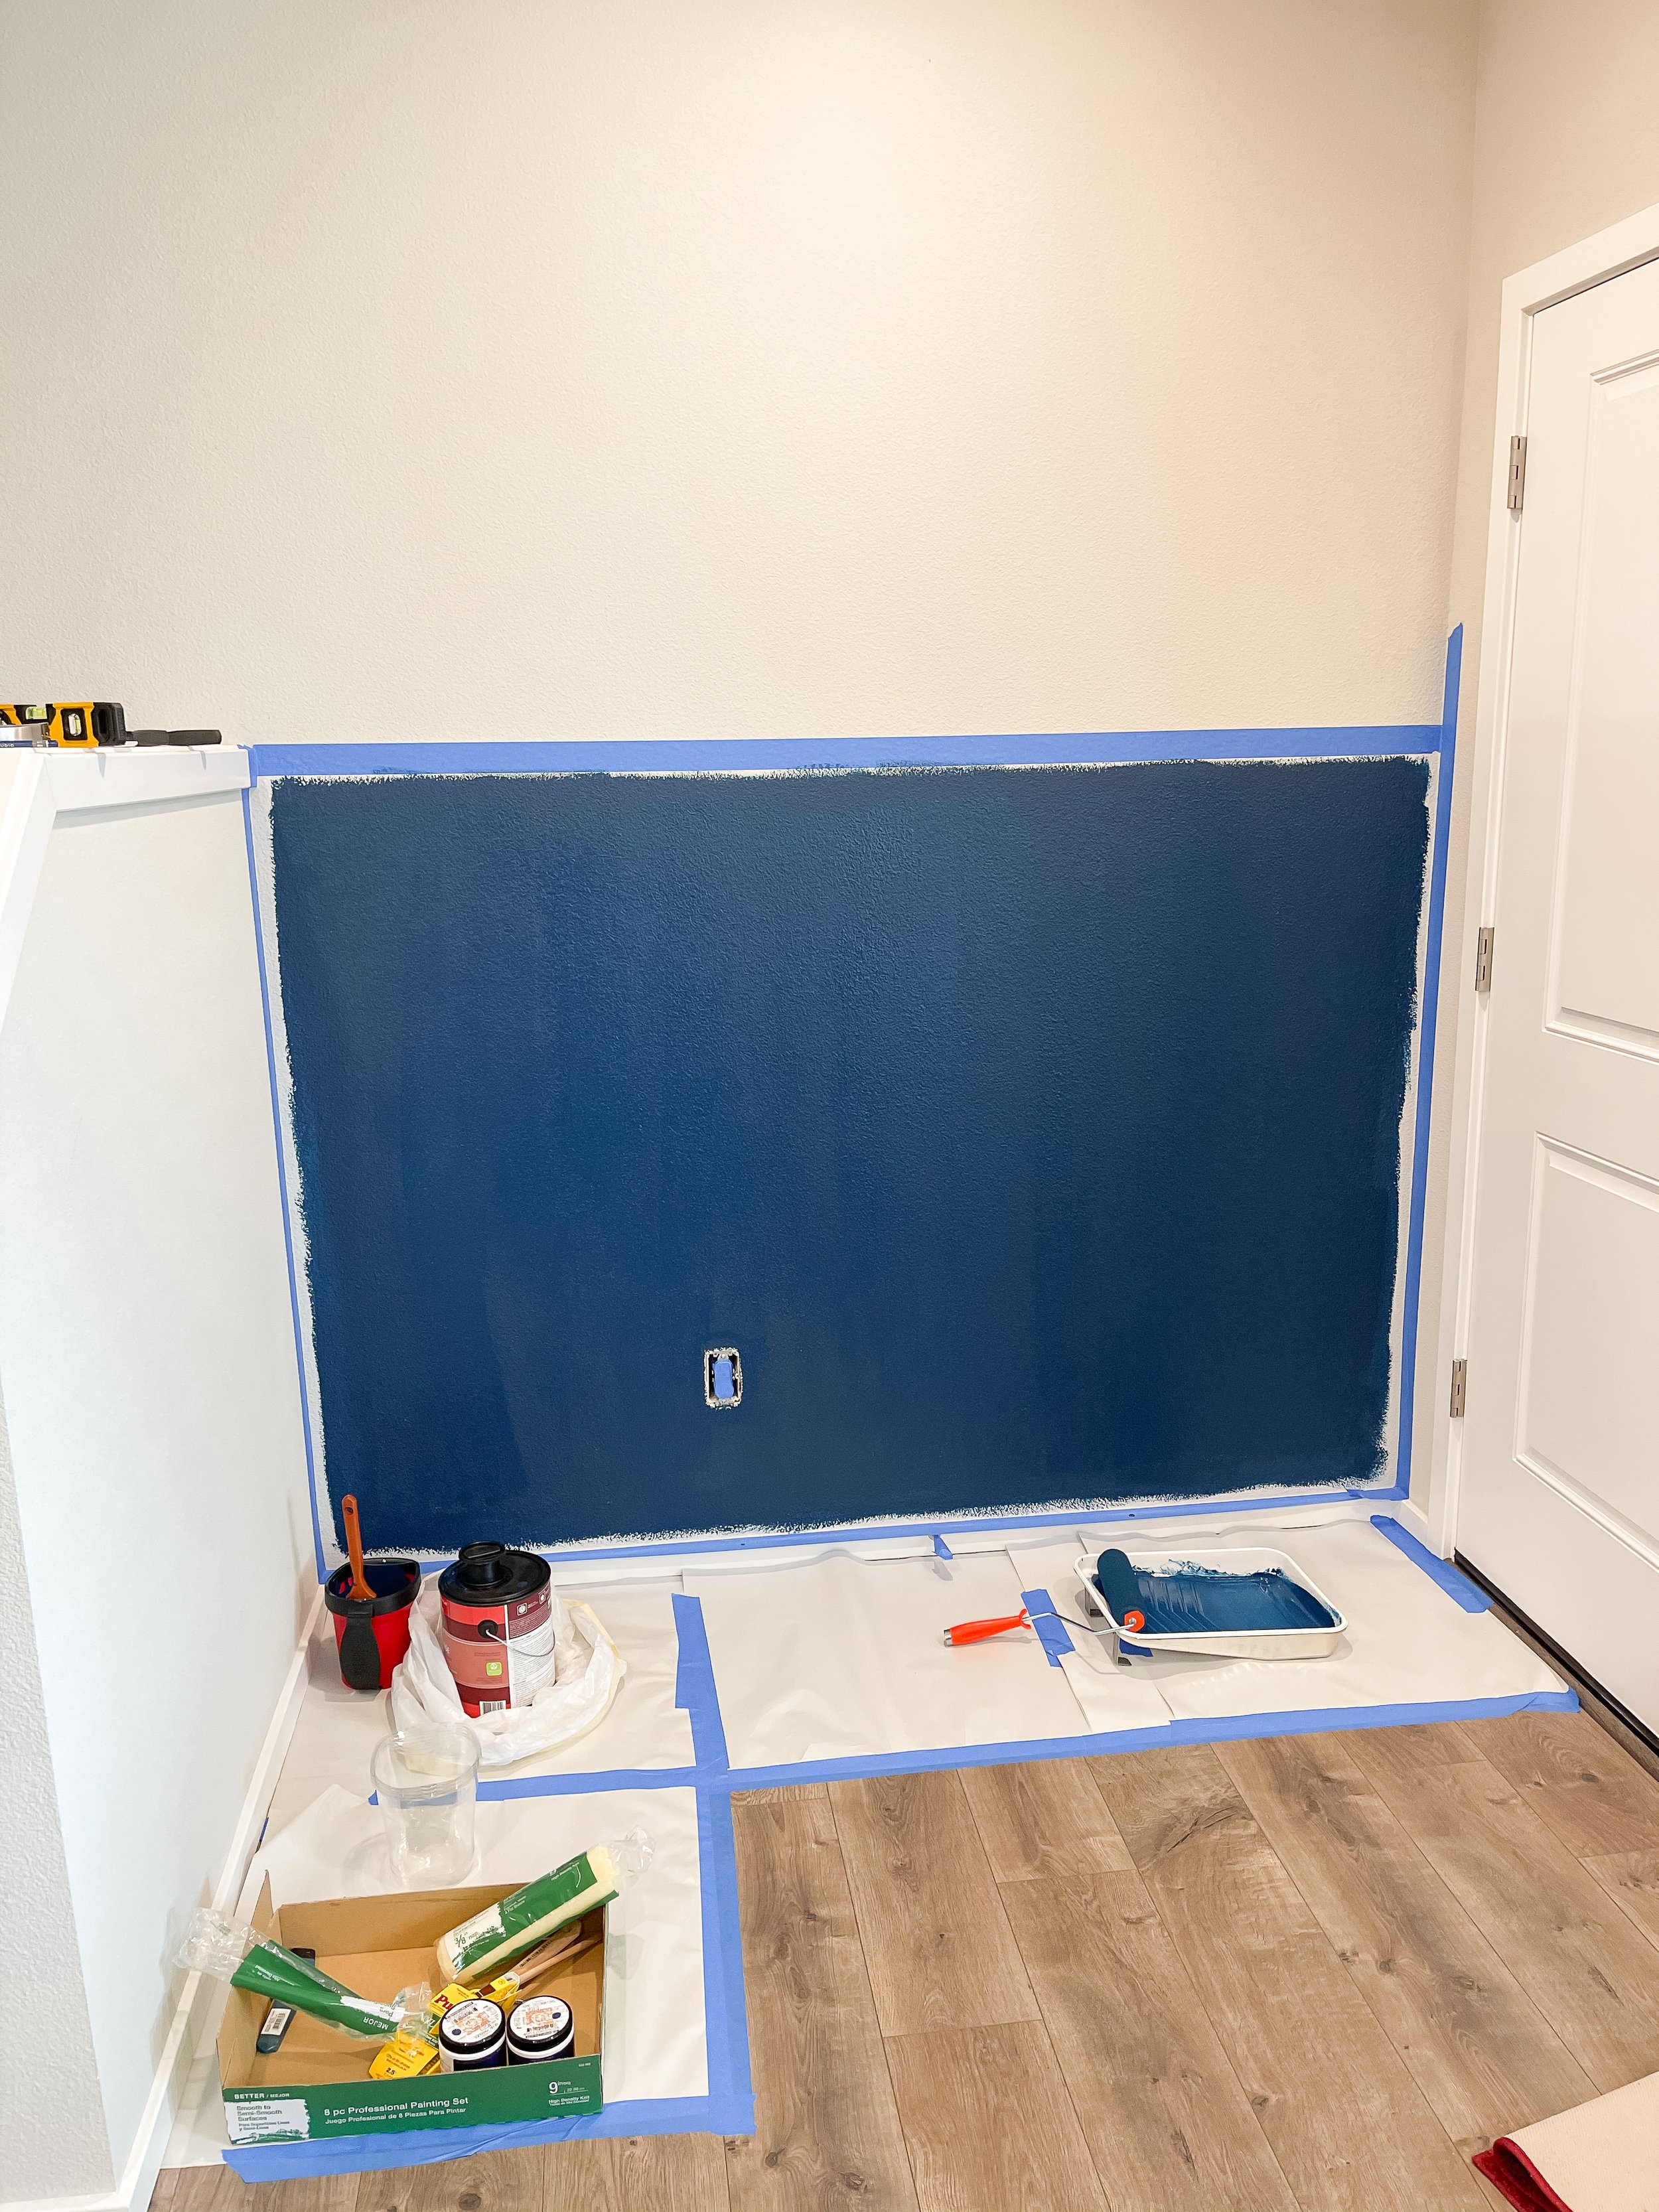
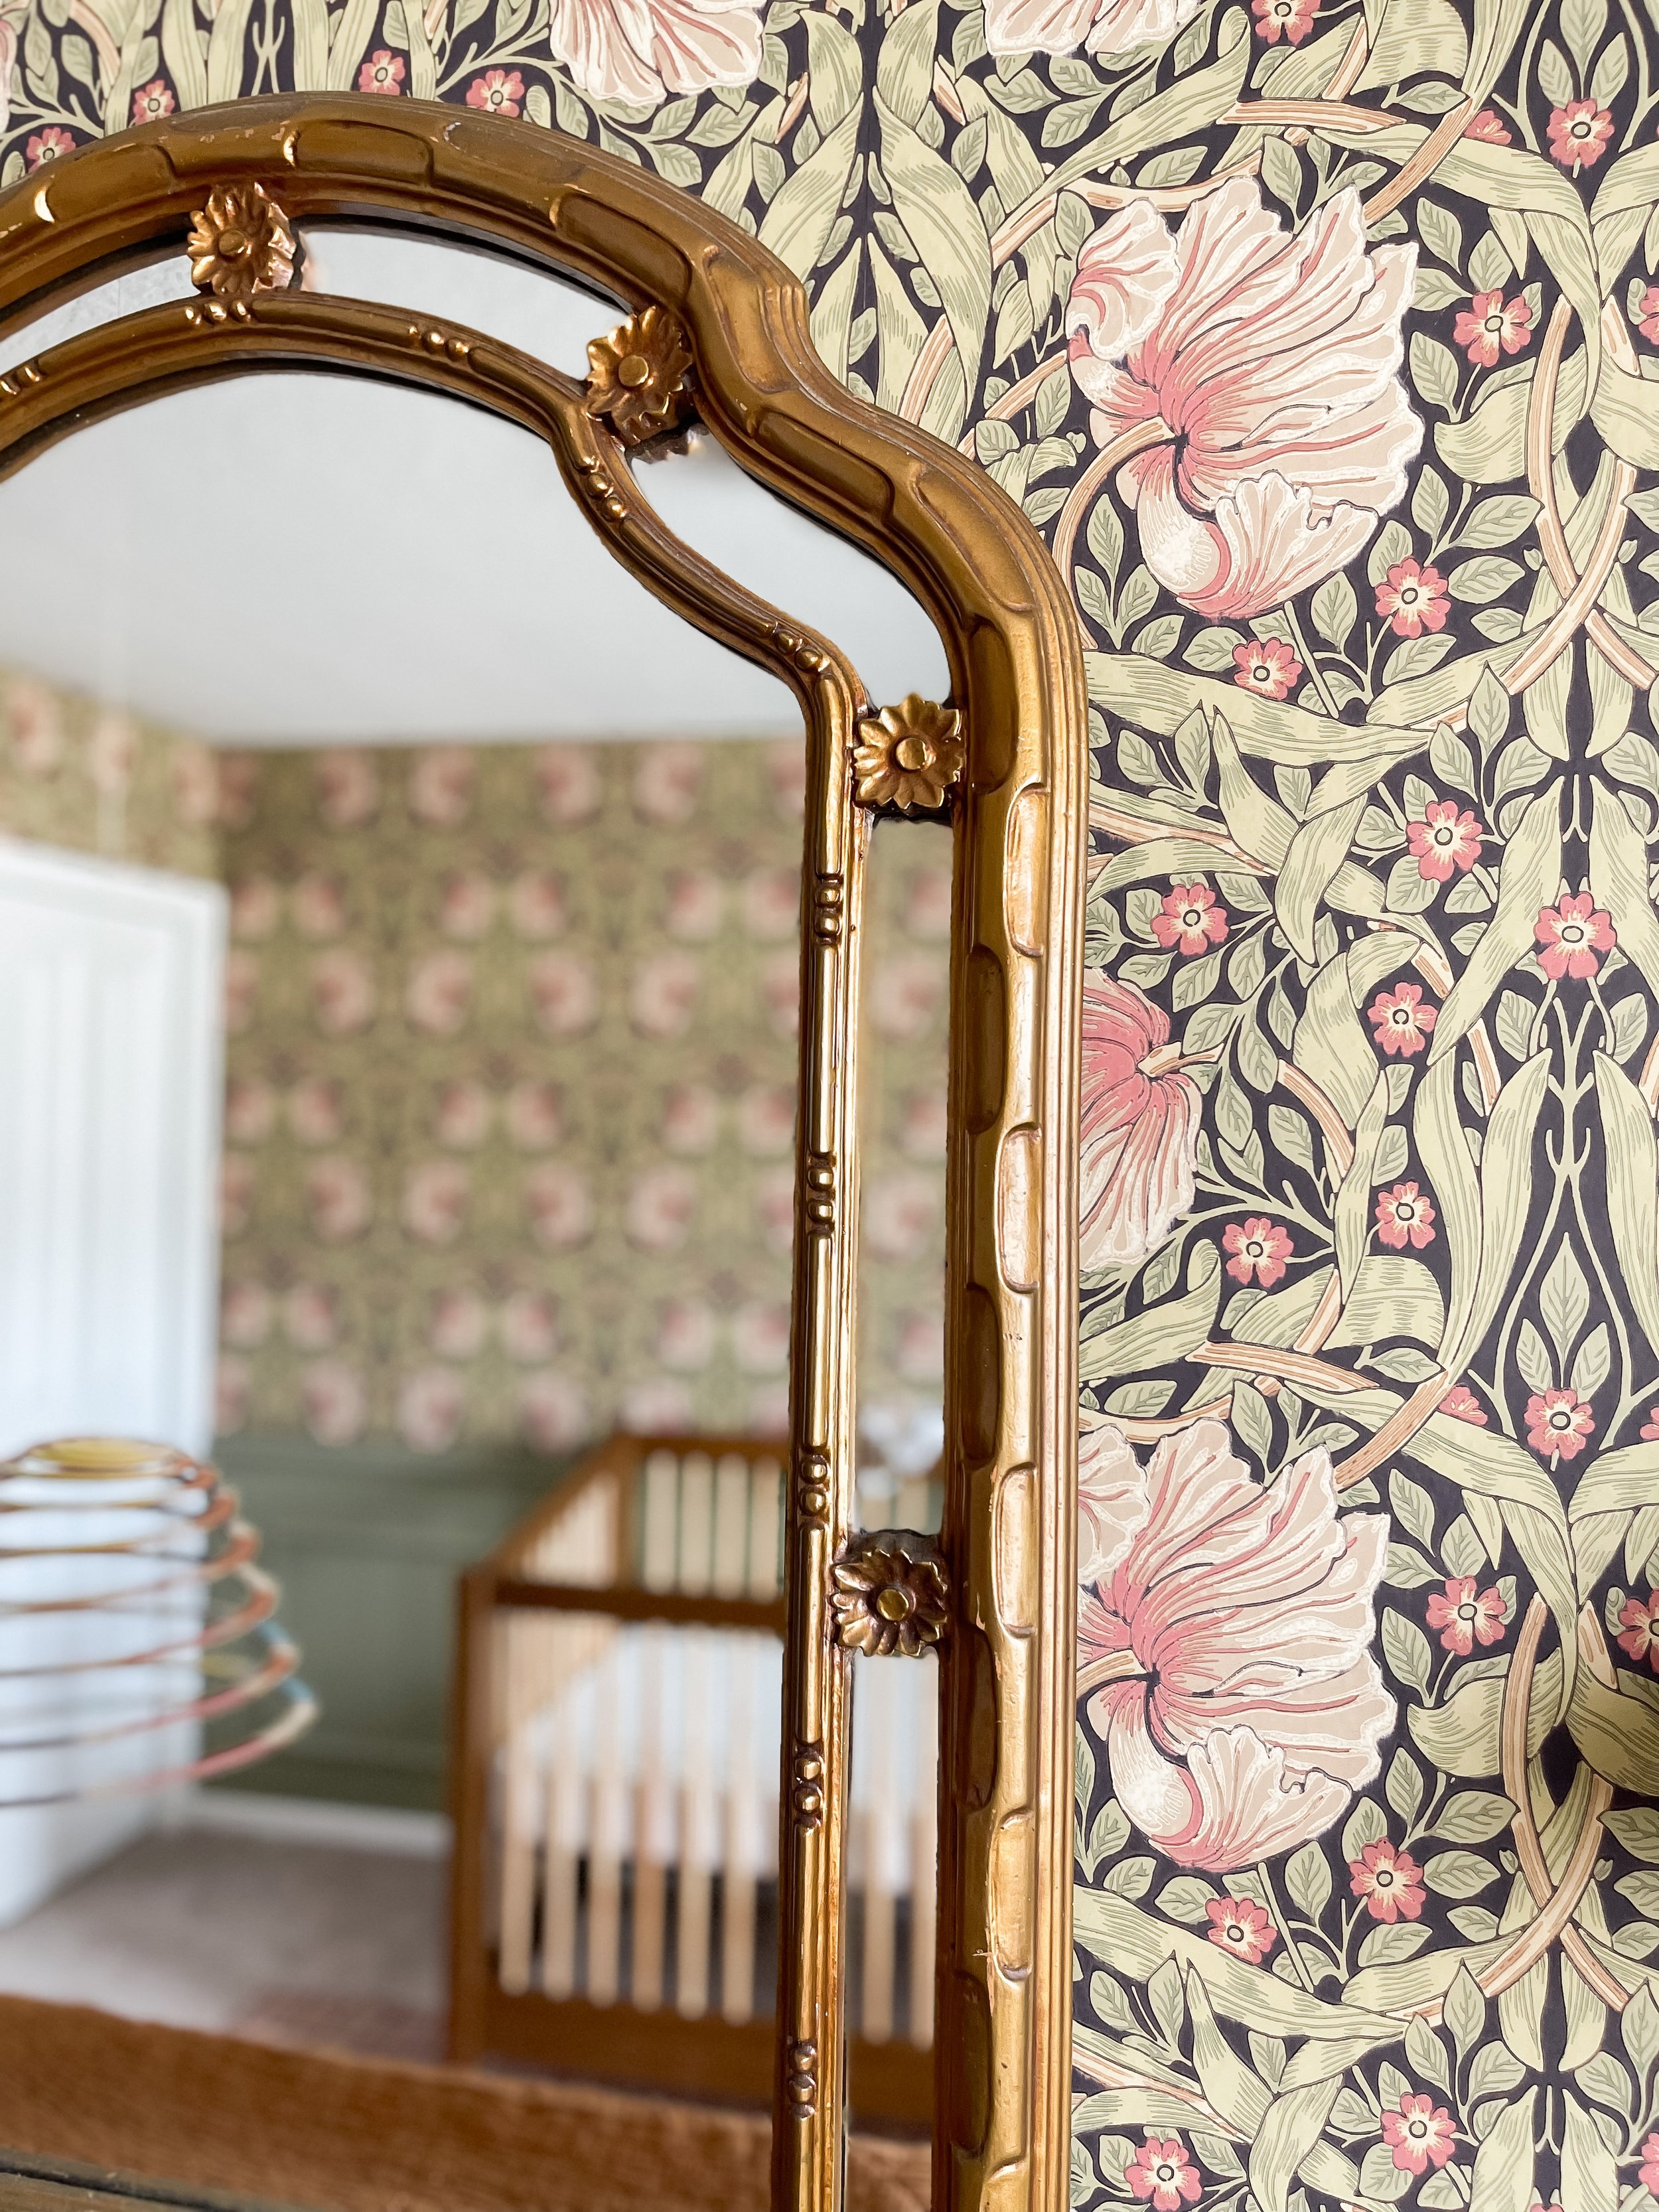
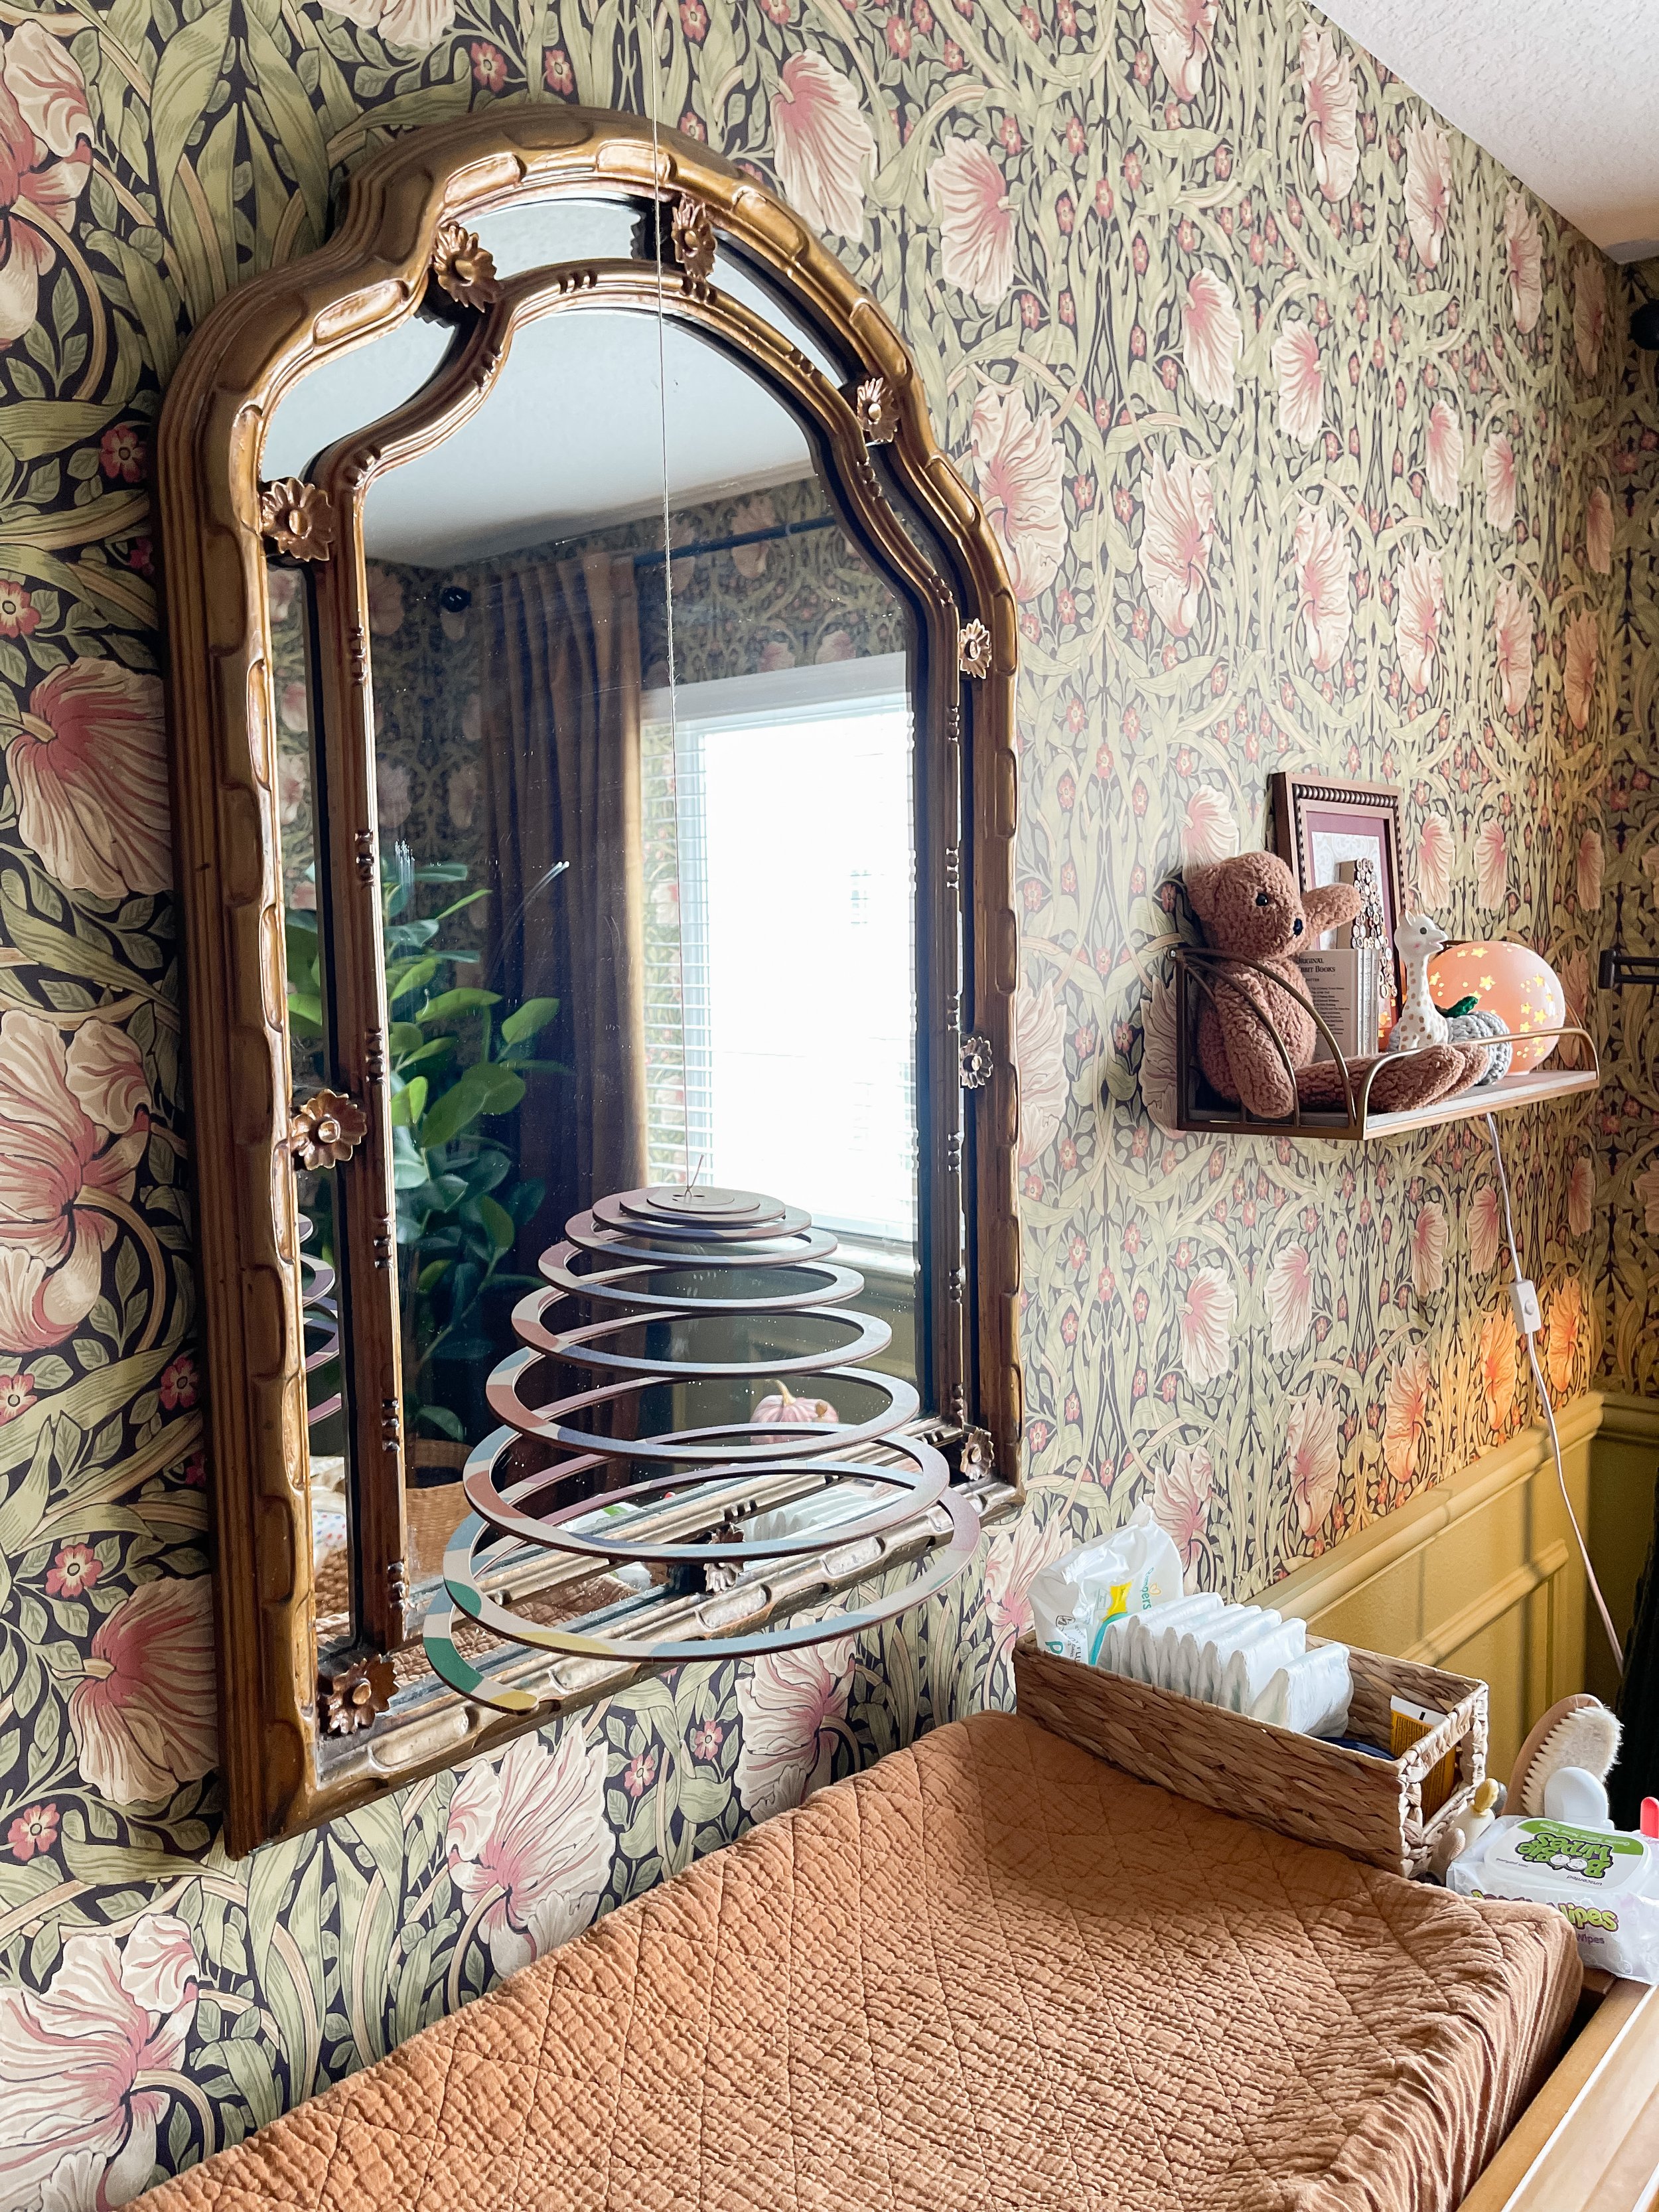
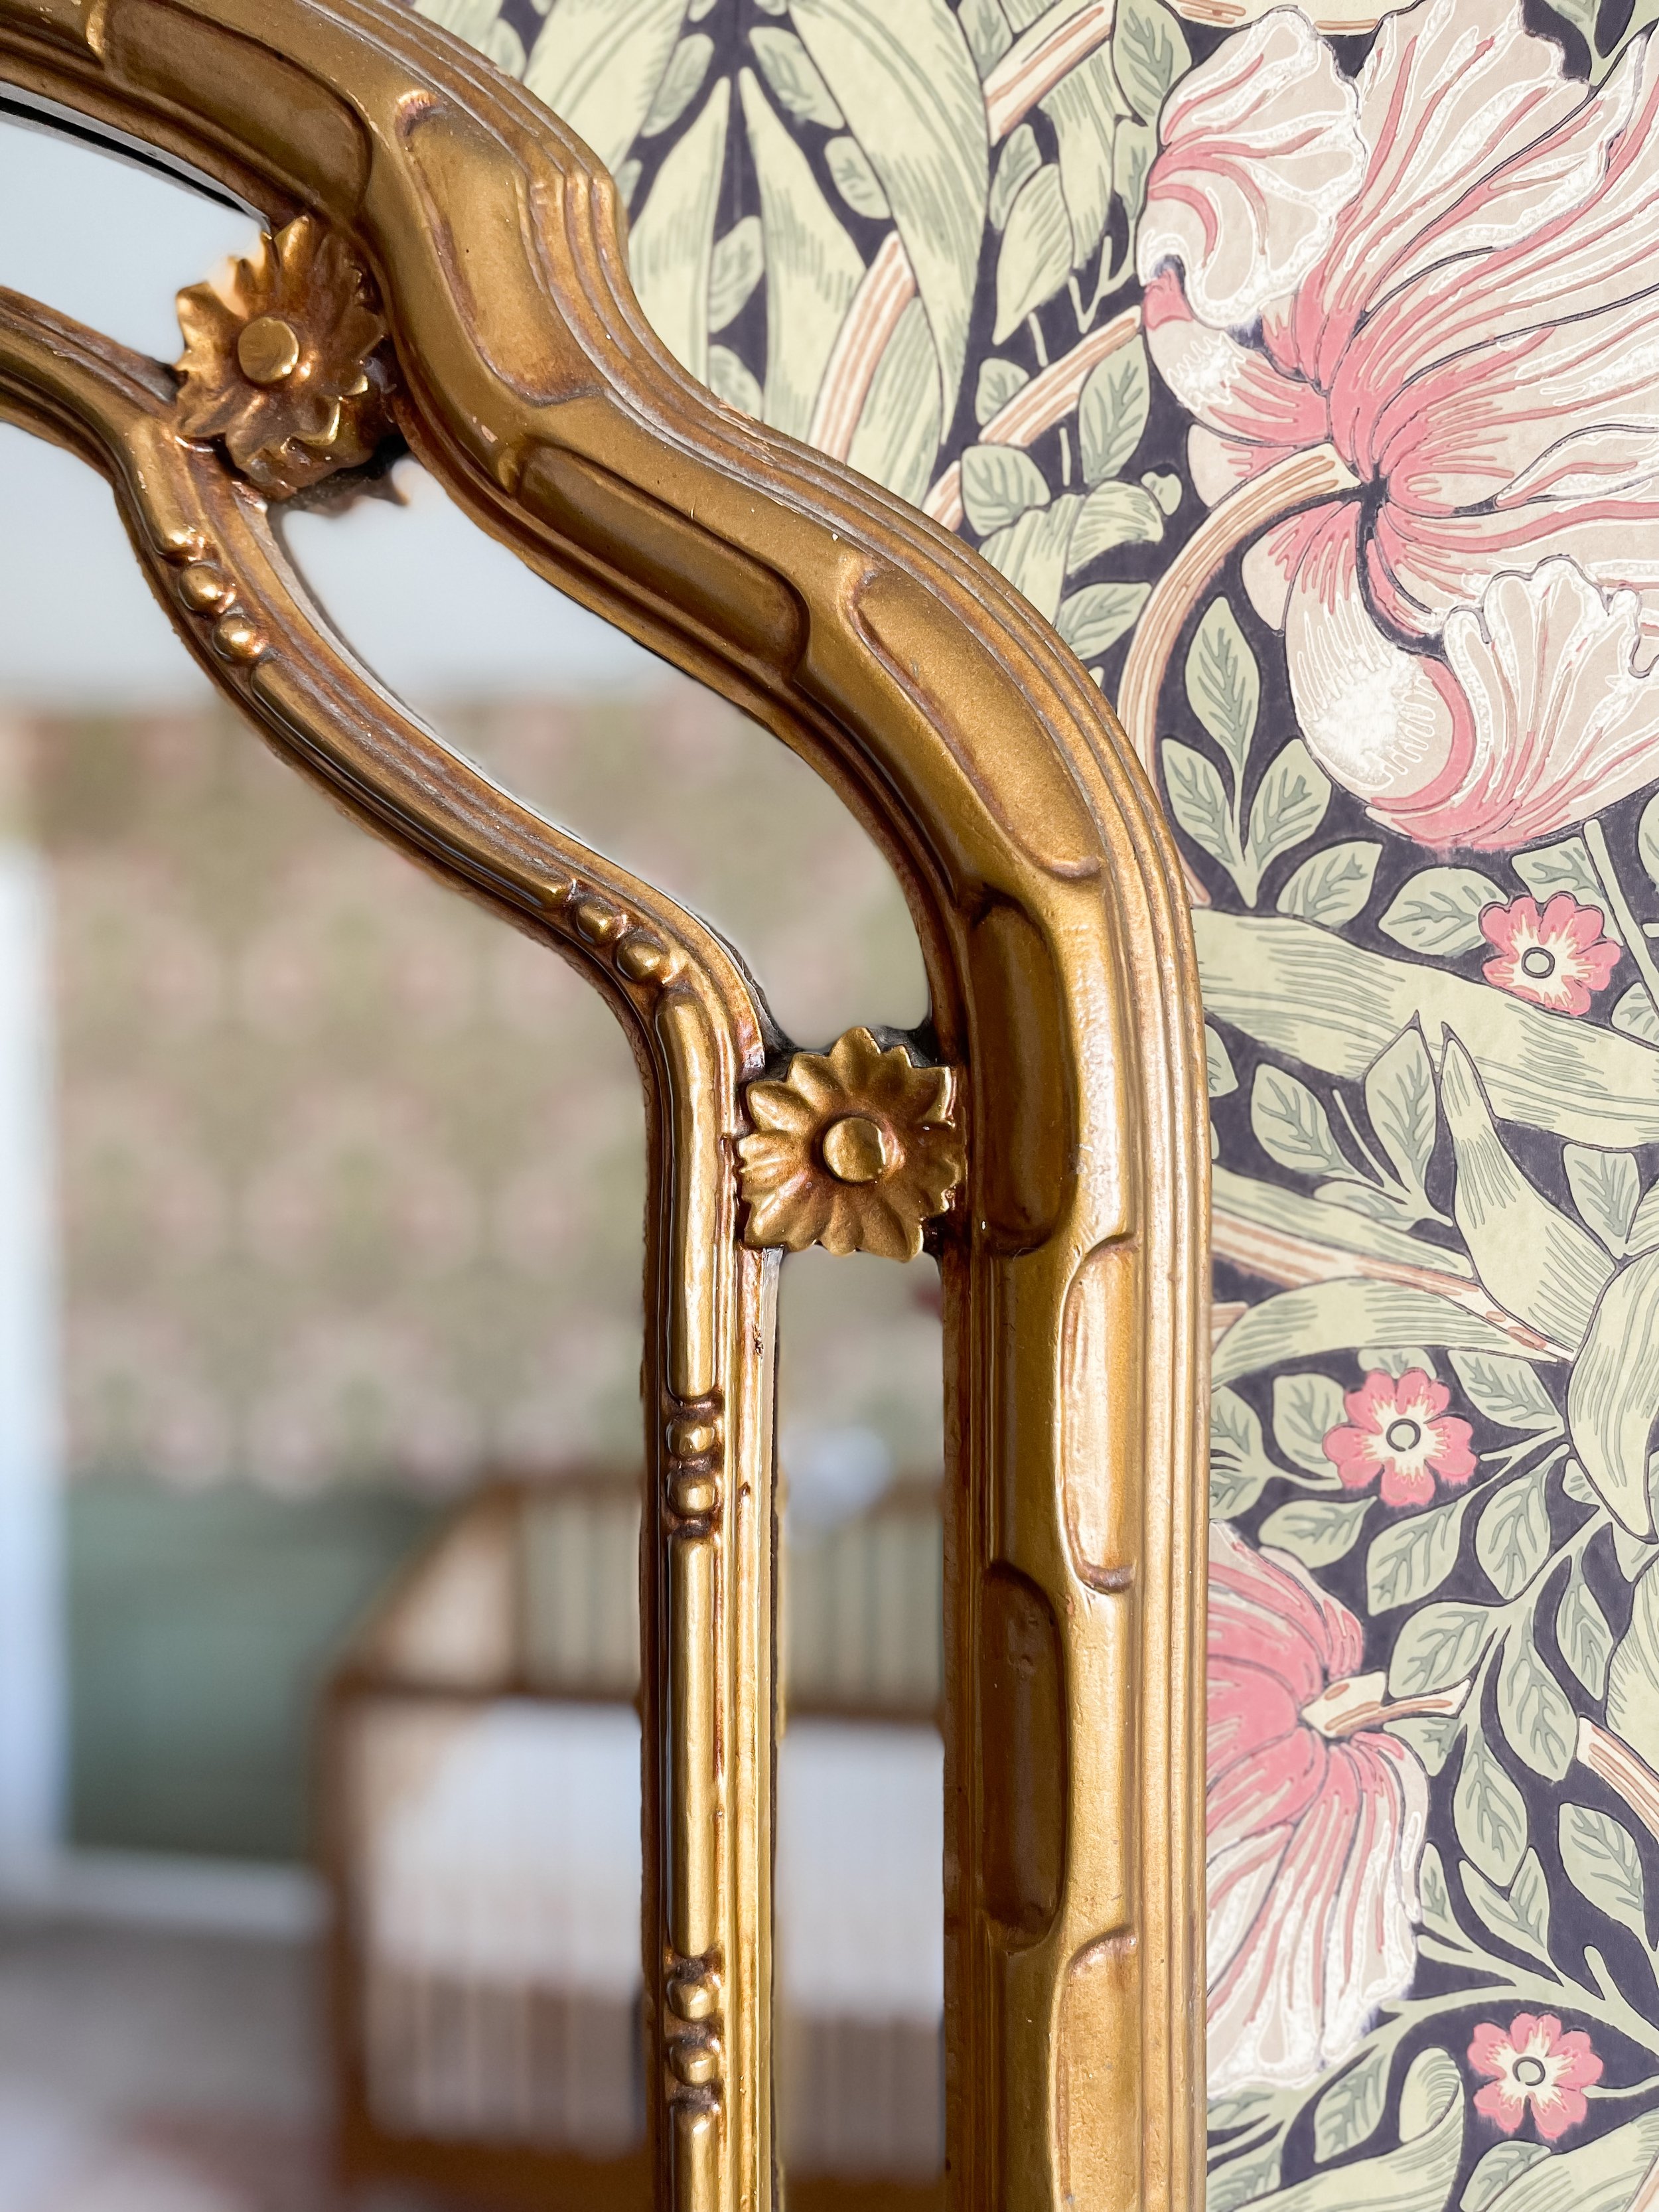
So I picked a wallpaper that fit the job well — a William Morris pattern that almost feels like you’re walking into a secret garden. And then I probably looked at 17 different green paint colors to find the perfect fit — and Sheraton Sage made the cut!

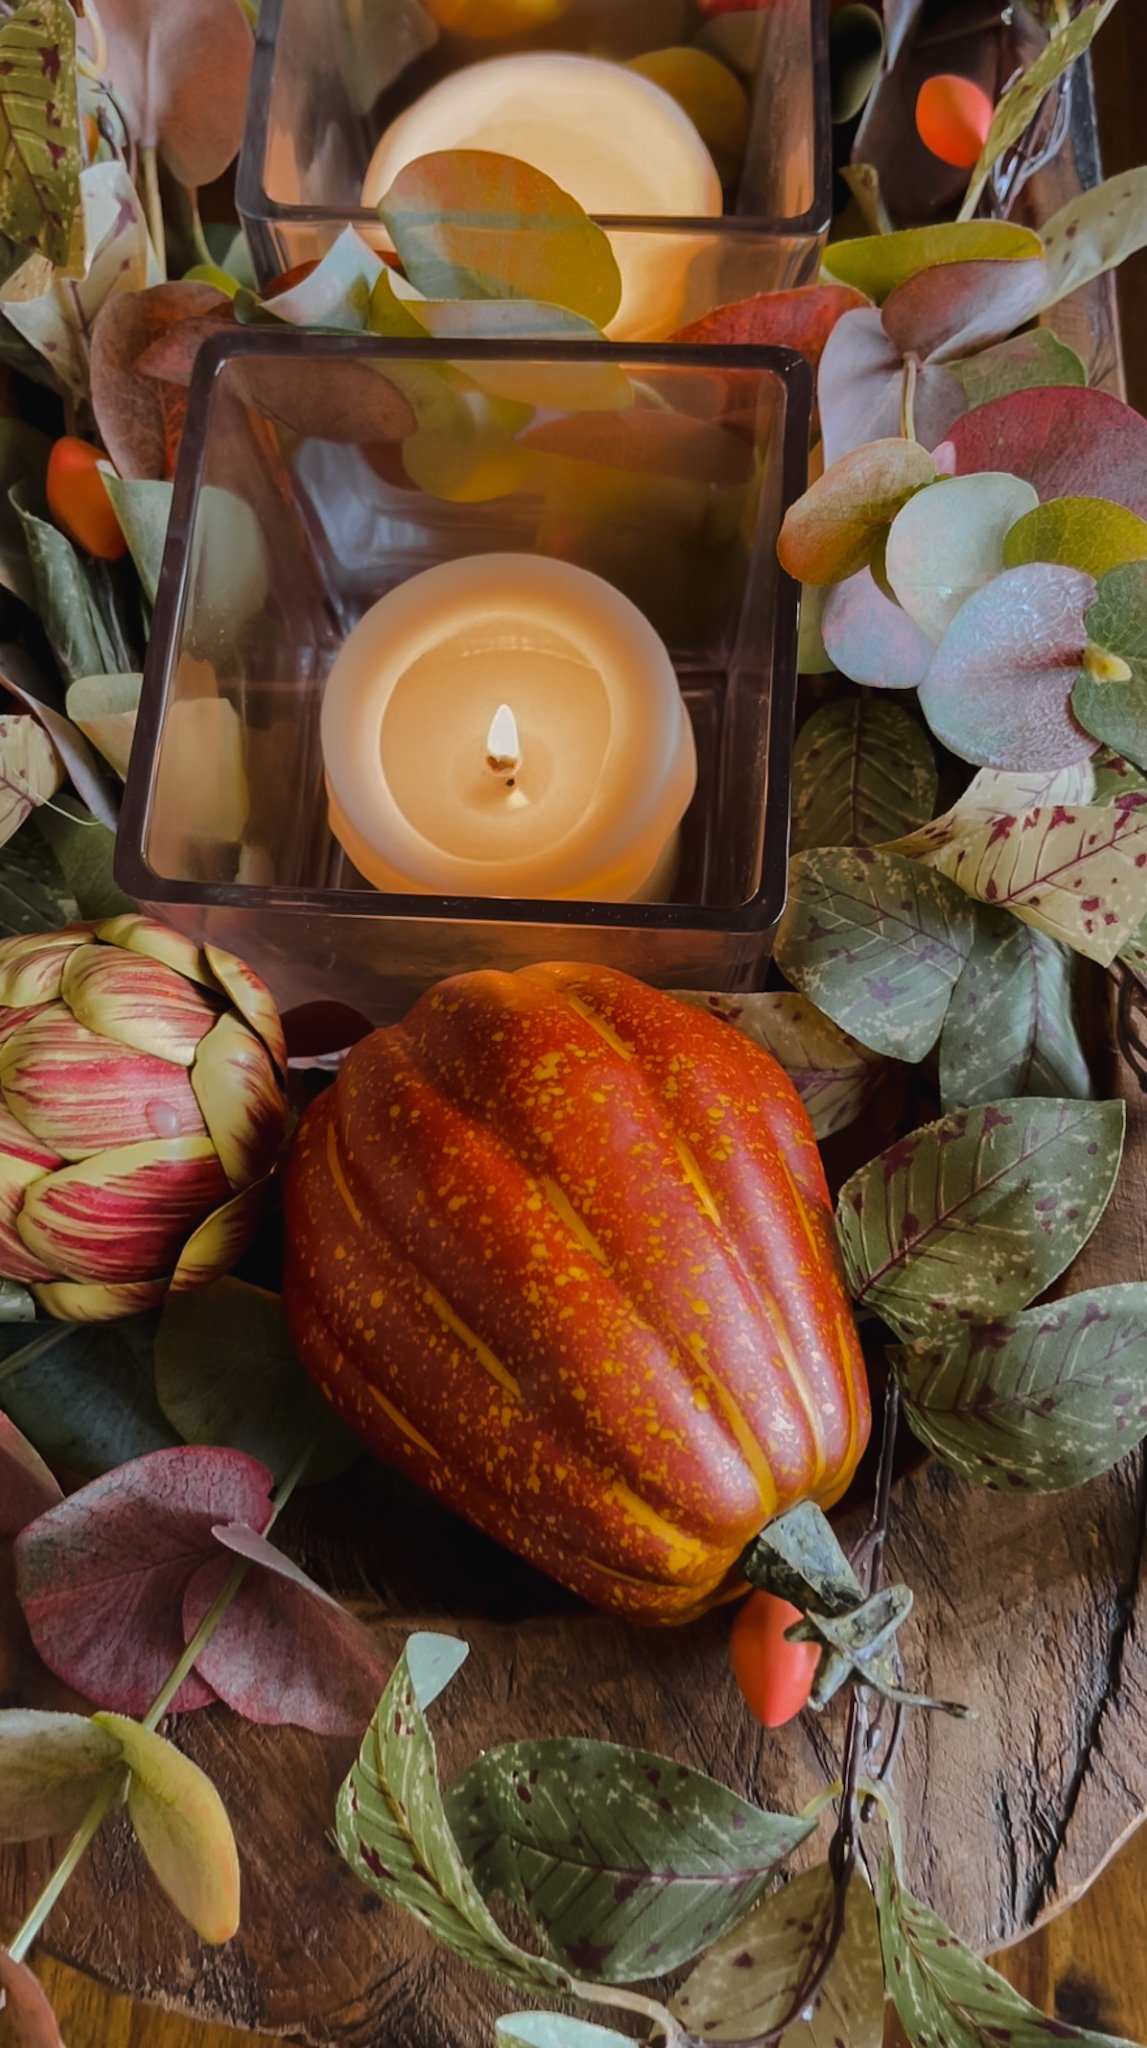
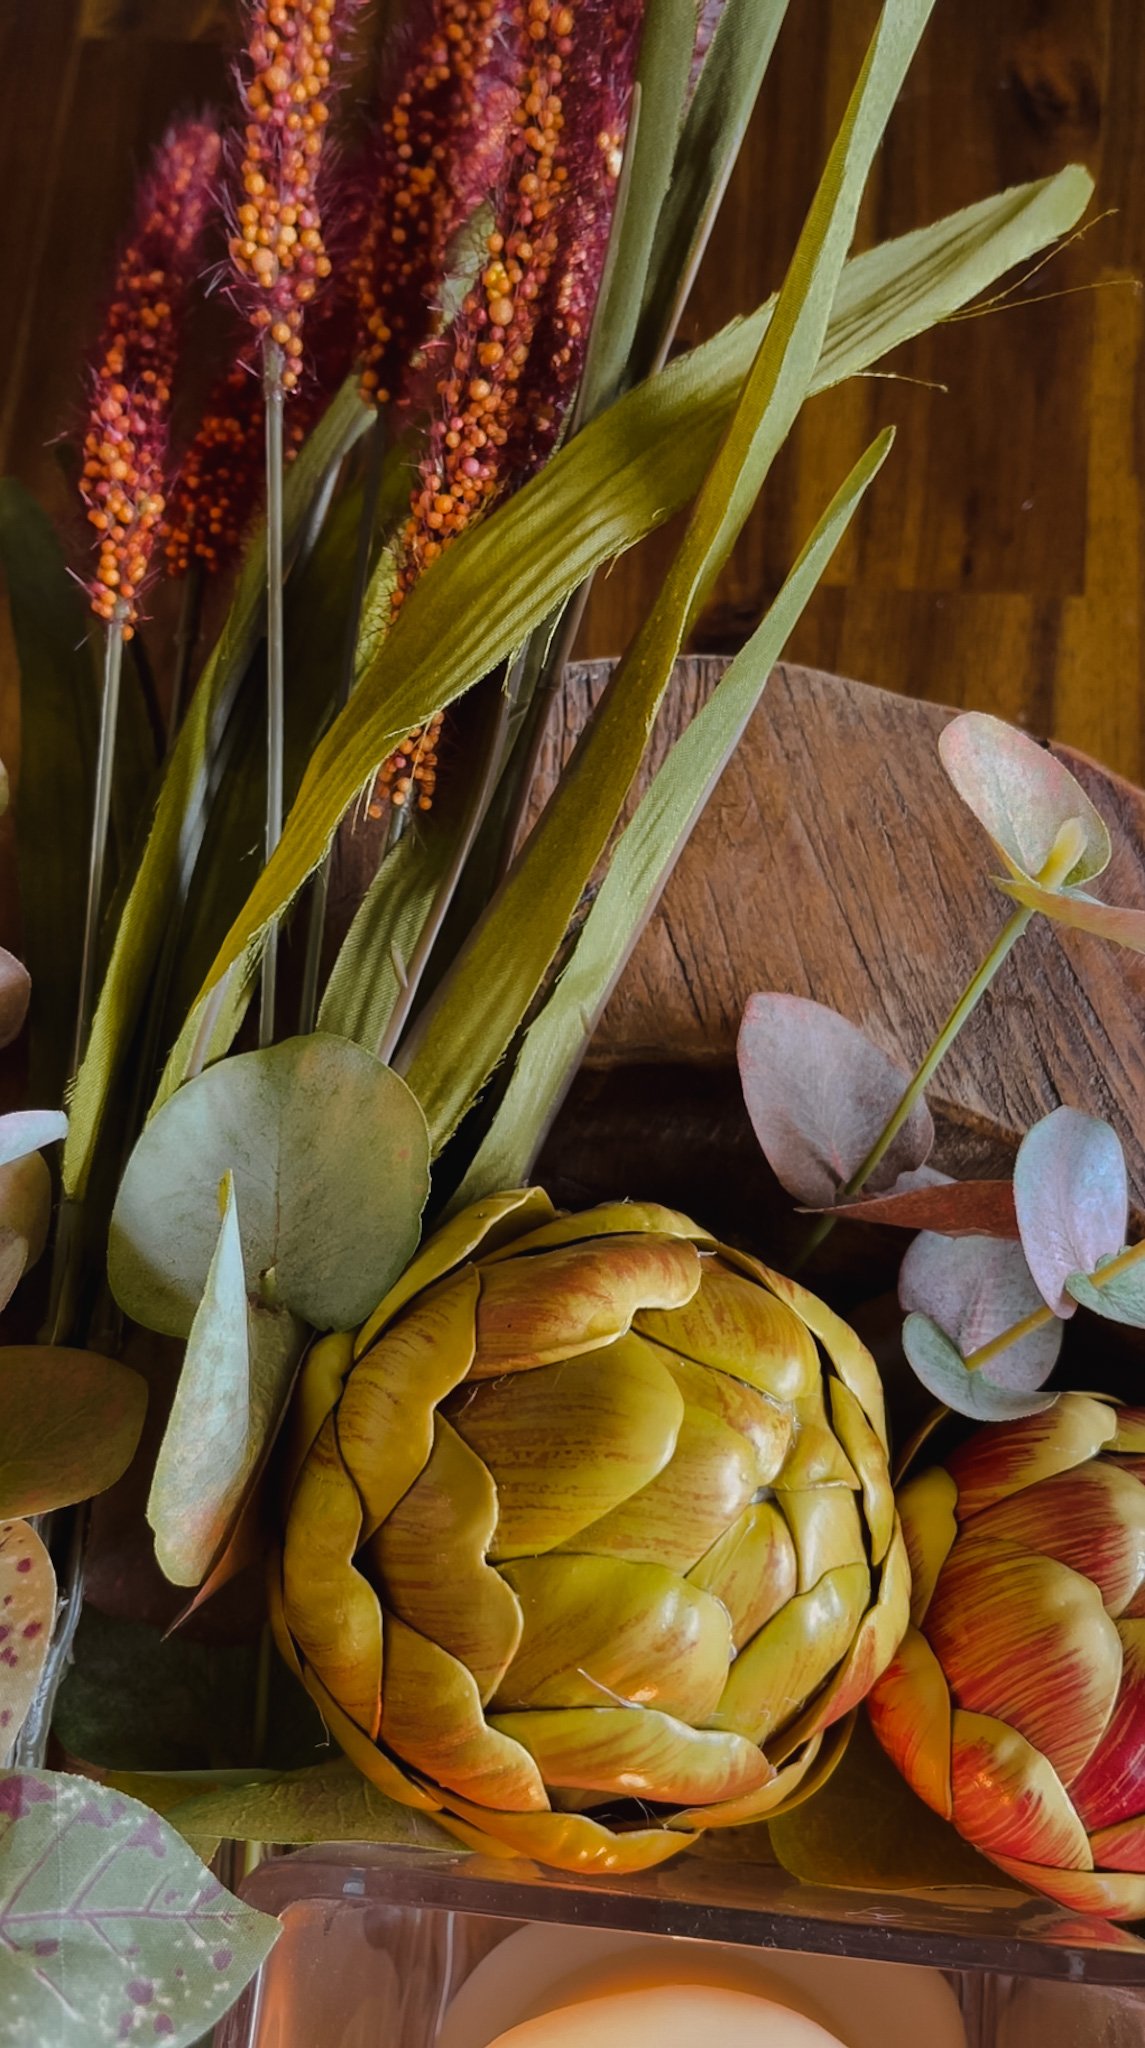
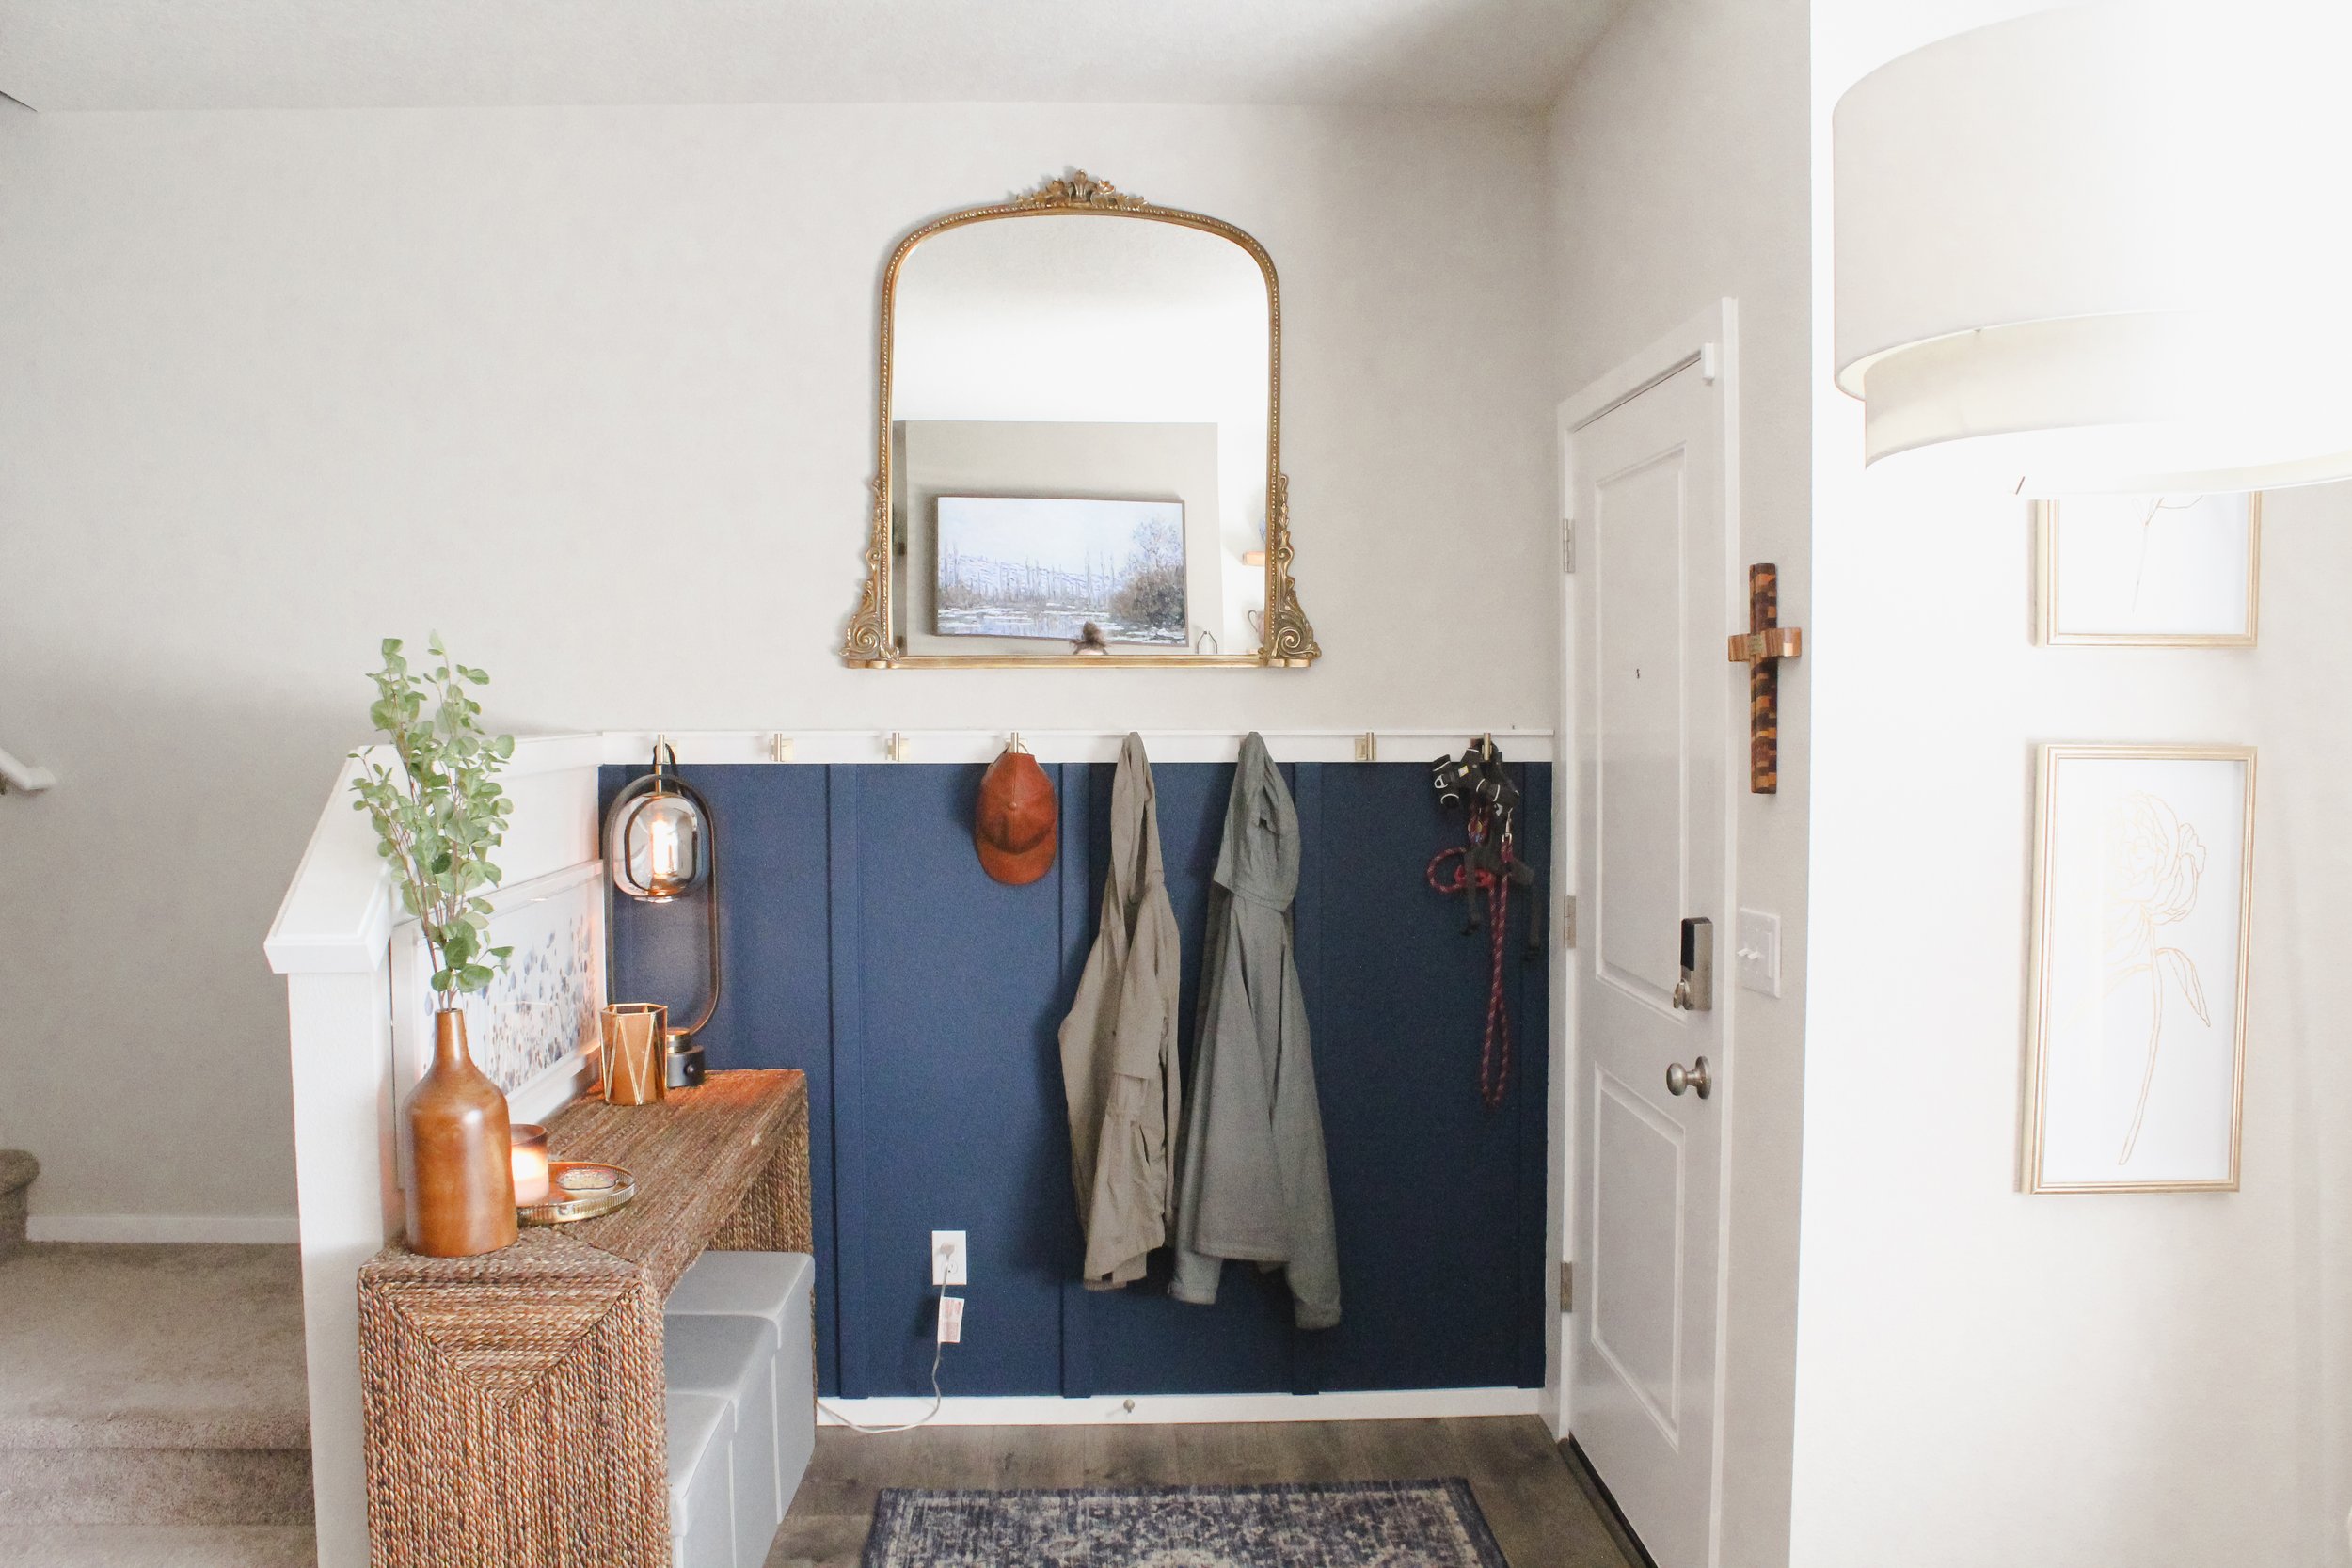
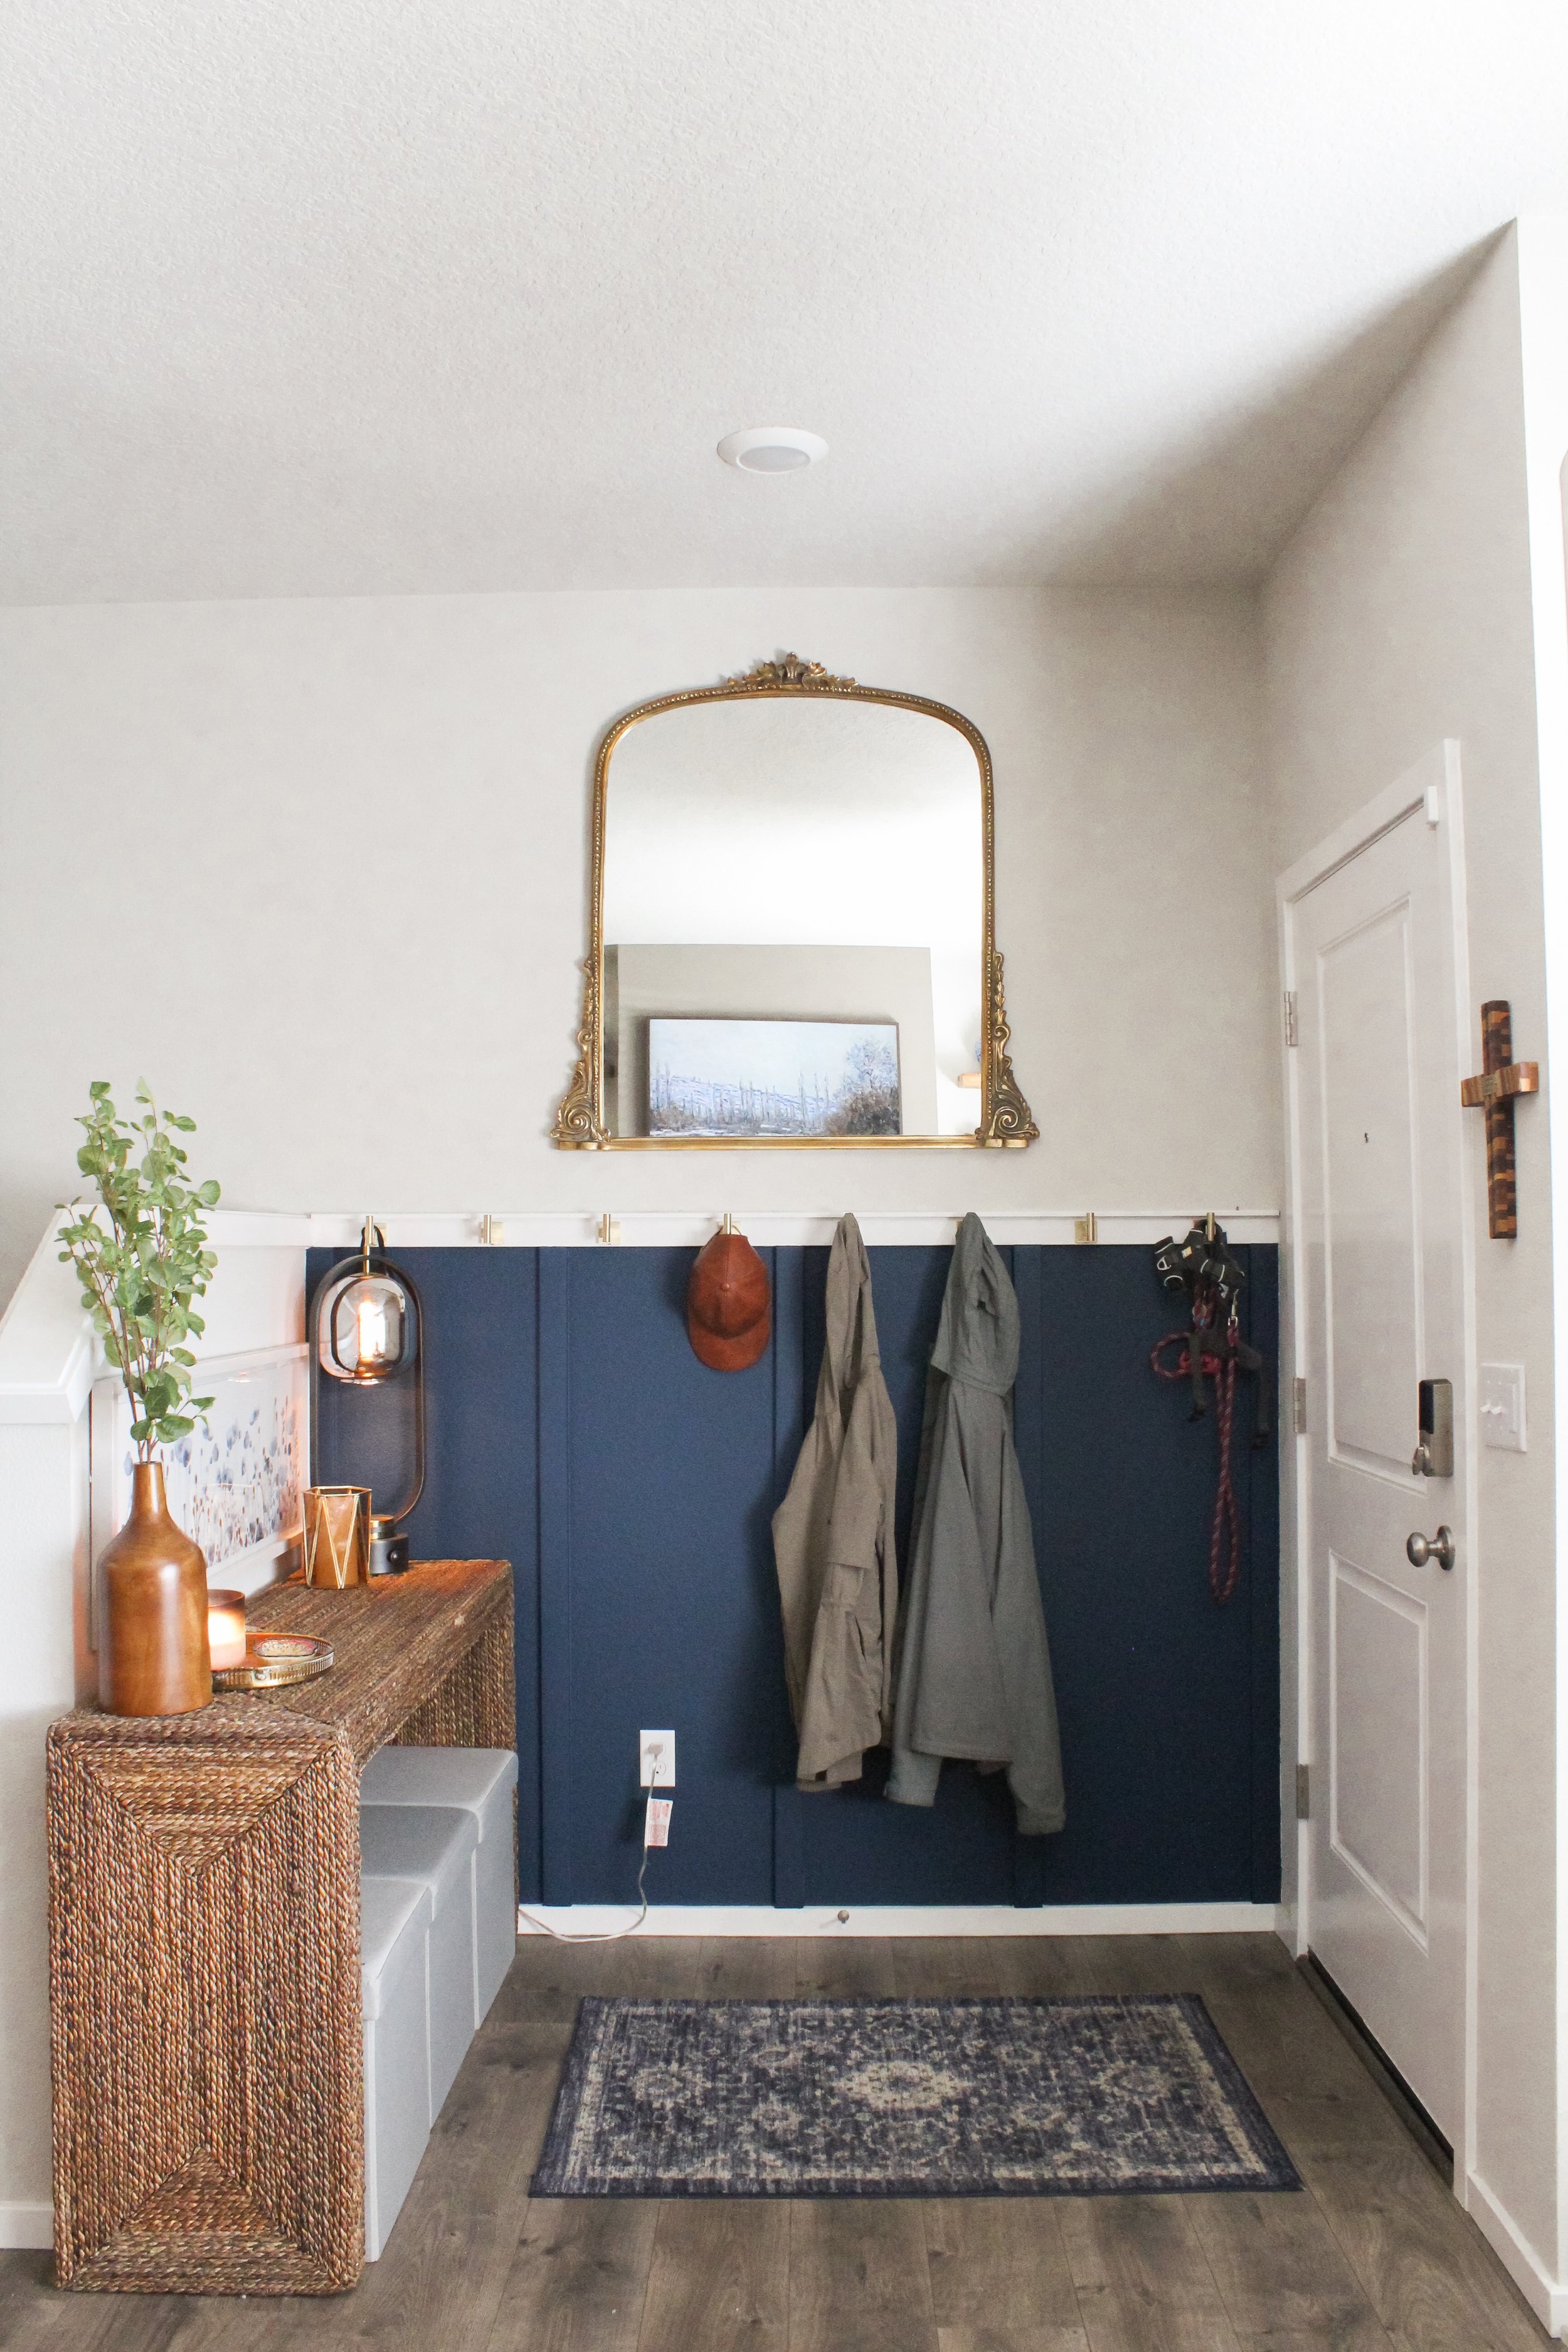
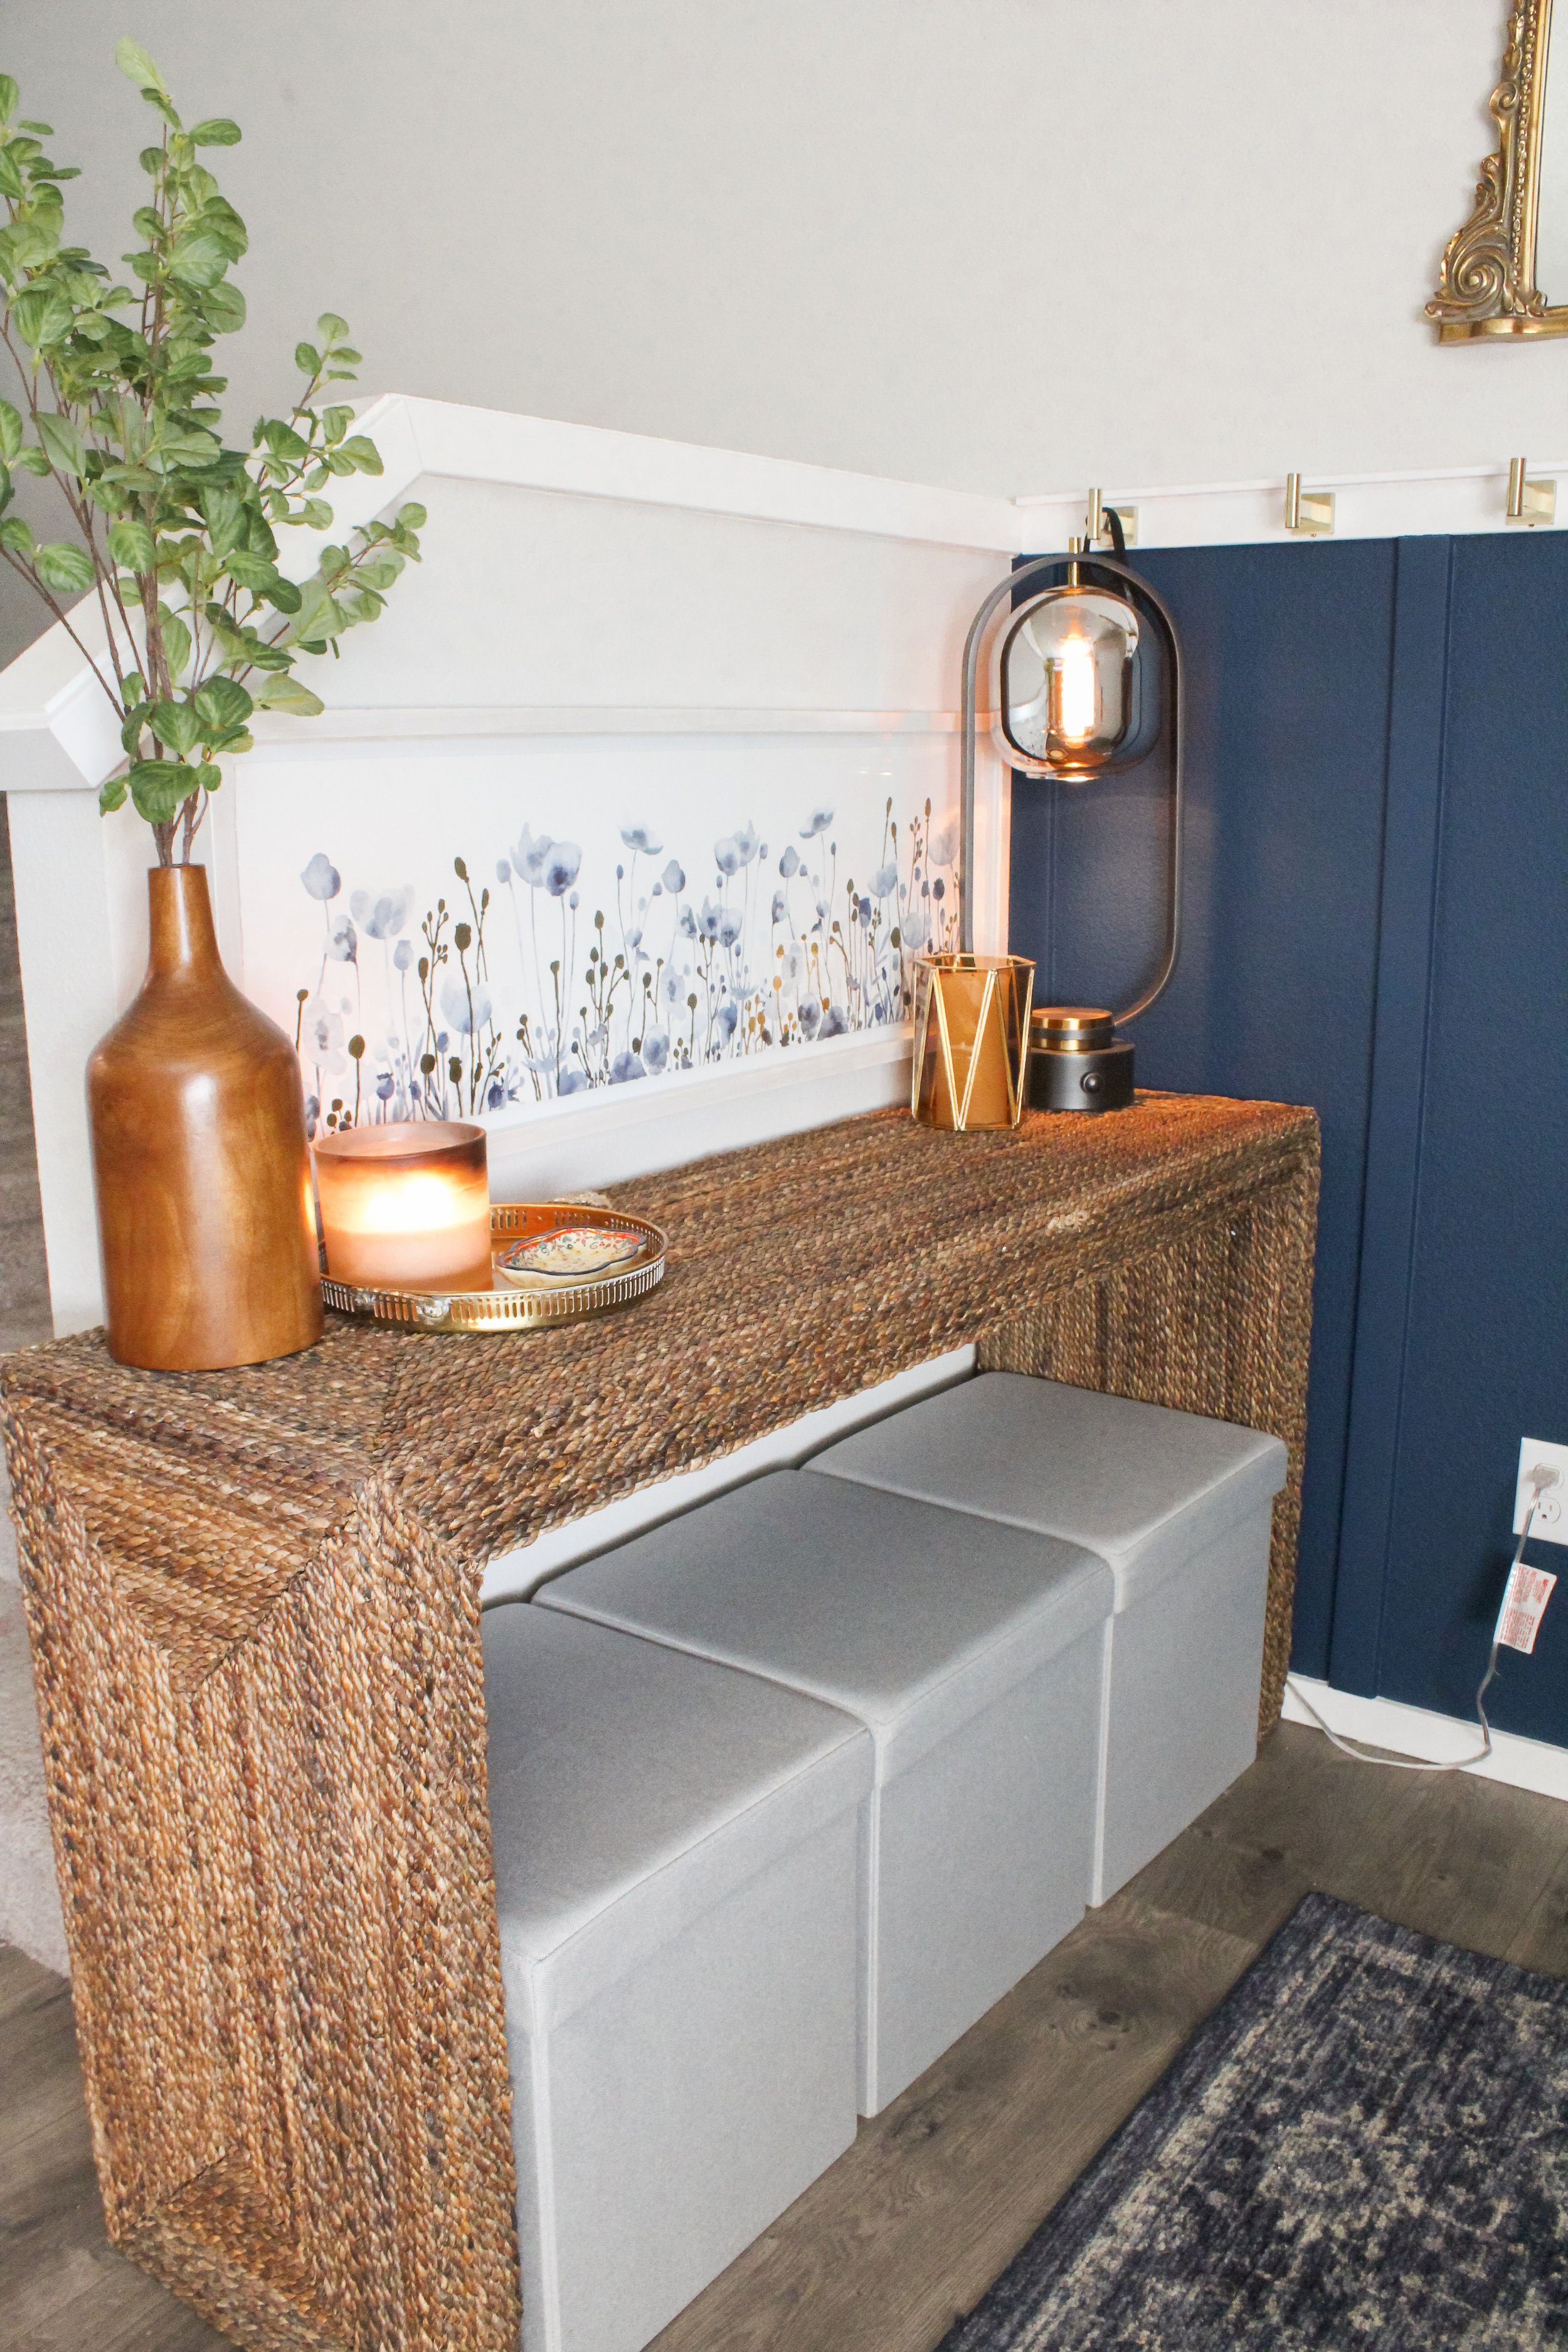
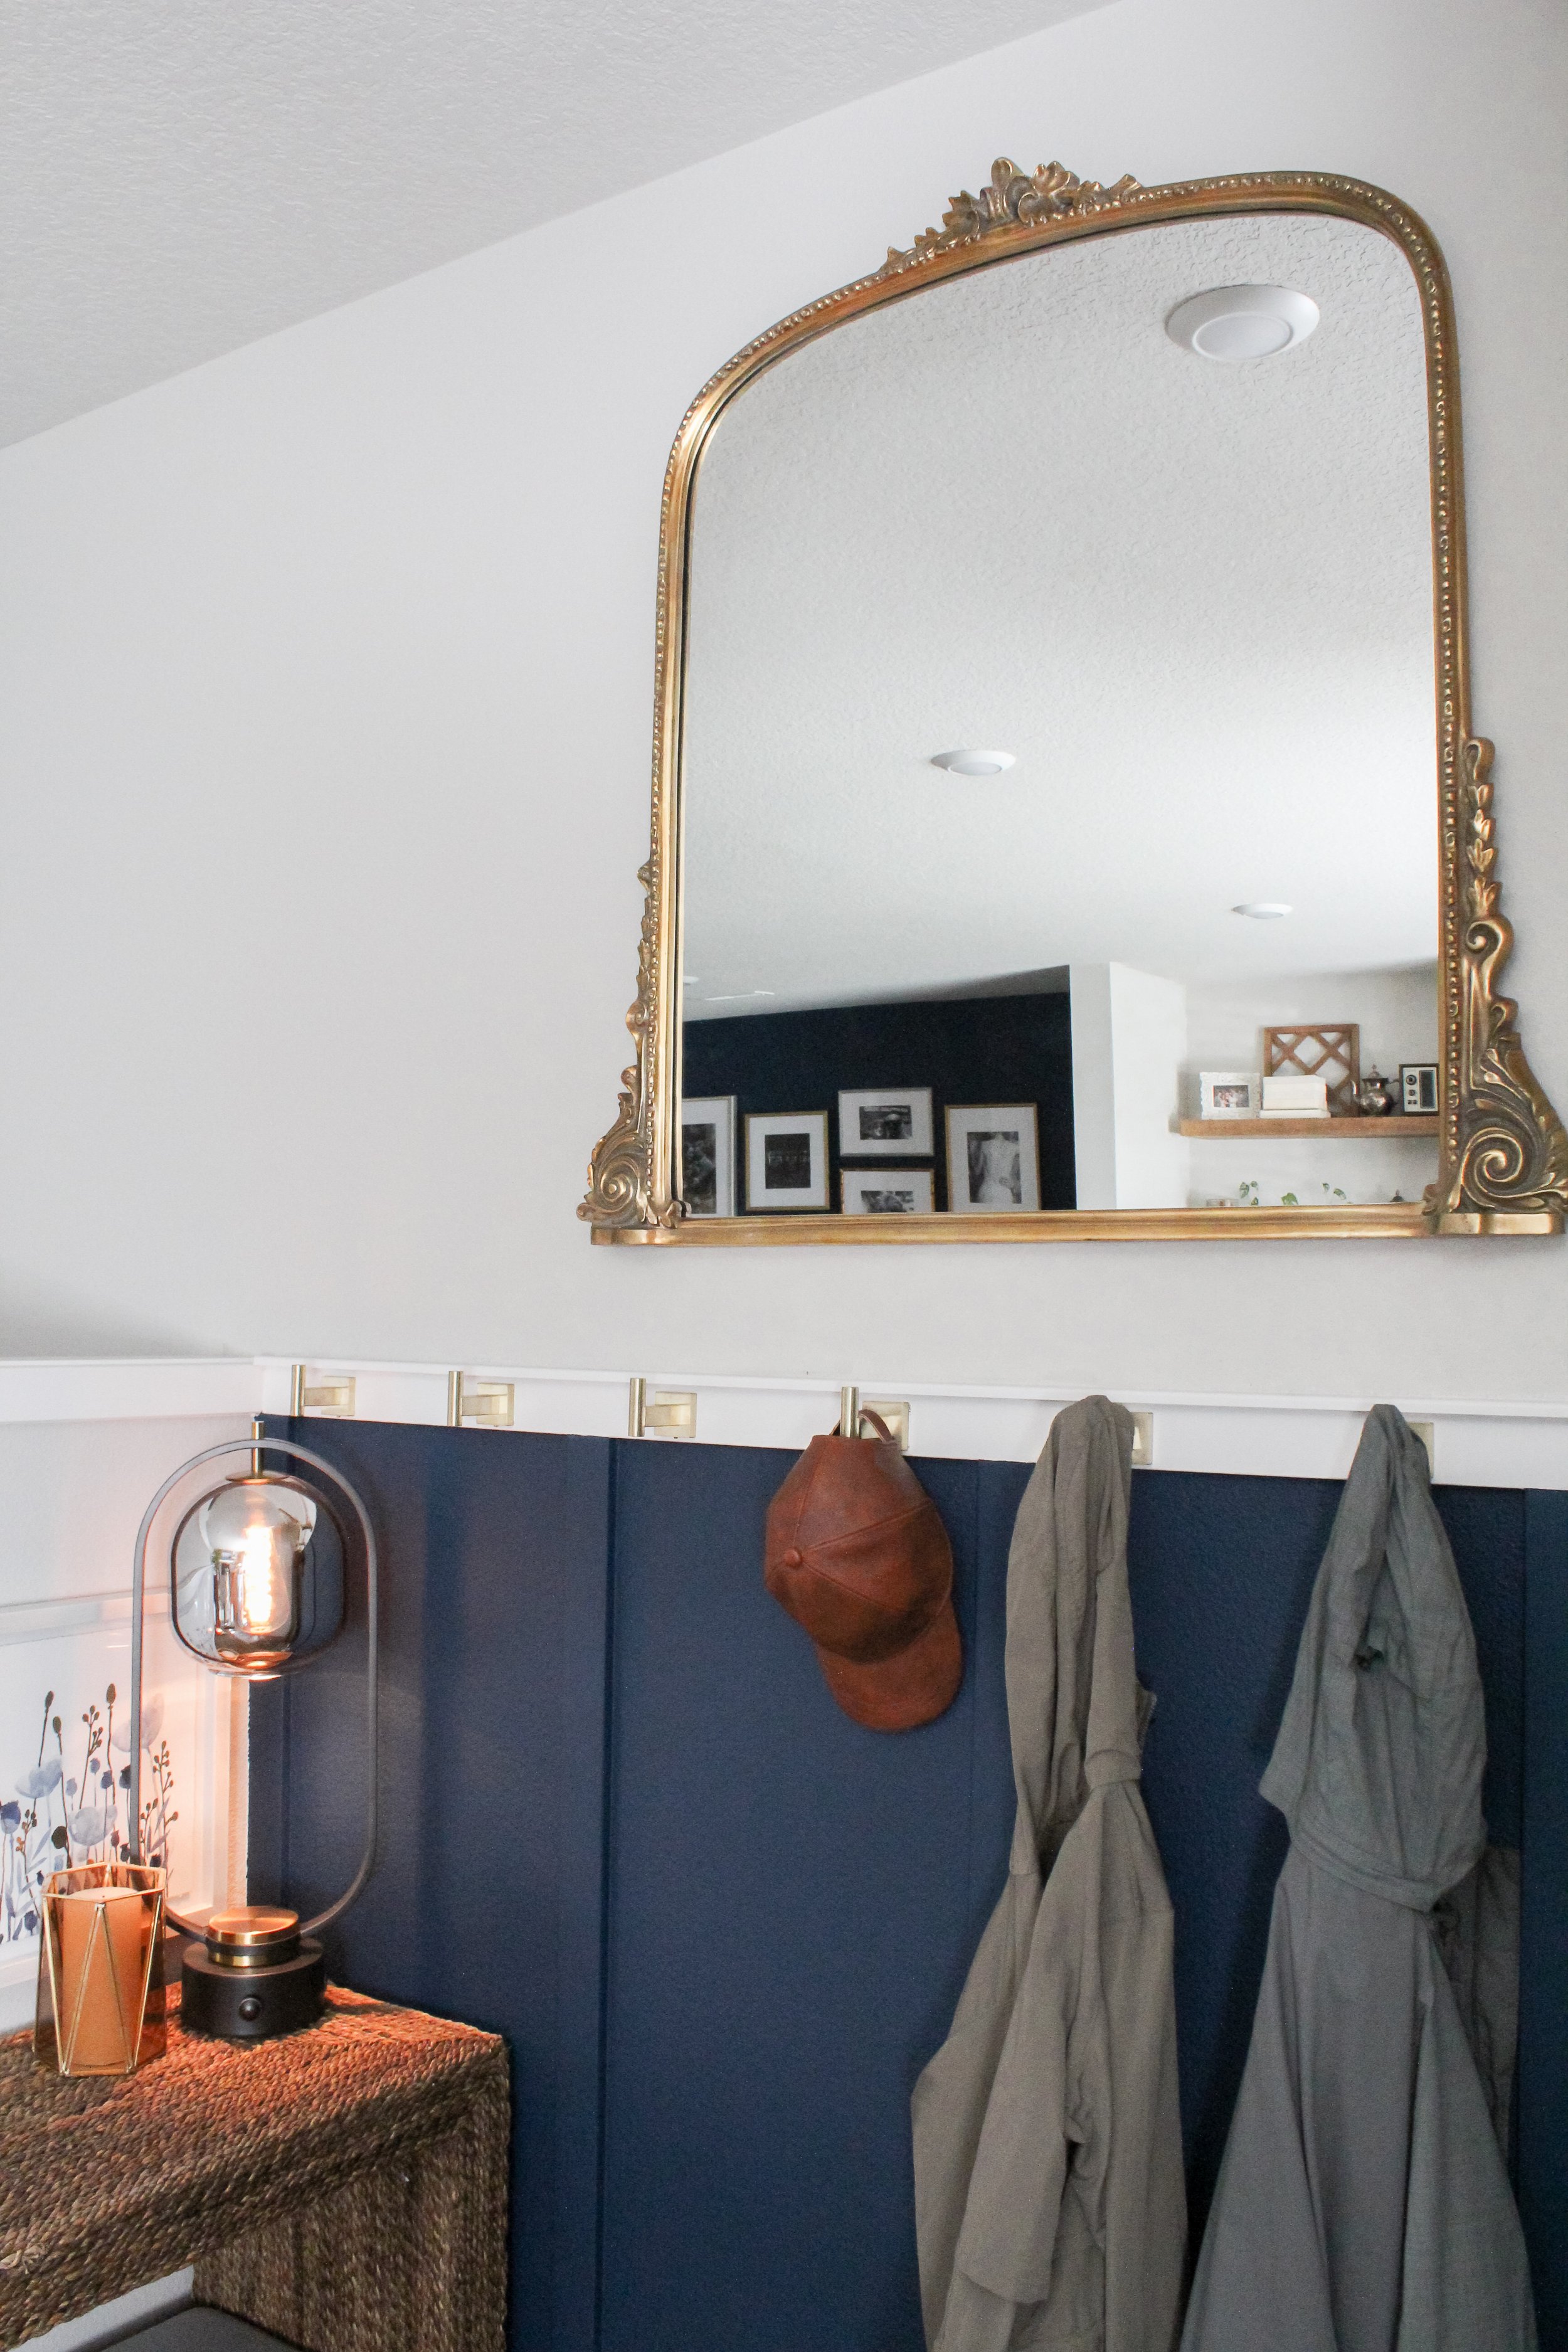
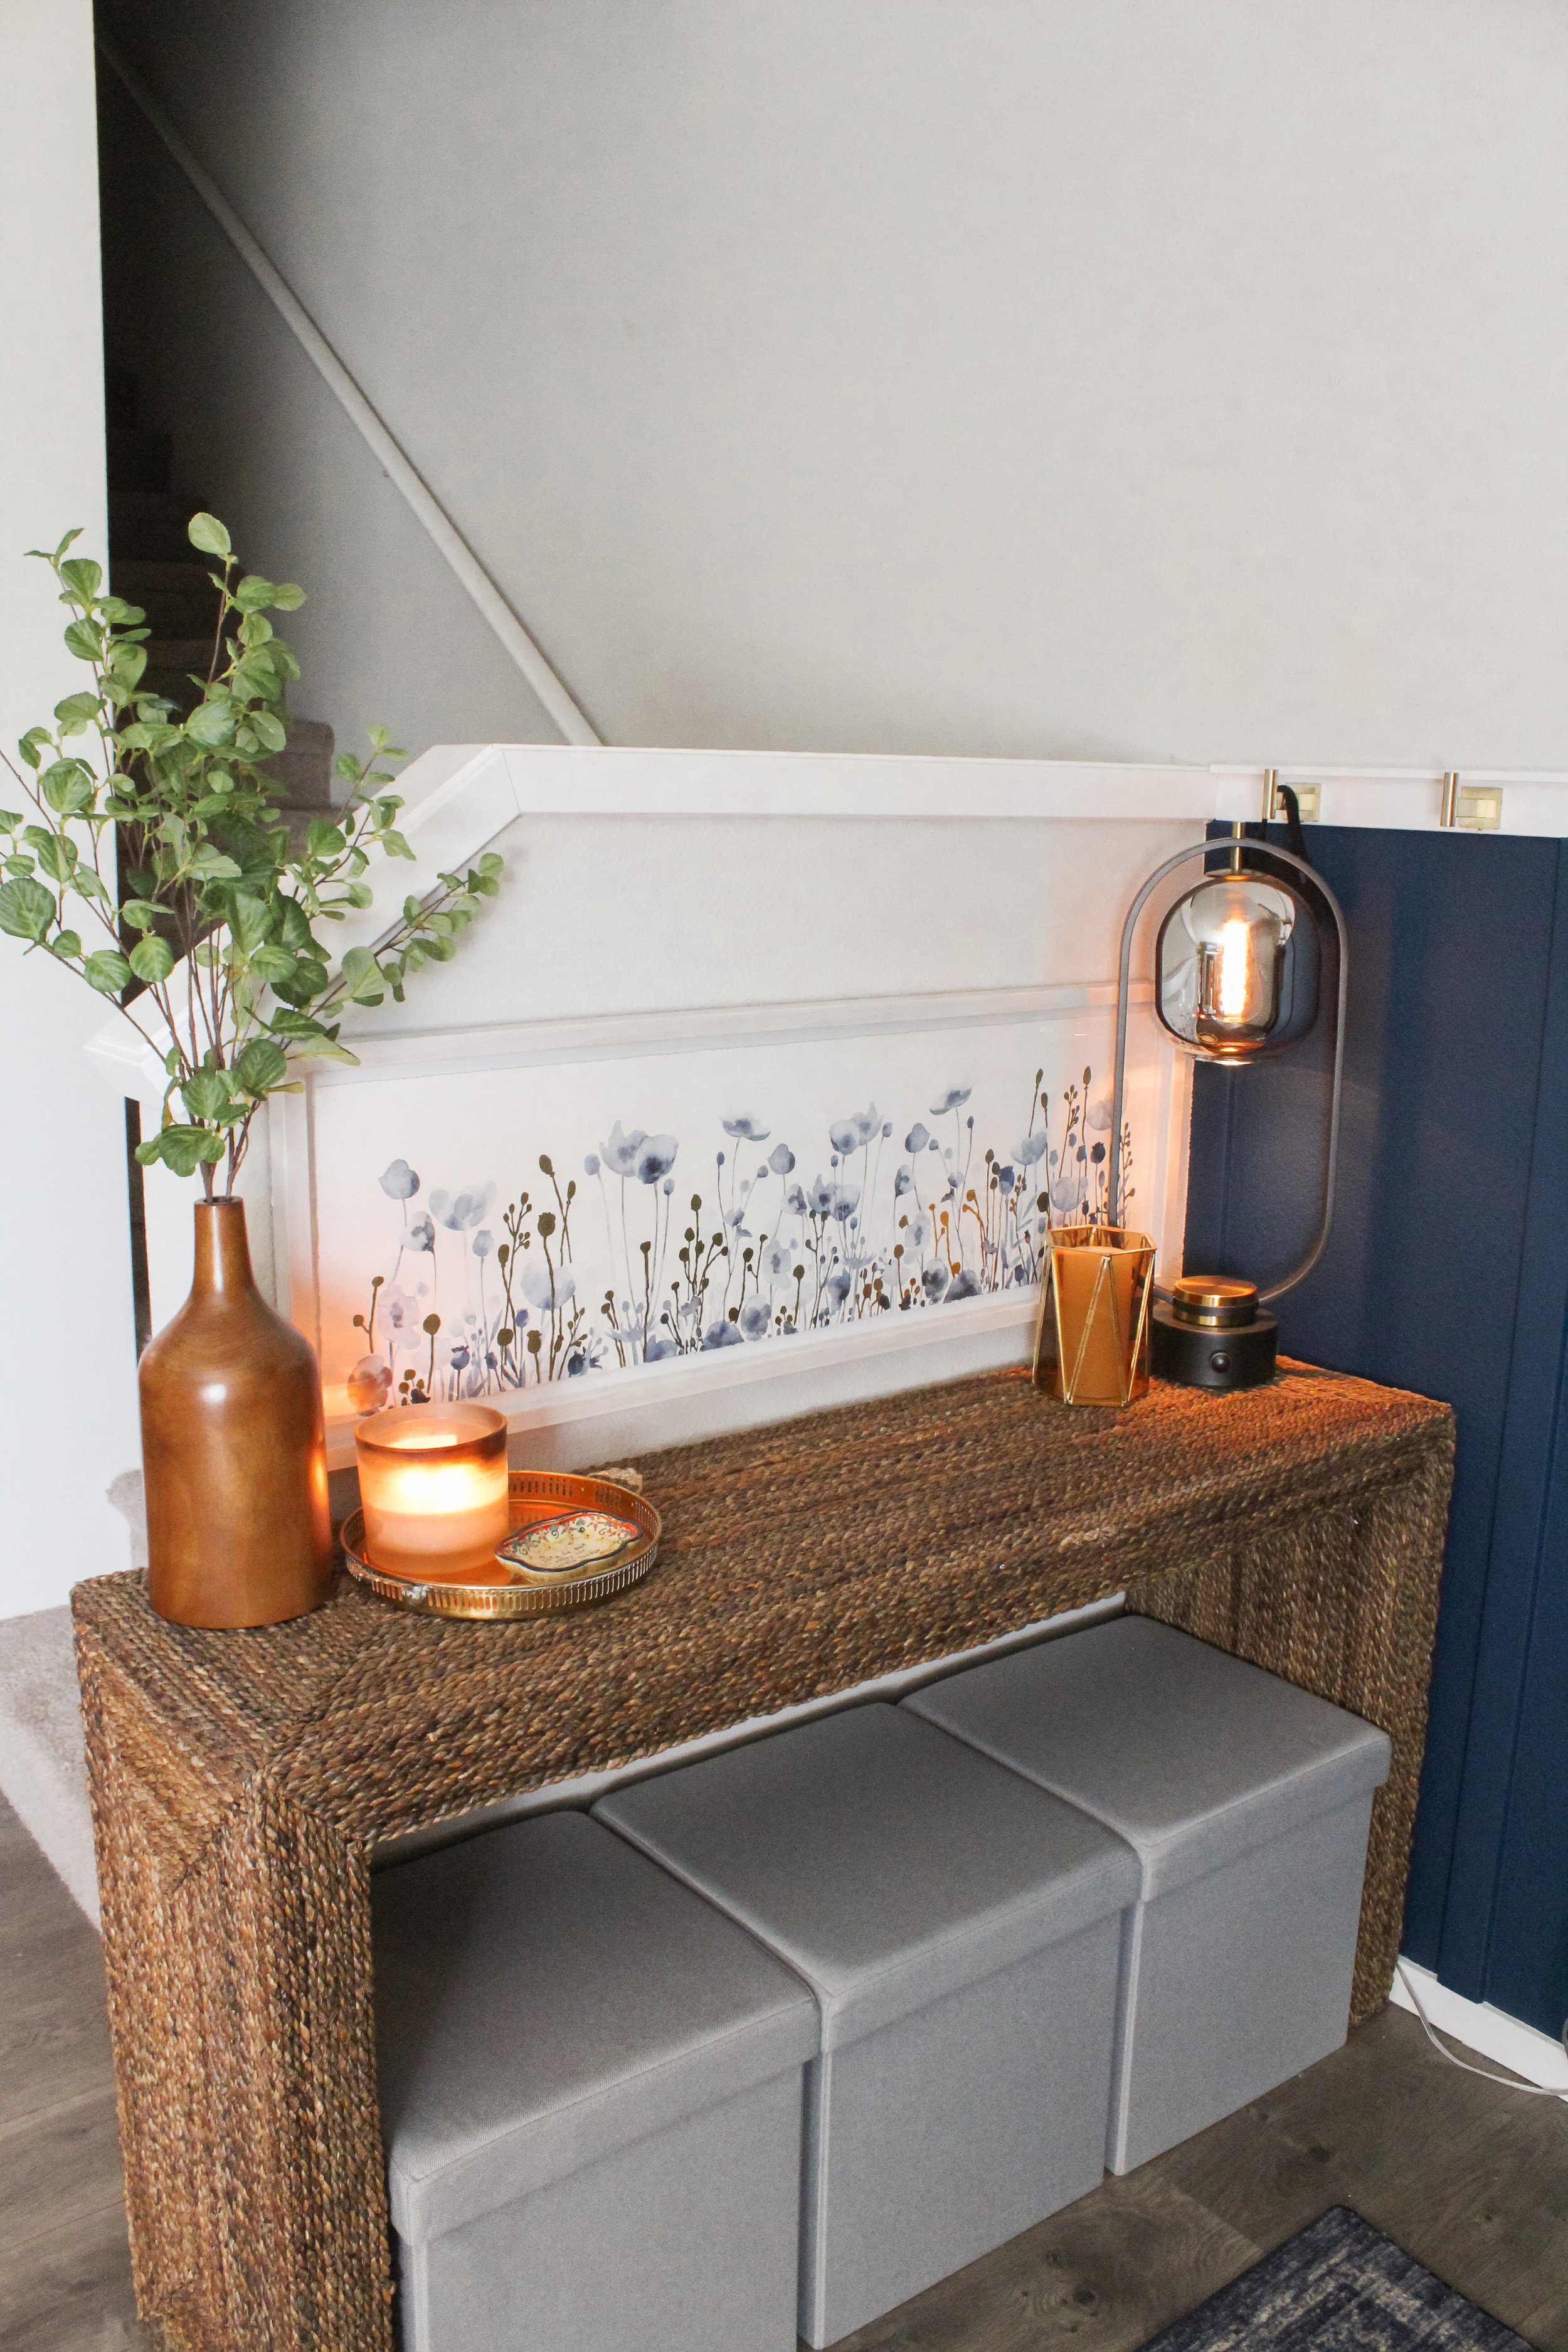
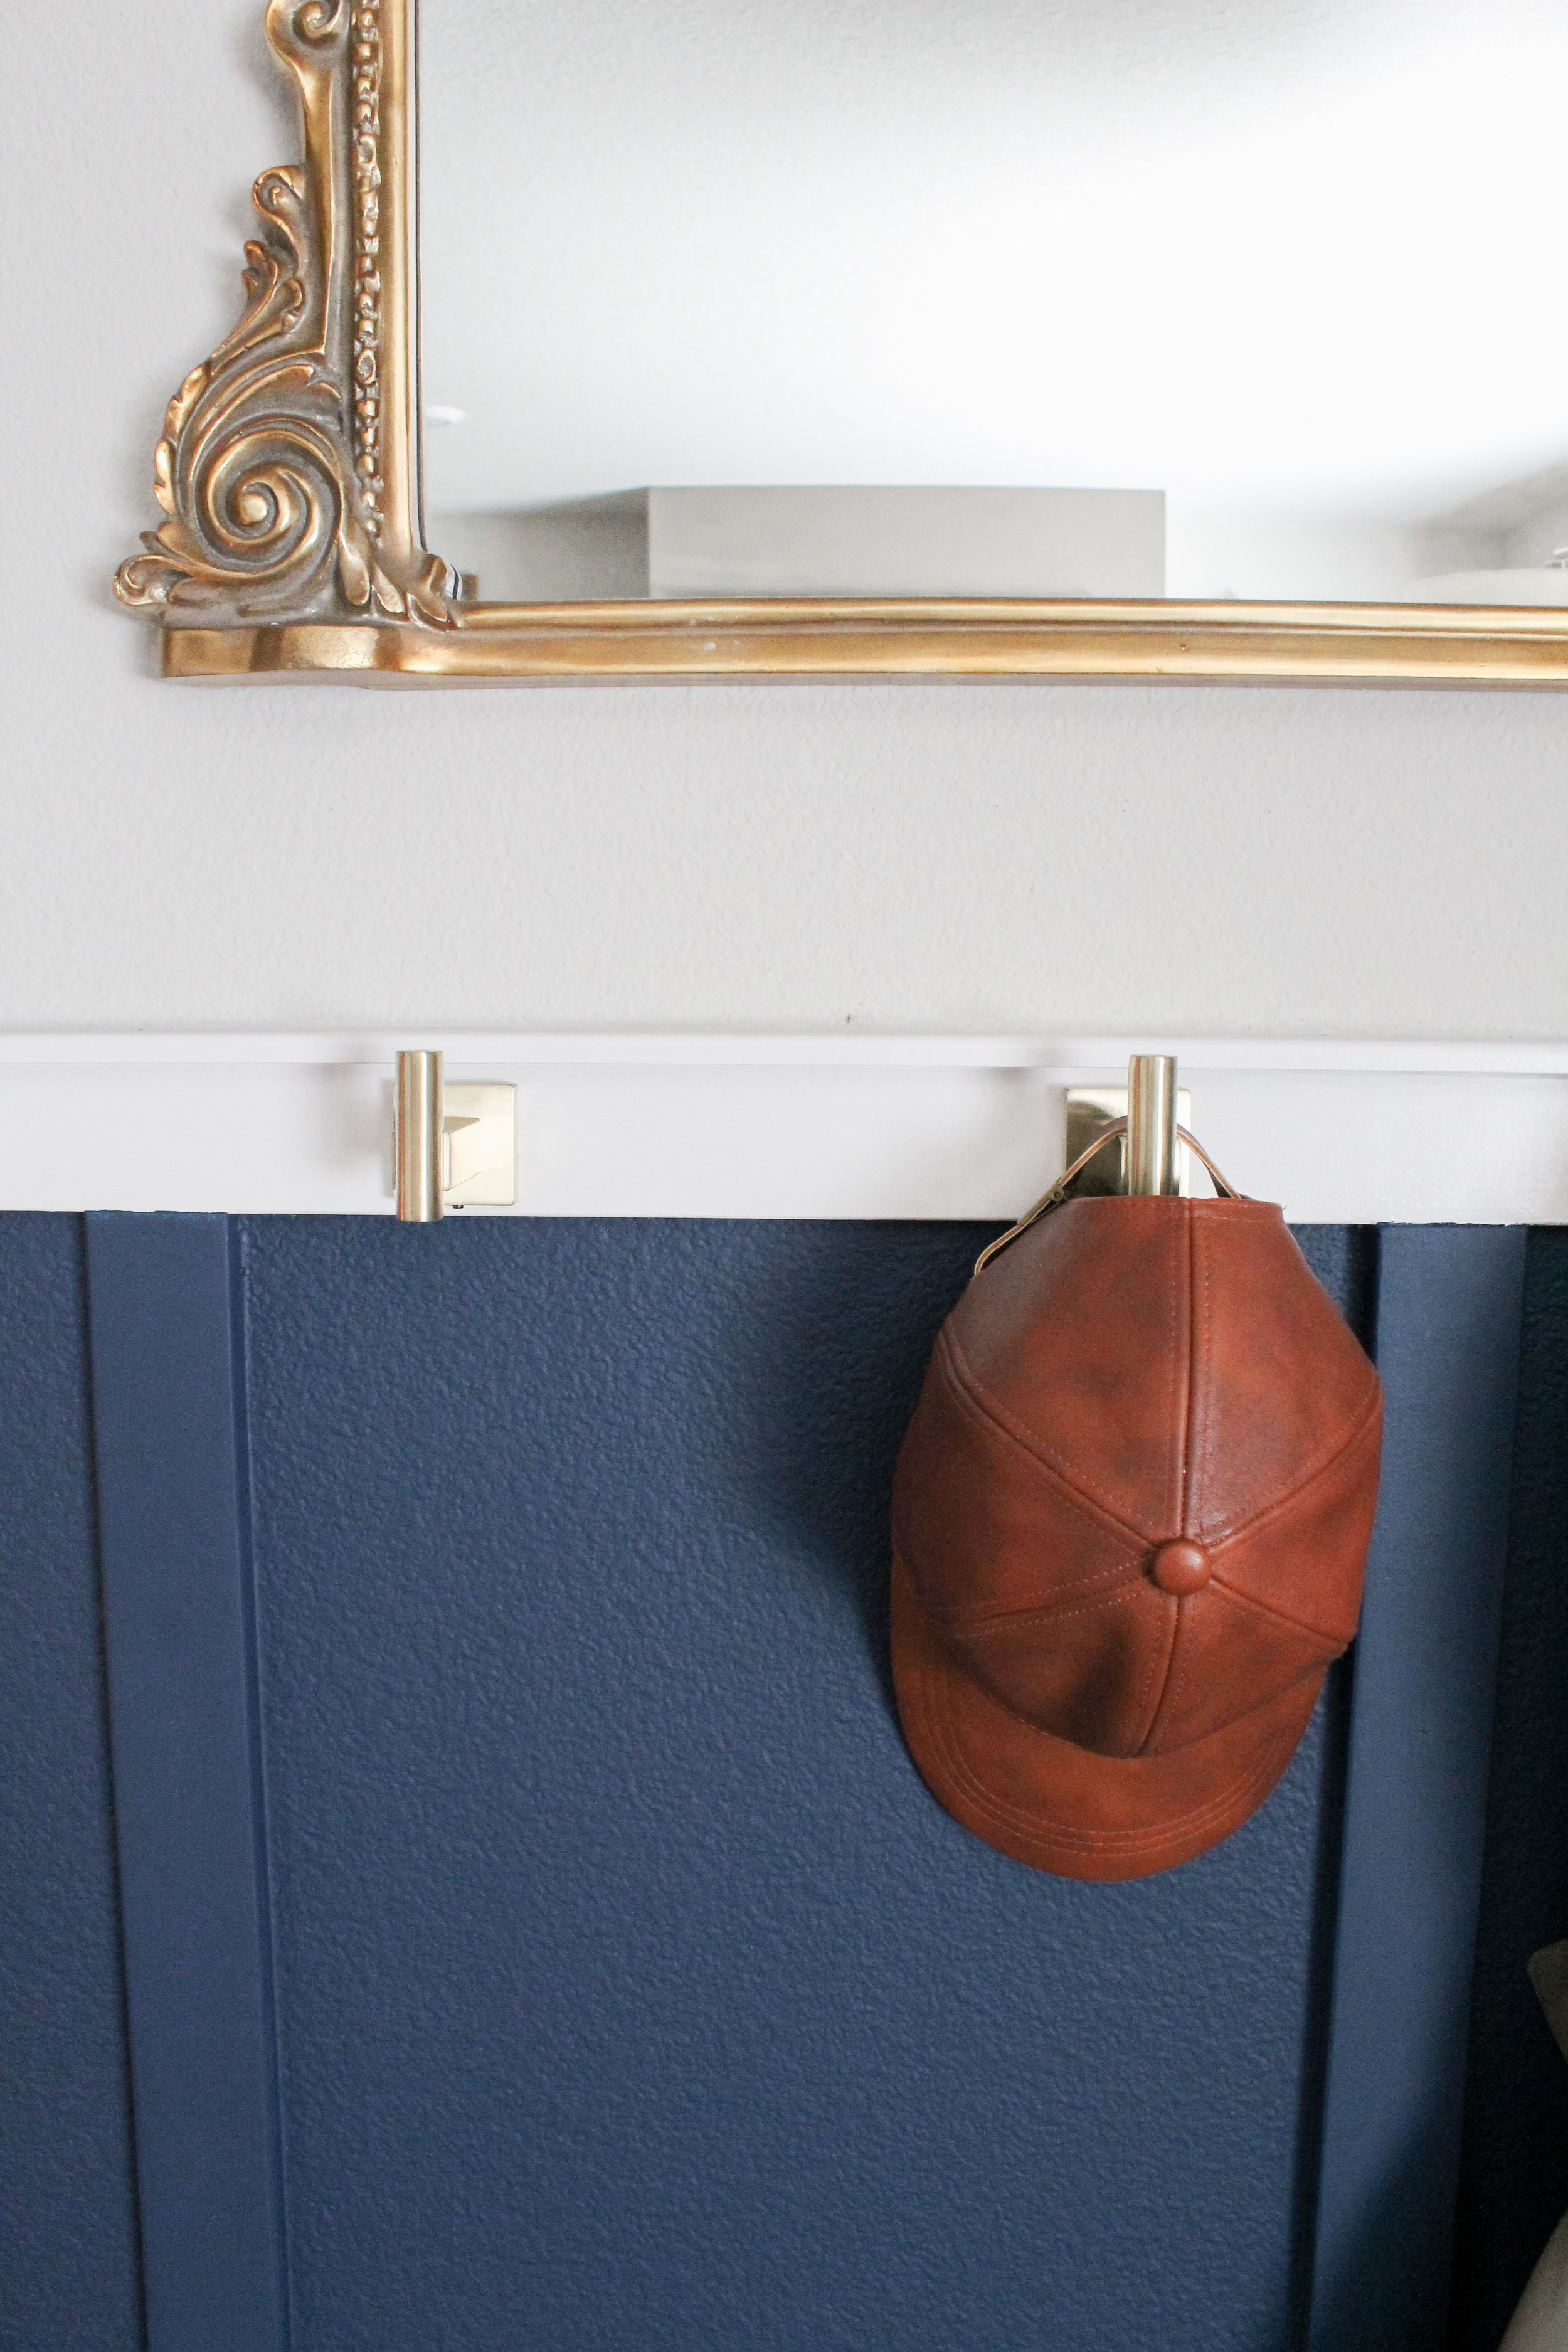
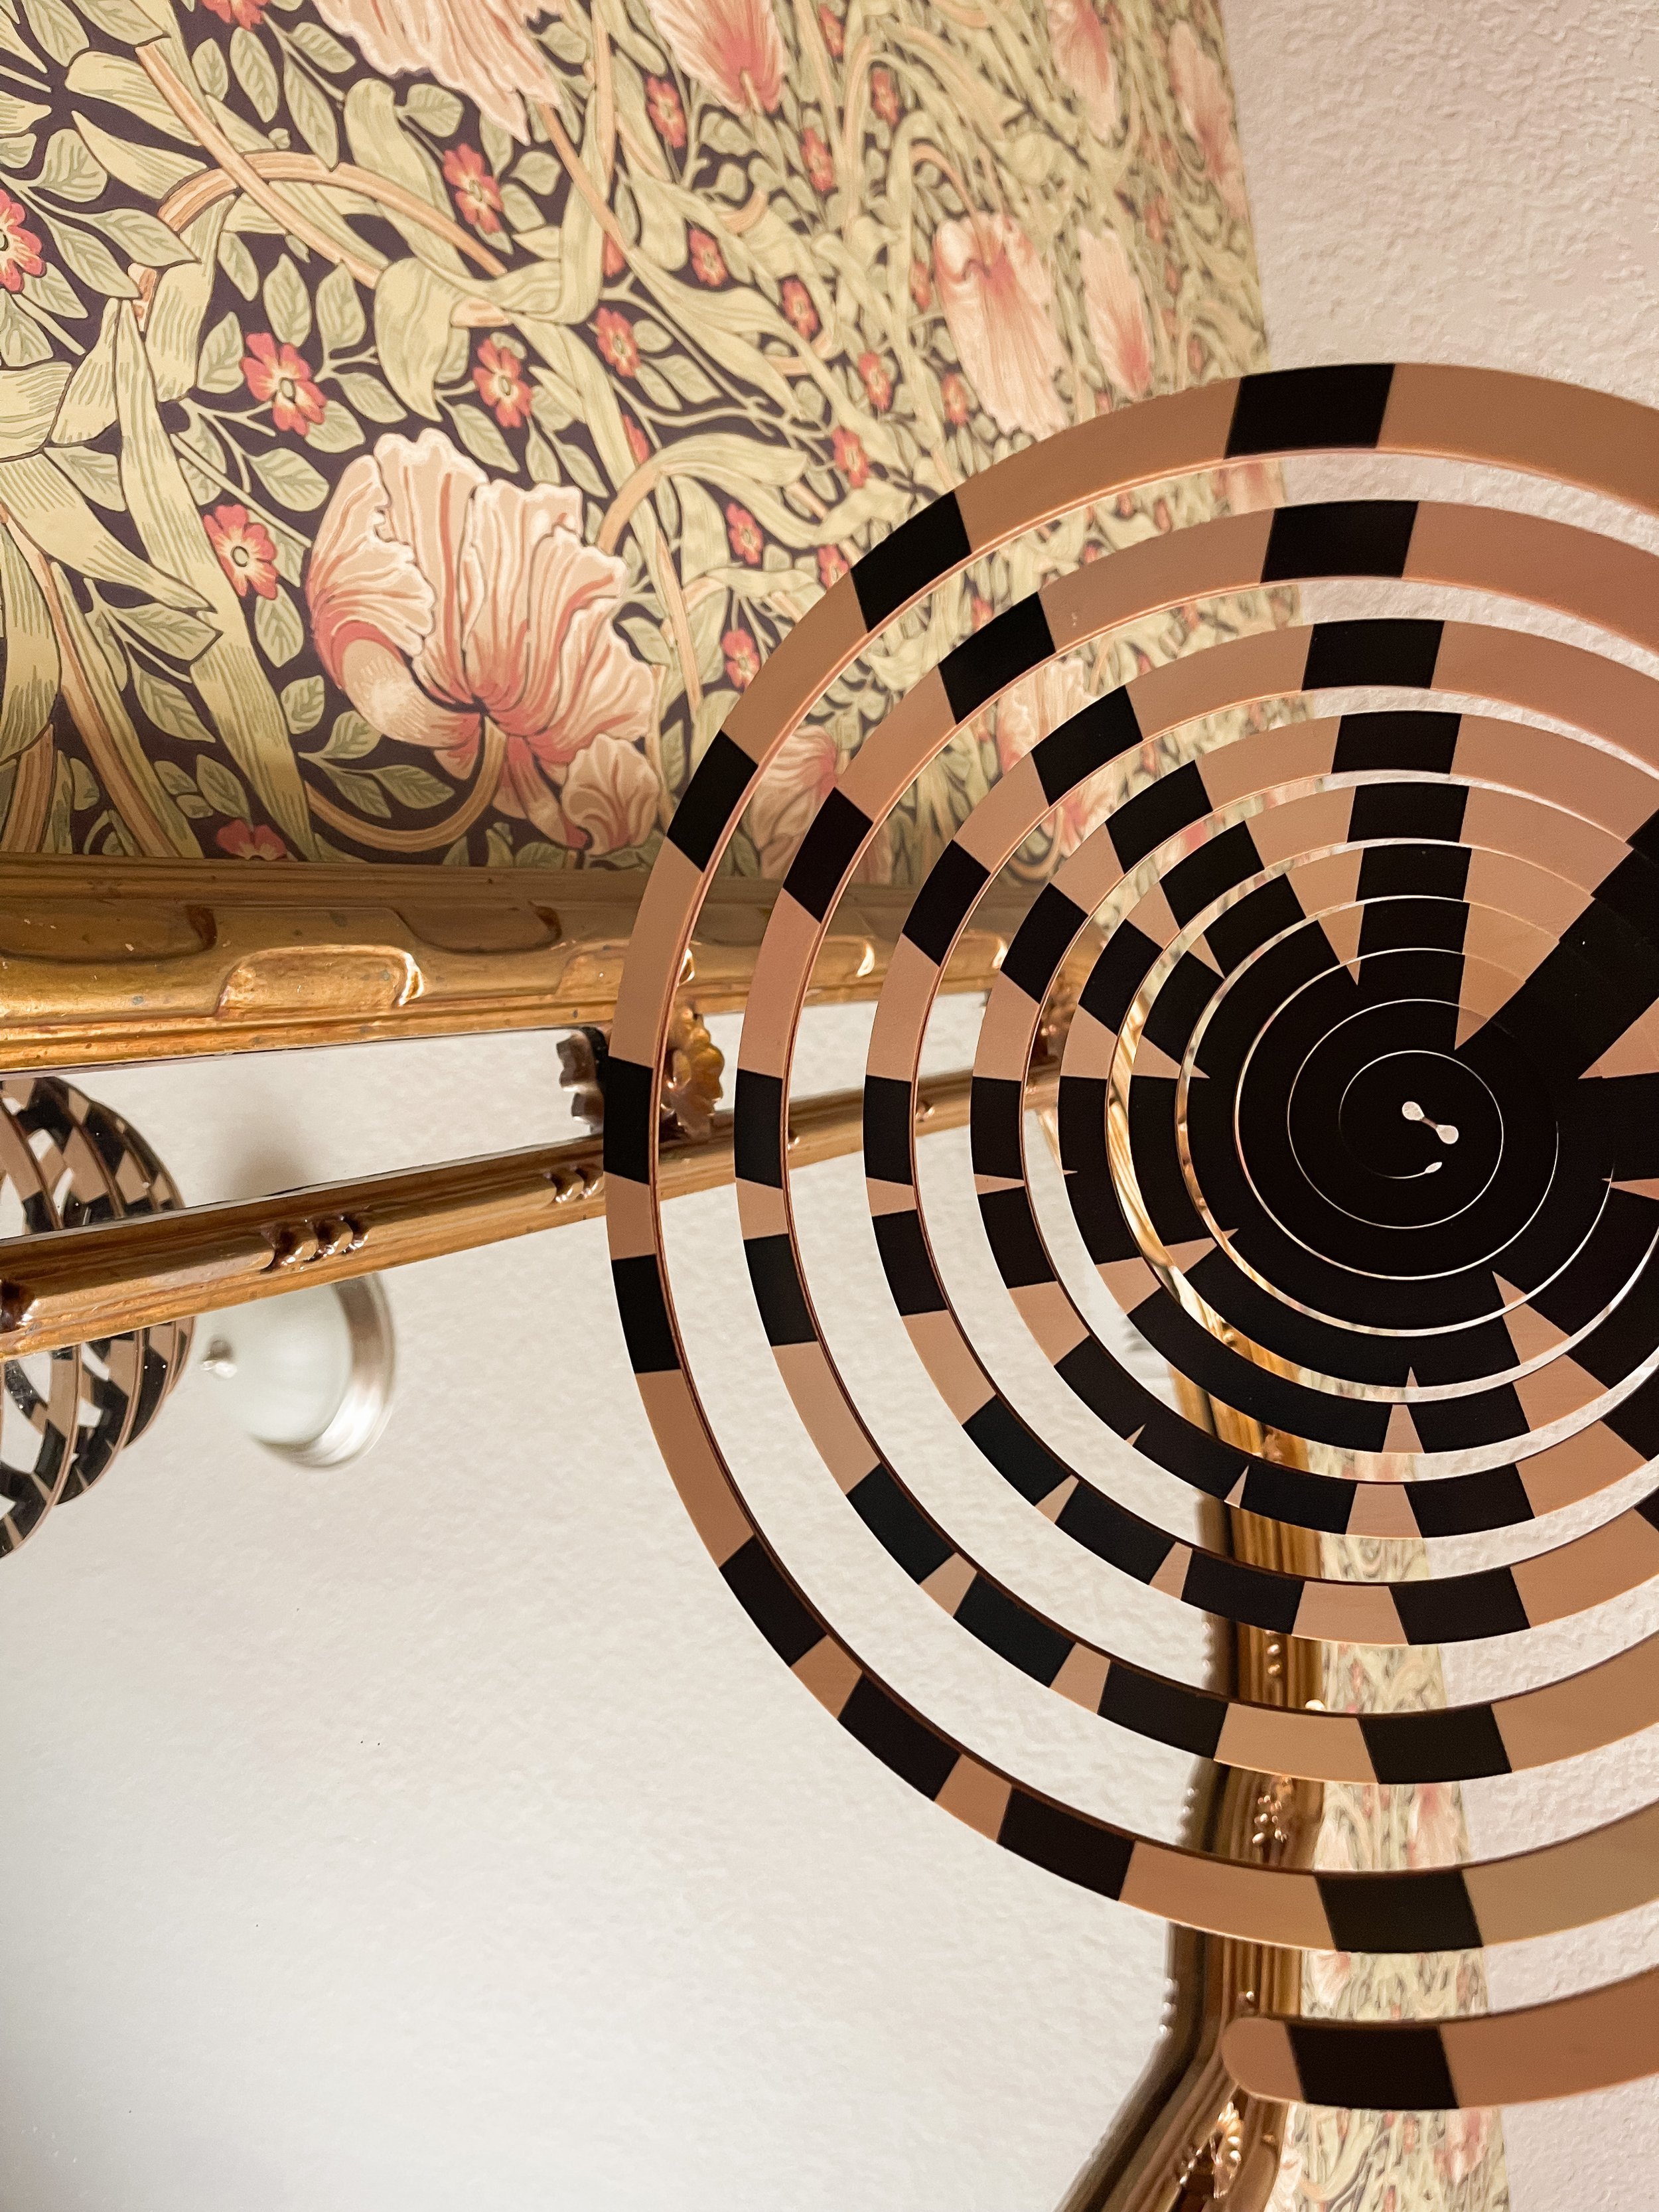
I wanted her room to feel elevated like the rest of the house — even if still playful and whimsical — so I followed the same “rules” I use throughout the rest of our home: mix old and new, contemporary and traditional. I love the juxtaposition that brings to design. So I found an antique mirror for above her dresser and mixed modern furniture with traditional wallpapering and trim. I also played with patterns and colors, mixing the floral wallpaper with a geometric rug, and bringing the green, pink, and gold from the wallpaper to life throughout various pieces of the room. You can tell I LOVE color. 💚💗💛

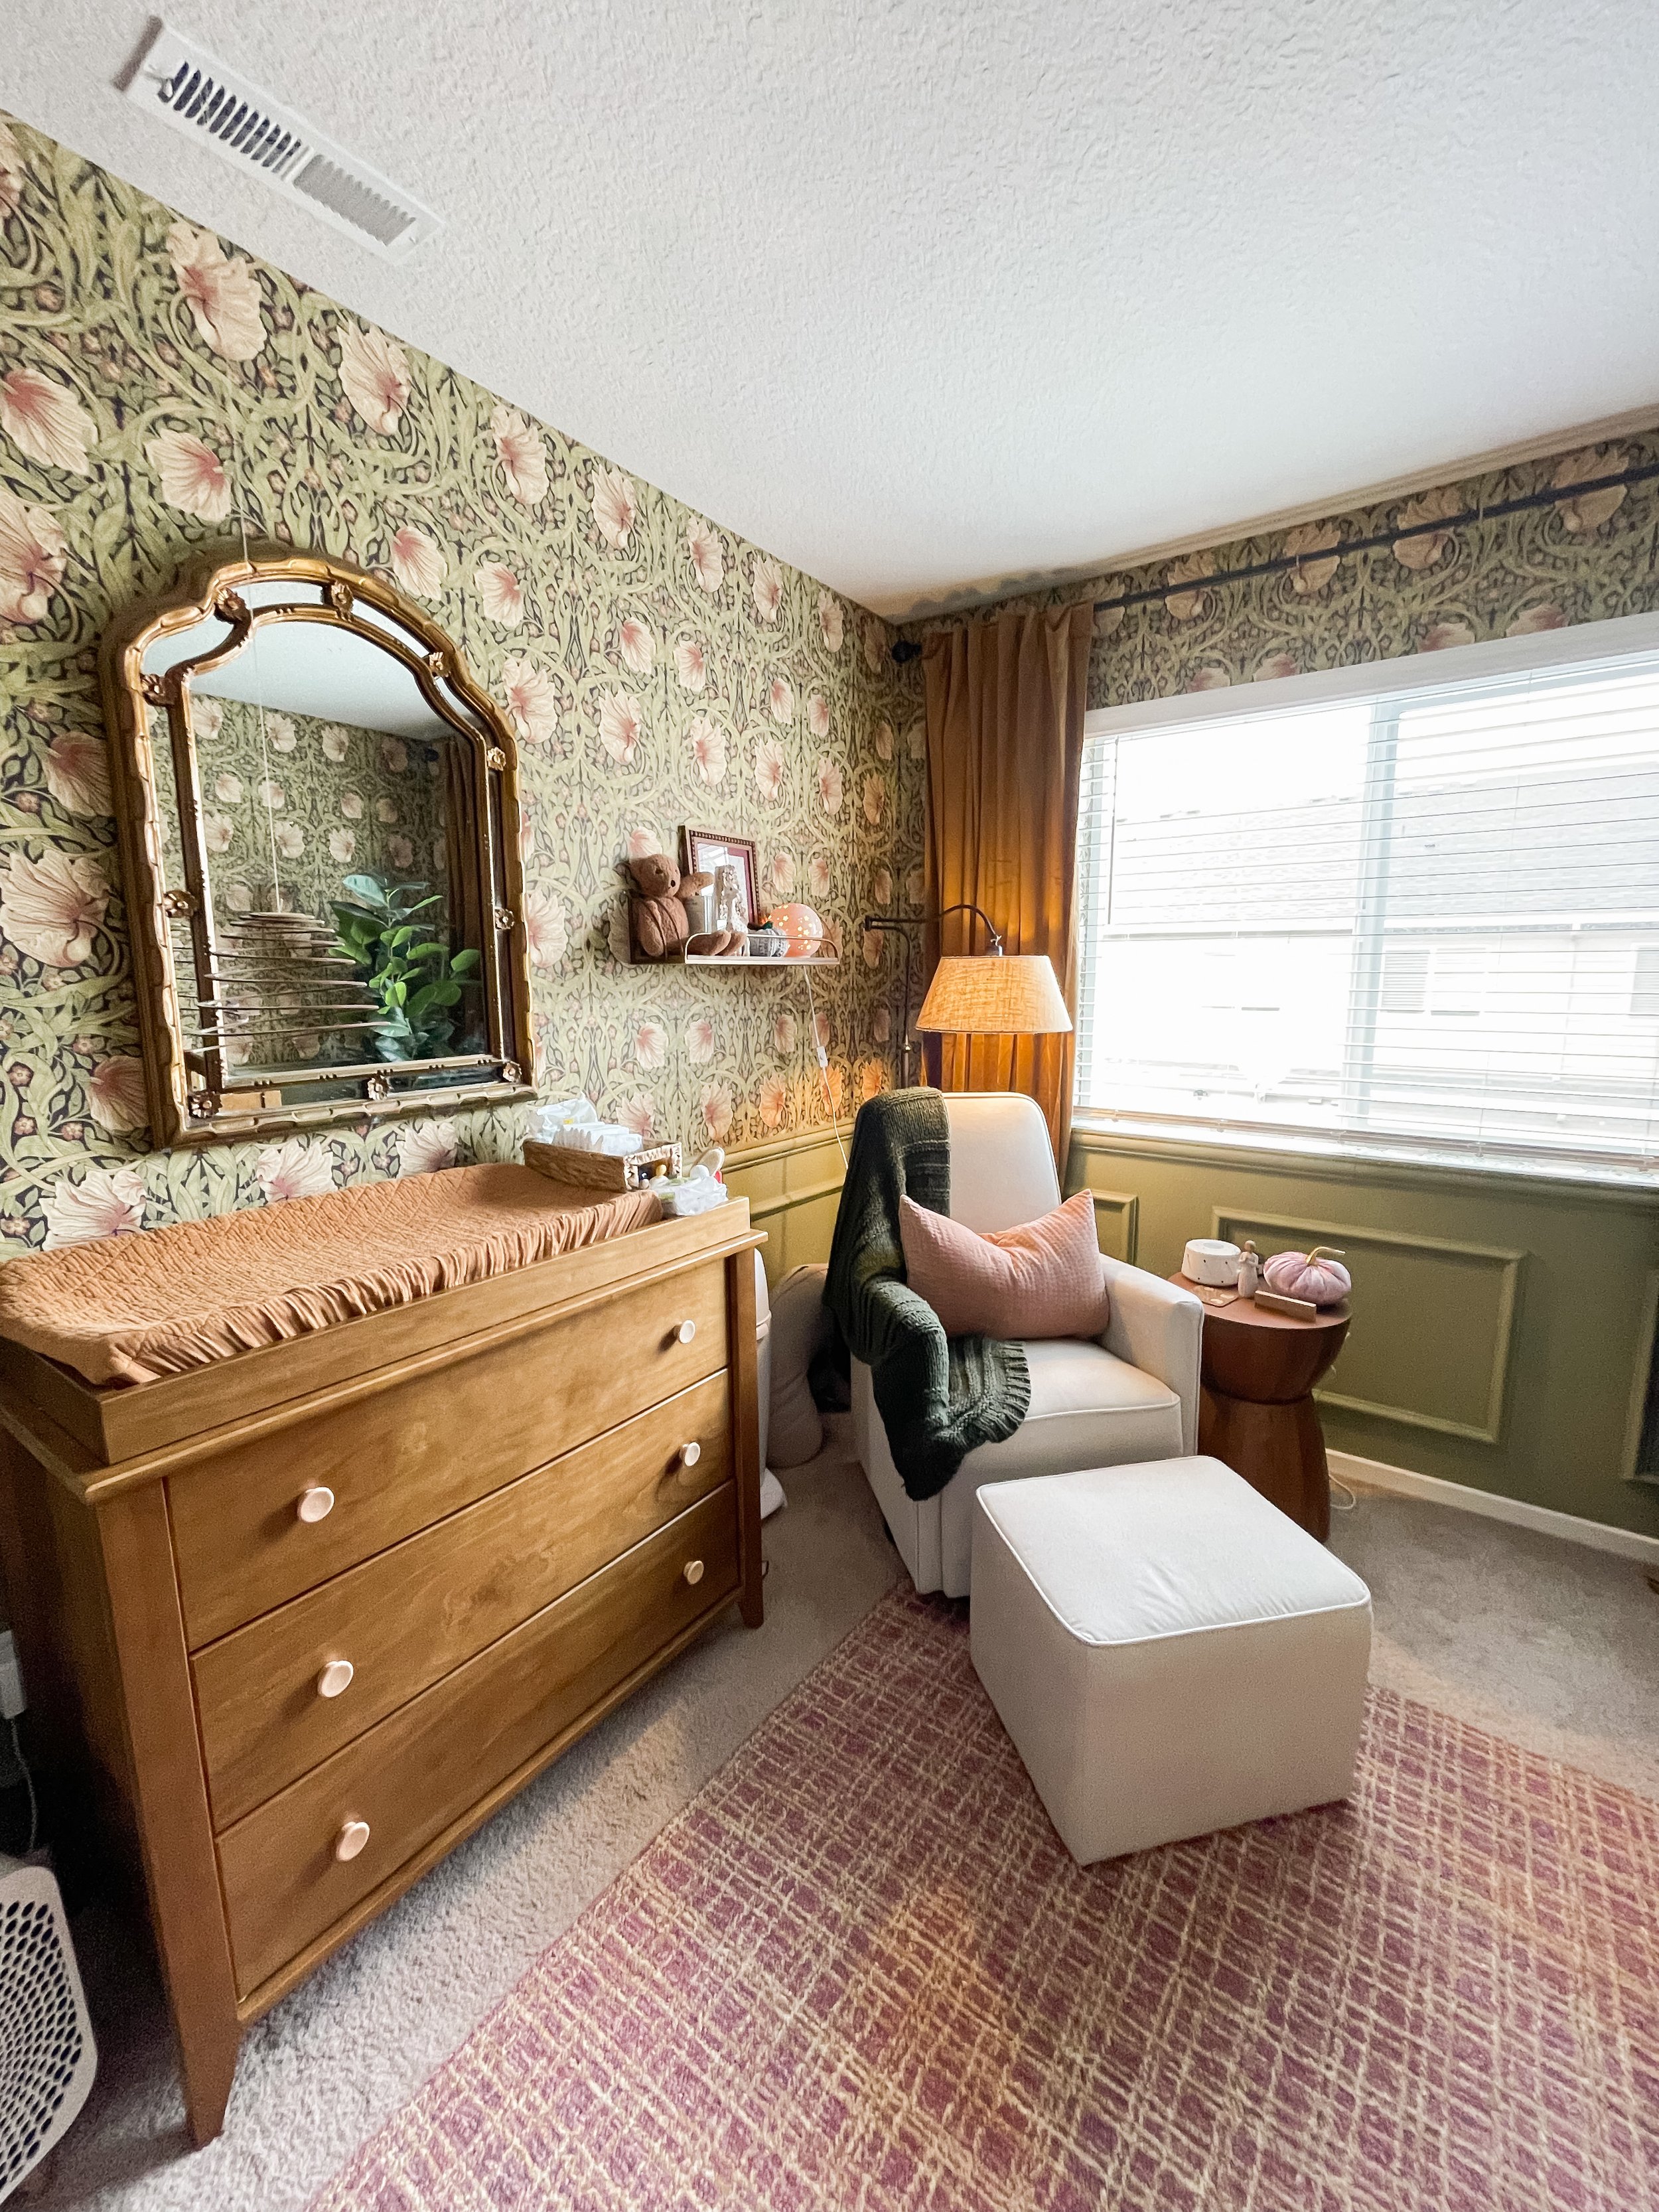
While I of course wanted the nursery to be beautiful, I also wanted it to be functional. So we made space for toys and blankets, found the perfect side table for the rocking chair, hung up a developmentally appropriate mobile, and invested in furniture that will grow with her (a 4-in-1 crib and dresser with removable changing table!). I love the functional furniture especially because although I’d love it if she stayed little forever, I know that’s unfortunately impossible.

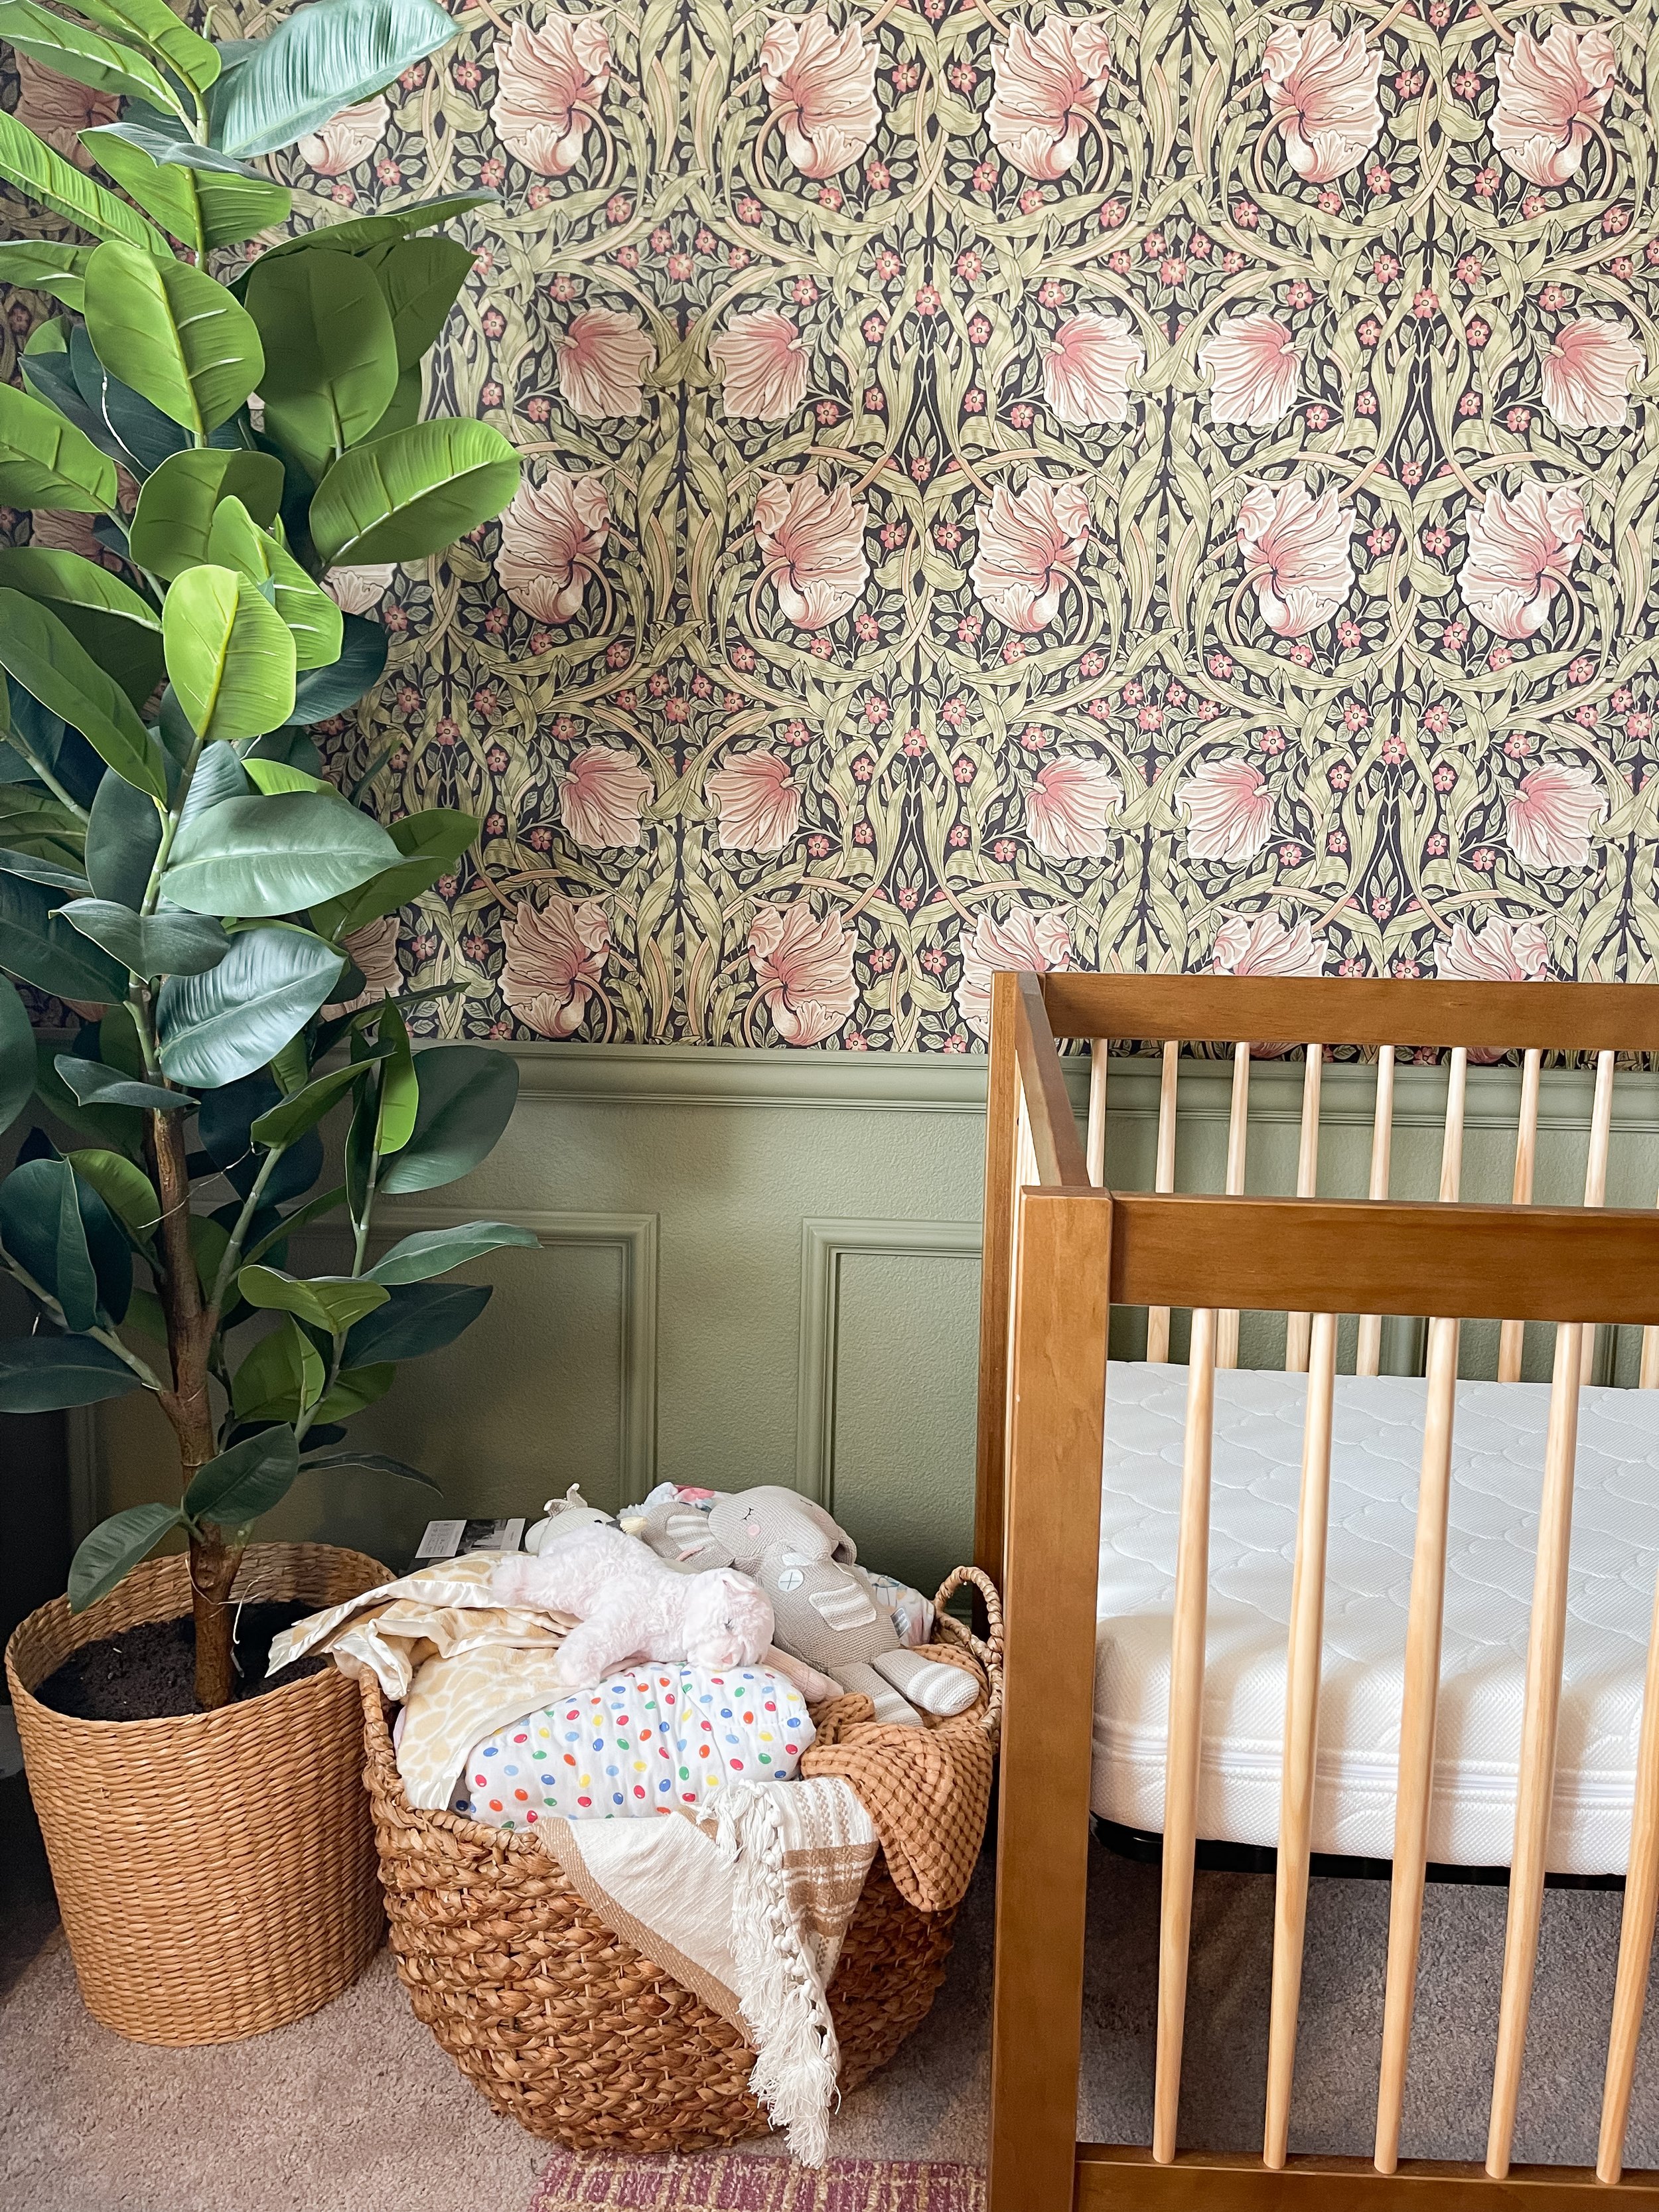
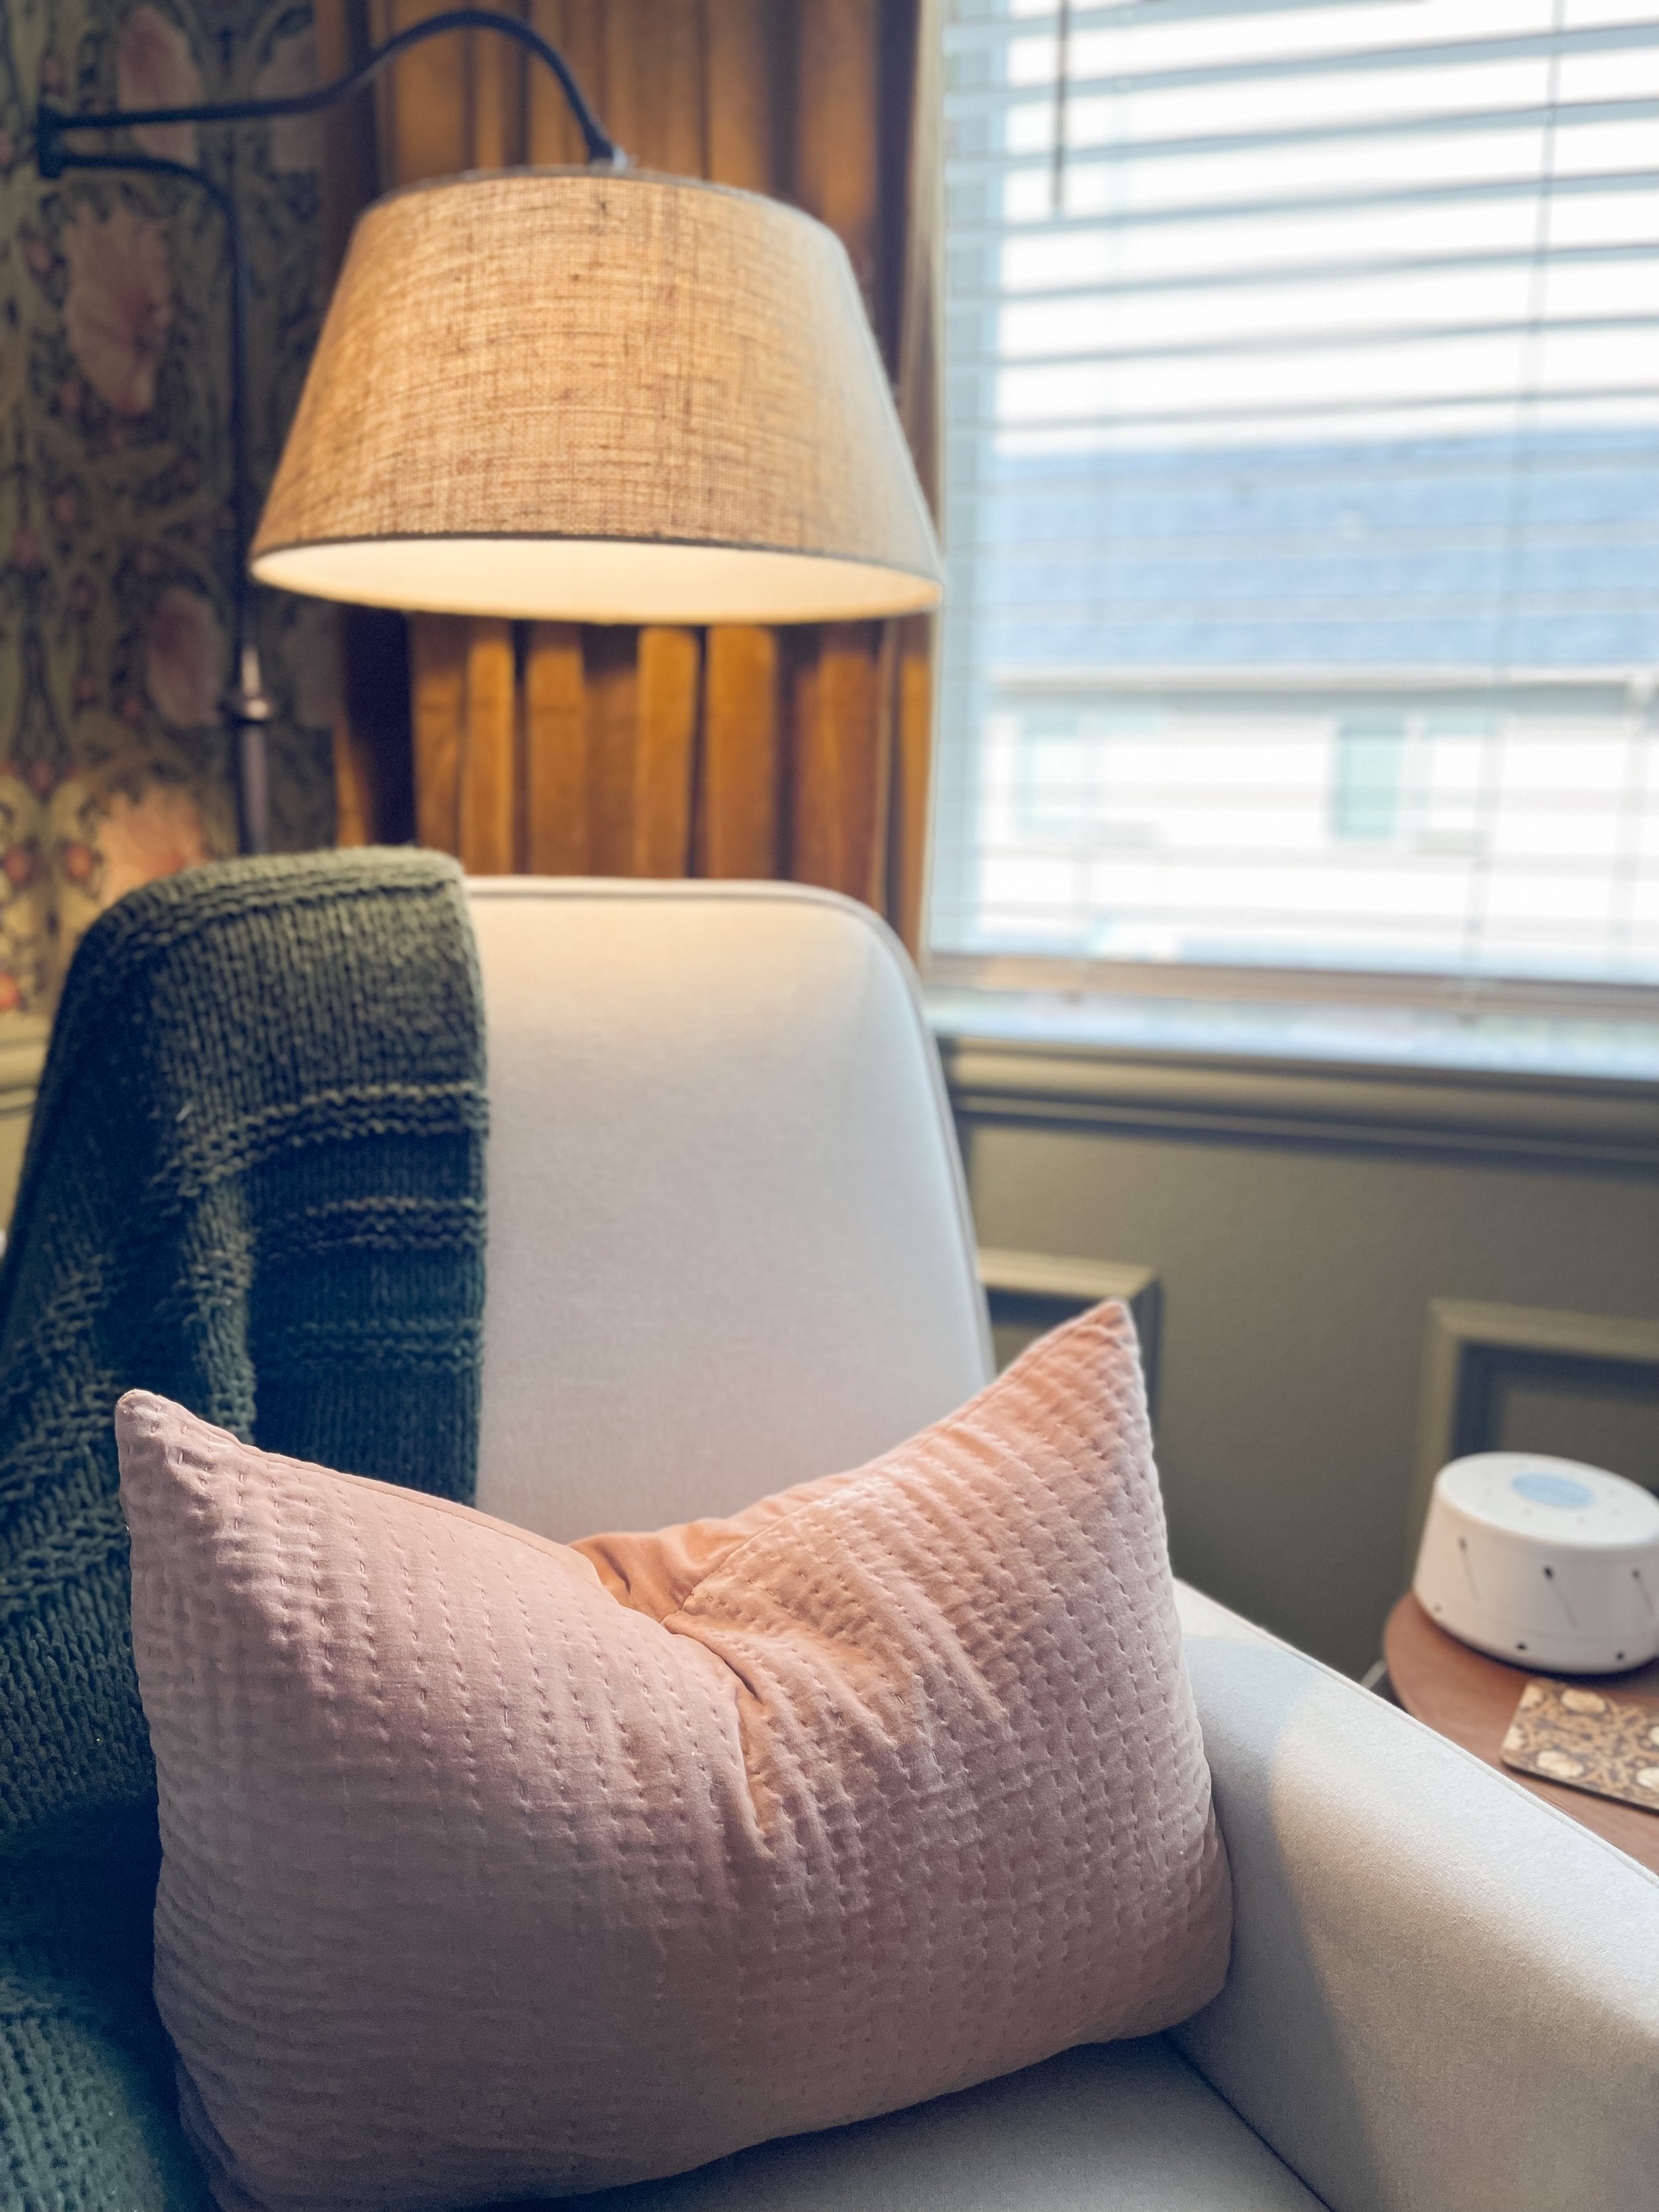
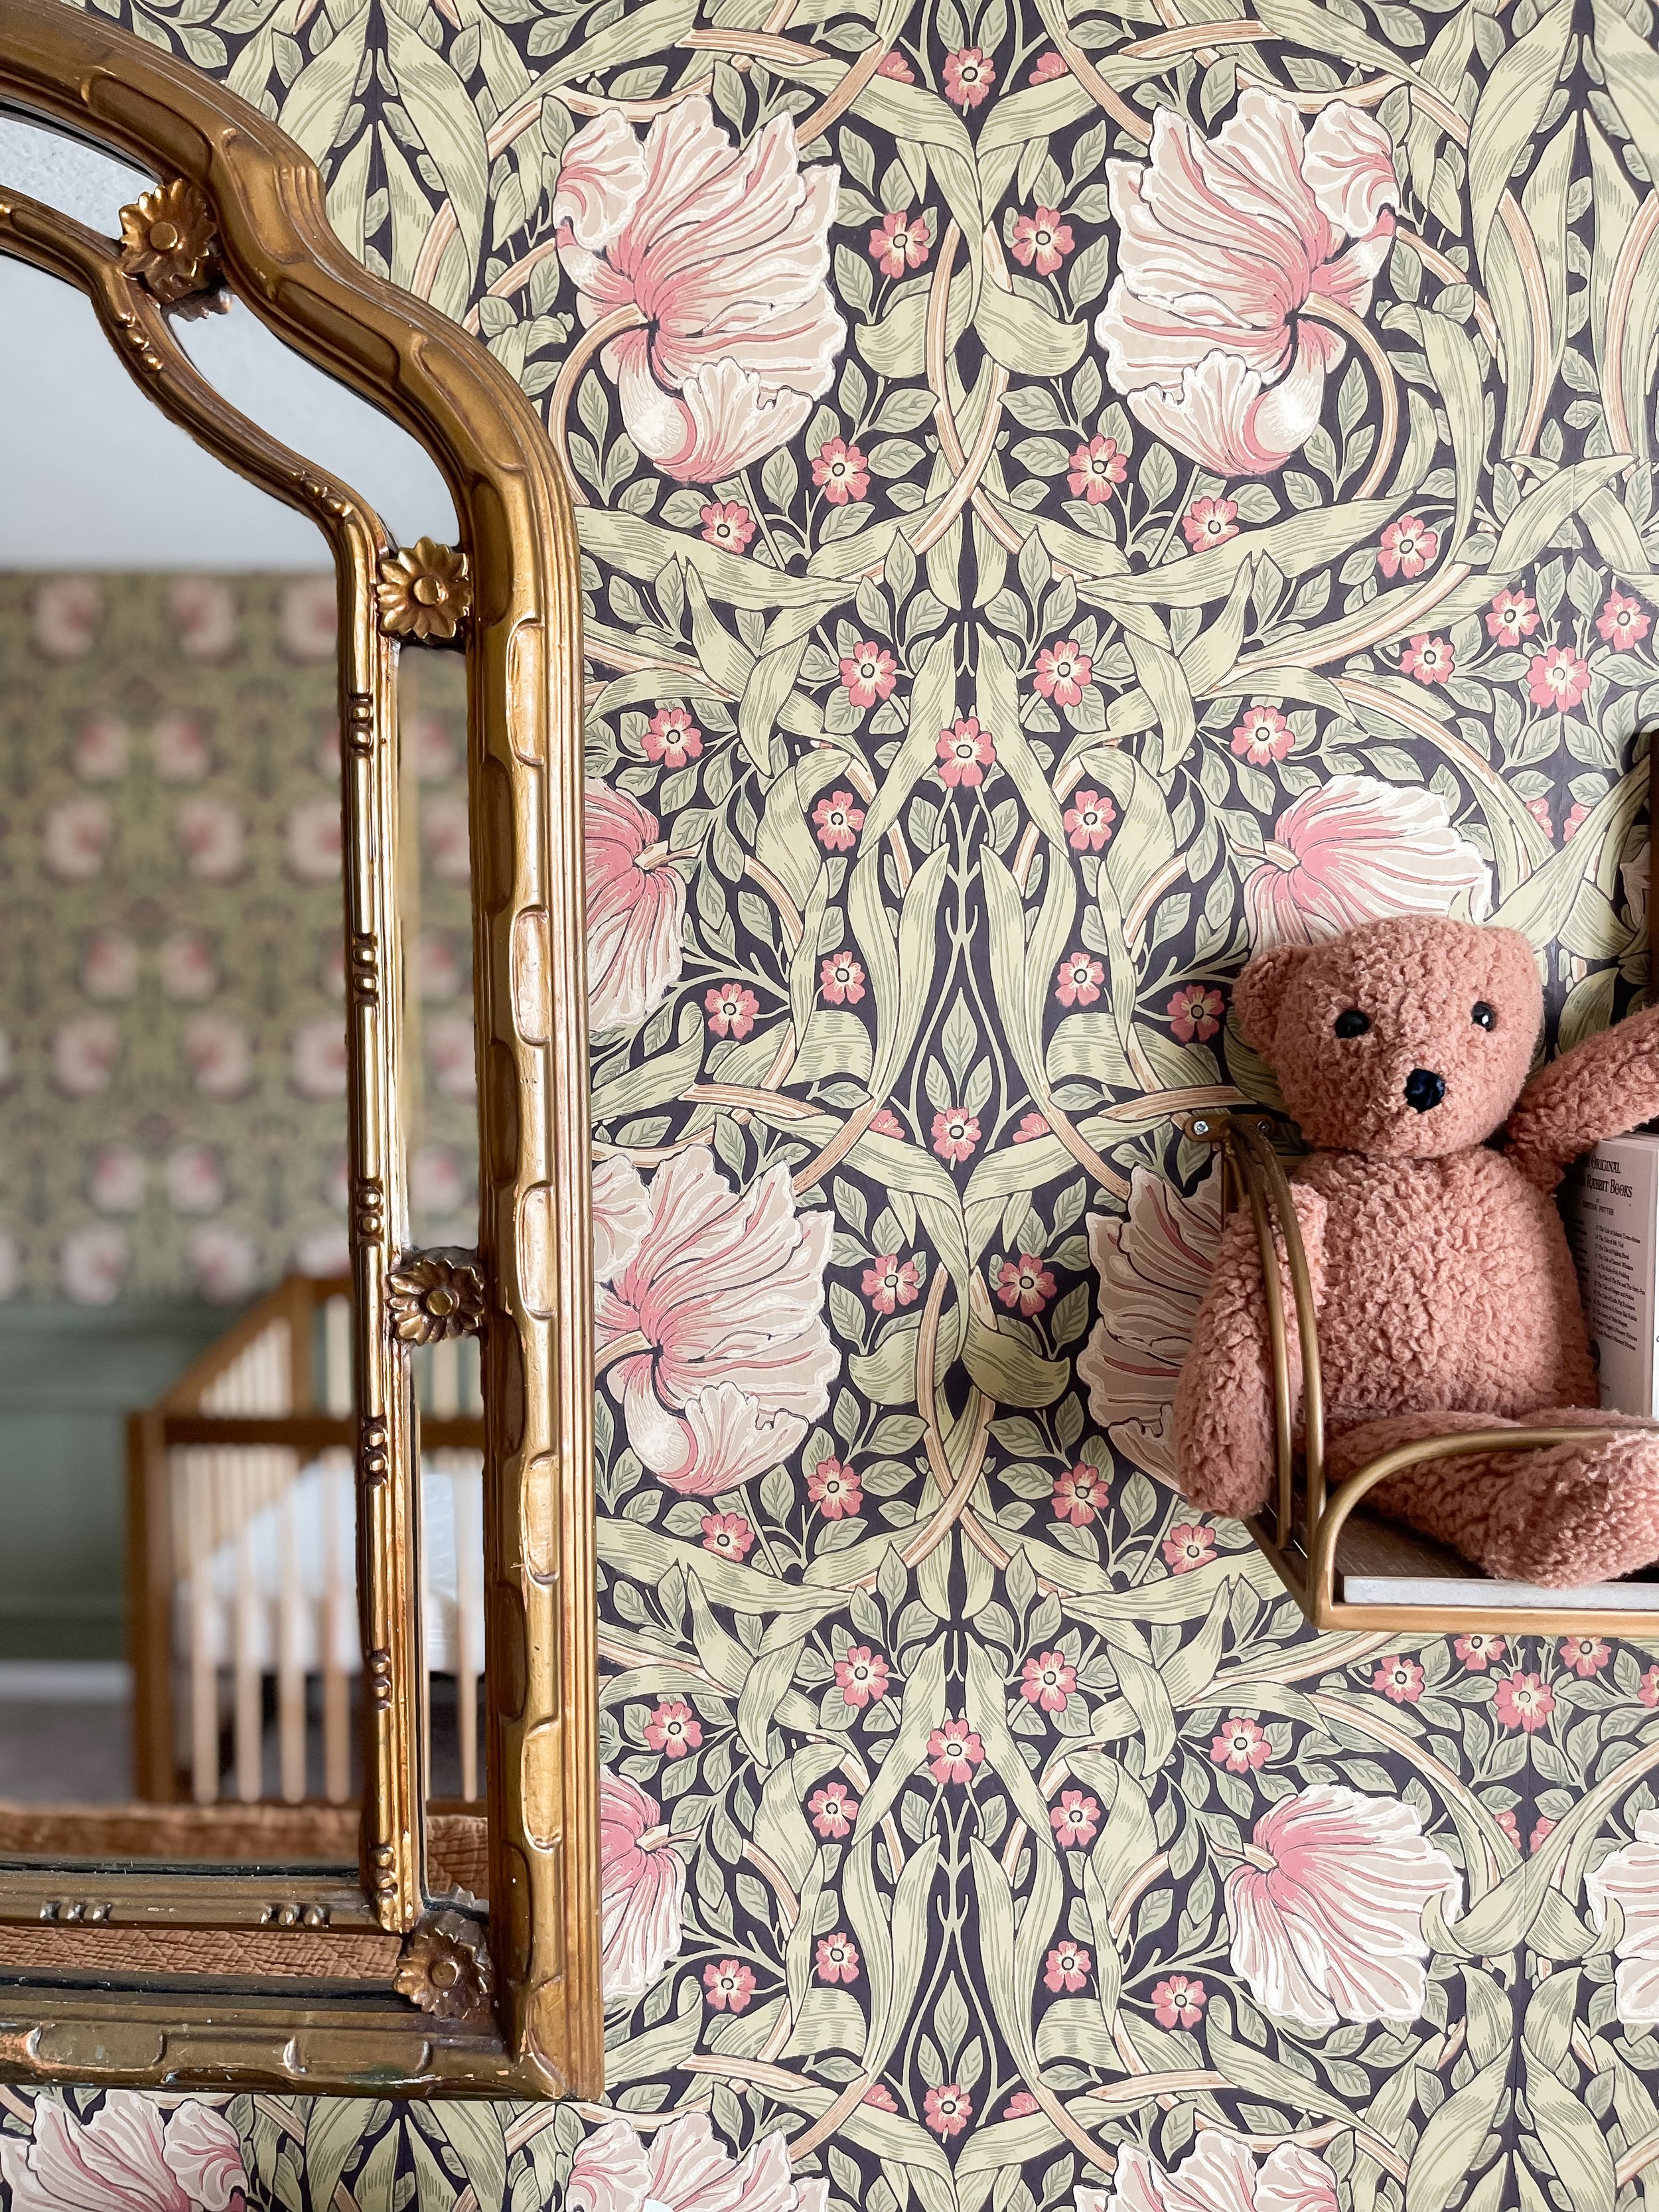
Another tip I implemented in this room is shopping our house. While we did get a lot of new items gifted to us or purchased ourselves, we also repurposed some accents we had in other places of our home, like the blanket and toy basket, the basket that’s holding the diapers, the shelf behind the rocking chair, and the faux tree in the corner of her room. And honestly, all of these things look so much better in her room vs. anywhere else we’ve had them before. It just makes sense… love when that happens and things just fall into place.

When I first came home from the hospital without Adeline, I didn’t even want to go into her nursery. It was a sad reminder that we were home without our babe — and that she wouldn’t be home for several weeks or months. (More on my battle with preeclampsia here.) But as she continued to do better and better in the NICU, I felt better and better about spending time in her nursery to pump or just finish final preparations for her to come home. It’s now become my favorite room in our home — and it’s a lesson I’ll always take with me: no matter the room, design a space you WANT to be in.

Fall Finds

It’s the end of August, so you know that means it’s taken all my willpower to not decorate yet for fall. Even though I’m ready for all things cozy, apple cider, and pumpkin, Tim isn’t quite there yet. So I’ve decided to hold off on transitioning our home to all things autumn goodness… for just a little longer. I guess at this rate I’ll decorate post-Labor Day, which feels a little more acceptable 😂

So for now to hold me over I’ve curated some of the cutest fall home decor finds for you — a mix of pillows, blankets, doormats, pumpkins, vases… mmm can’t wait to bust out my cozy fall collection! This year I’m bringing in some more greens in addition to the warmer tones that are true to fall. Excited to show you!

Until then, here are a few things I have my eye on 🍂


Please note: some of these links are affiliate links, meaning I’ll receive a small commission if you purchase using my link. It doesn’t raise the cost at all for you, but it does support my work on Wholly Rooted Home. Thank you for supporting me!

DIY Board & Batten Entryway

This DIY is one of my favorite projects we’ve done to-date. It totally elevated our entryway, all while making it so much more functional.

If you’ve ever lived in a home or apartment without a large entryway or coat closet near the entry, you know the struggle that is piled up coats, hats, umbrellas, and shoes — and it’s even worse if you have a dog with their leash, collar, doggie bags, and more.

Well, we were definitely there 😅 For a while we had a not-so-cute coat rack and old hand-me-down bookshelf as placeholders until I figured out what I wanted to do with the space (and until we could budget funds to change it!). I think the before and after speaks for itself — so much more appealing to the eye!


the inspiration

This project vision started out when I saw this reel from someone I follow on Instagram. I immediately knew this was the perfect solve for our entryway! And it looked easy… but let me tell you, it was a lot more work than I thought 😂 But isn’t that always what happens with DIY projects?!

What made this project particularly difficult is that our house was built with some decorative trim on the stairwell, so we needed to match the width and depth of not only that trim, but also the existing baseboard to make sure the additional wood pieces weren’t sticking out from the wall at uneven depths. So it took us a good while at home depot to even find the right trim size and then when we did, it was pre-painted, which wasn’t ideal since we then needed to sand them all and re-paint to match our wall color on some pieces, and our trim color on others. Unless you can find the exact right color on pre-painted wood, I’d always recommend finding raw wood pieces so you save yourself from having to sand, which was by far the most time-consuming and annoying part of the process.

We didn’t have really any tools we needed for this project, but we knew we wanted to continue to do more house projects in the future, so we decided to invest in a few tools we knew we’d use again and again.


the tools

Of course, you’ll need your trim/boards and paint of choice, but you’ll also benefit from some tools. From left to right:

  1. Brad Nailer (one of my favorite tools! easily nails trim into walls without leaving much of a trace)

  2. Electric Sander (so much faster than hand sanding with paper!)

  3. Circular Saw (to cut down your trim/boards to perfect size)

  4. Liquid Nails (put this on the back of the boards first and then use the brad nailer to fully secure them)

  5. Caulking (this helps cover up the nails from the Brad Nailer and is also used to fill in gaps along the sides and top/bottom of the boards to create a cohesive look from board to wall. A little goes a long way!)

  6. Level (to make sure your boards are straight!)

  7. Caulking gun (makes application easier and can be used for both liquid nails and caulking!)


the process

Once all the boards were cut down to perfect size, it felt like the project was on a roll. The process we followed was:

  1. Paint the wall

  2. Cut down the boards to size

  3. Sand all the boards

  4. Secure boards to wall with Liquid Nails and then Brad Nailer

  5. Paint all boards after they’re on the wall

  6. Caulk over the nails and on all sides

  7. Paint touch-ups

  8. Add the decorative hooks

  9. Done!

One of the hardest decisions, aside from figuring out the best trim boards to match what was already in our house, was the paint color for the top board! In the initial video I was inspired by, she painted all the boards the same color as the part of the wall behind them, which made for a really cool cohesive look. BUT, I knew I wanted to keep the baseboard the same color as the rest of the downstairs for consistency, so there was already one part that was going to be different from the blue.

So then the next thing we were considering was — should we paint the top blue or should we keep it consistent with the white trim that already exists for the stairwell? You can see Tim holding up the blue option below. We ended up keeping both the baseboard and top board white and I’m so glad we did! Feels very cohesive with the rest of the entryway.

I’m super proud of this project and I hope it inspires you to tackle one of the projects on your DIY list! If we can do this (this felt BIG to us), so can you!


the sources

From left to right:

  1. Logan 48” Seagrass Console Table

  2. Target Vintage Distressed Rug

  3. Container Store Light Grey Poppin Box Seat

  4. Uttermost Rora 52"W Natural Woven Banana Plant Console Table

  5. Seagrass Console Table (I don’t know much about the linked store, but this is the exact table we got at Pottery Barn — it’s discontinued at PB!)

  6. THE Anthropologie Mirror!

  7. My artwork is from Home Goods, but this one felt surprisingly similar!

  8. Similar gold hooks

  9. I can’t track down our exact lamp (it’s from a cute little shop in Bend, OR), but I also love this one and this one!

  10. Similar vase (mine is from Magnolia last year)